

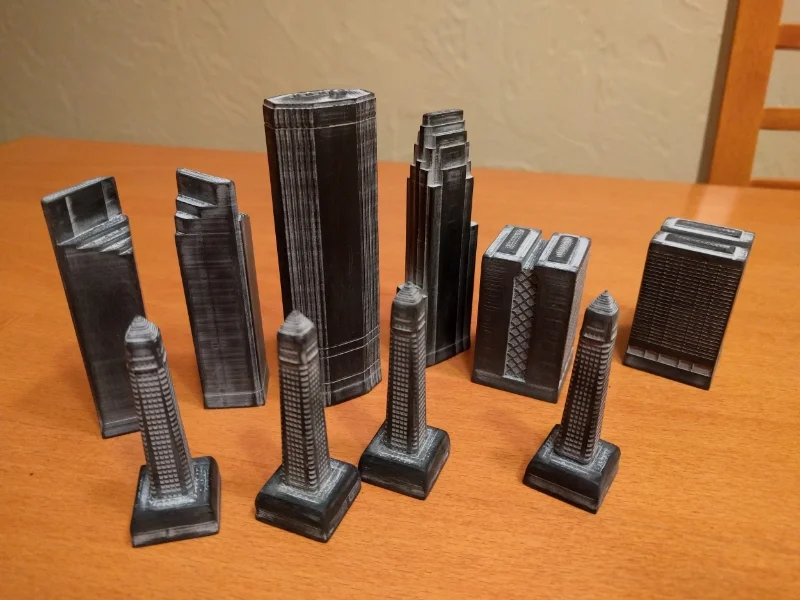
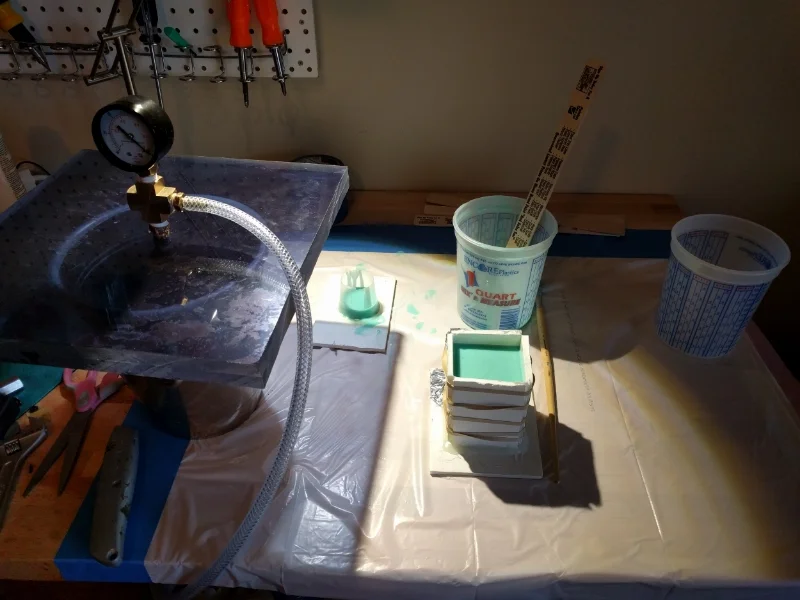
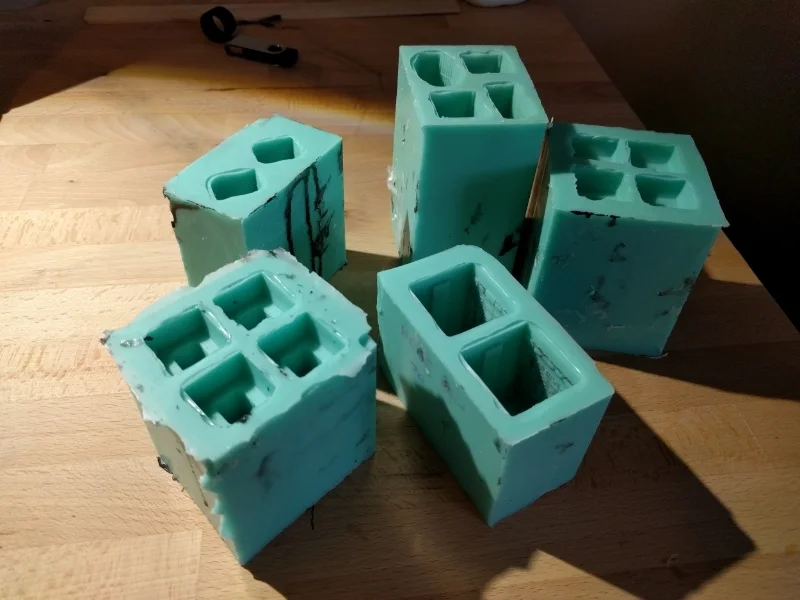
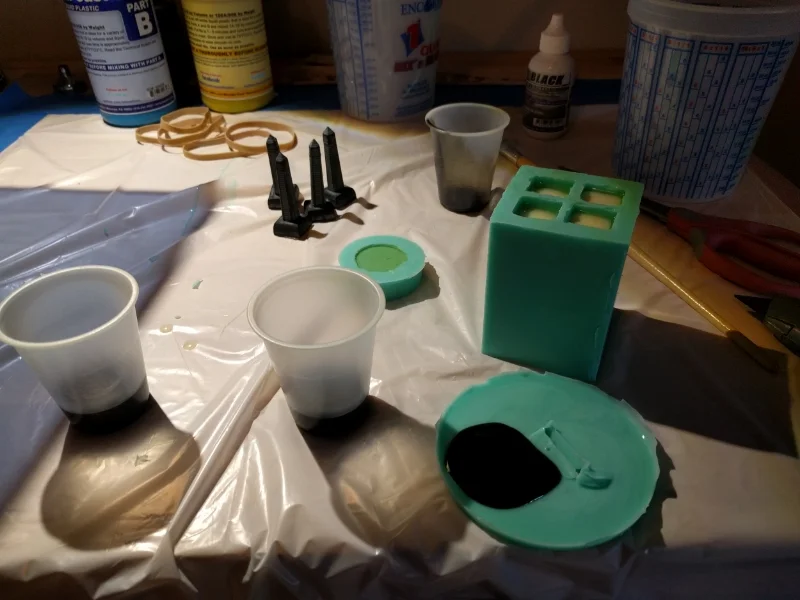


19
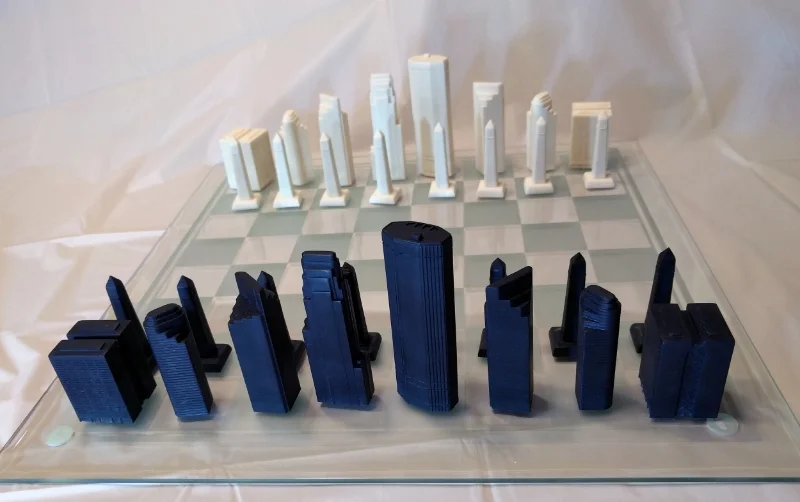
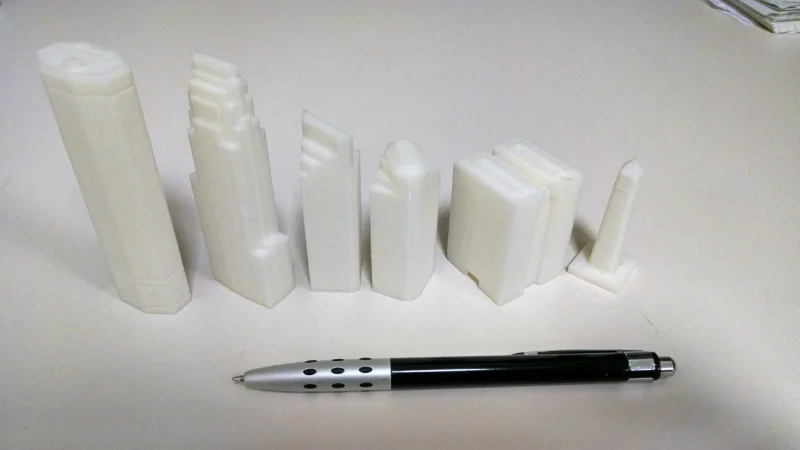
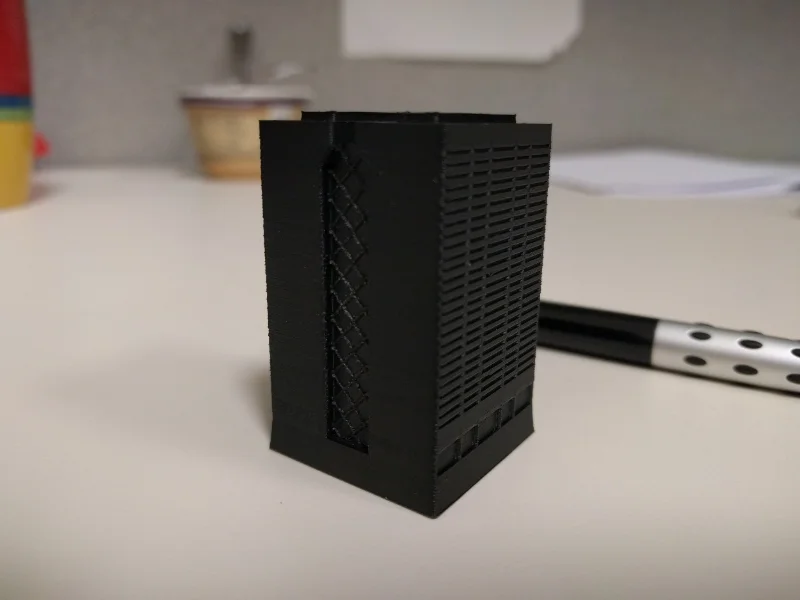
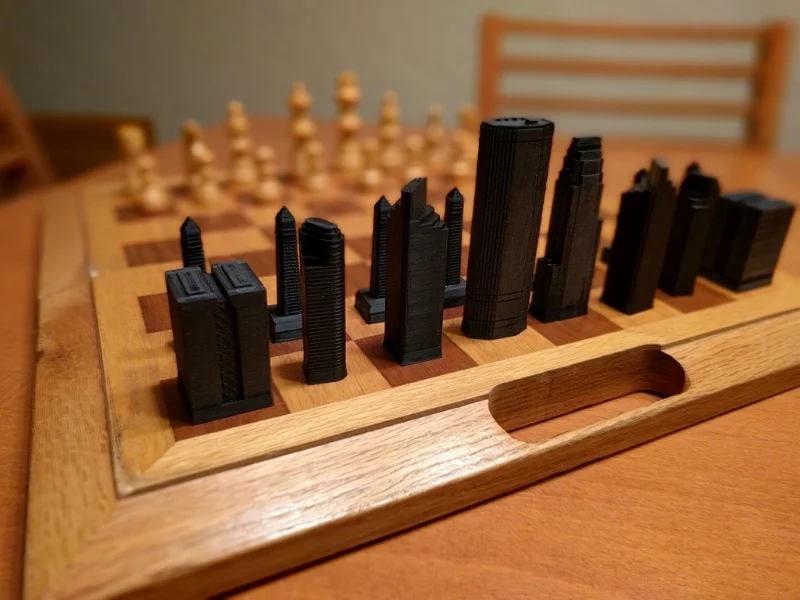
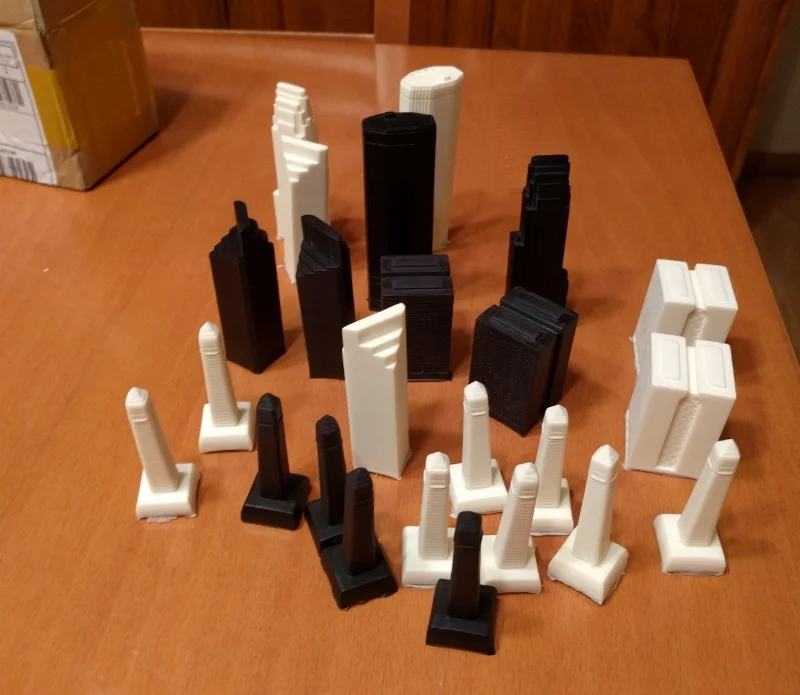
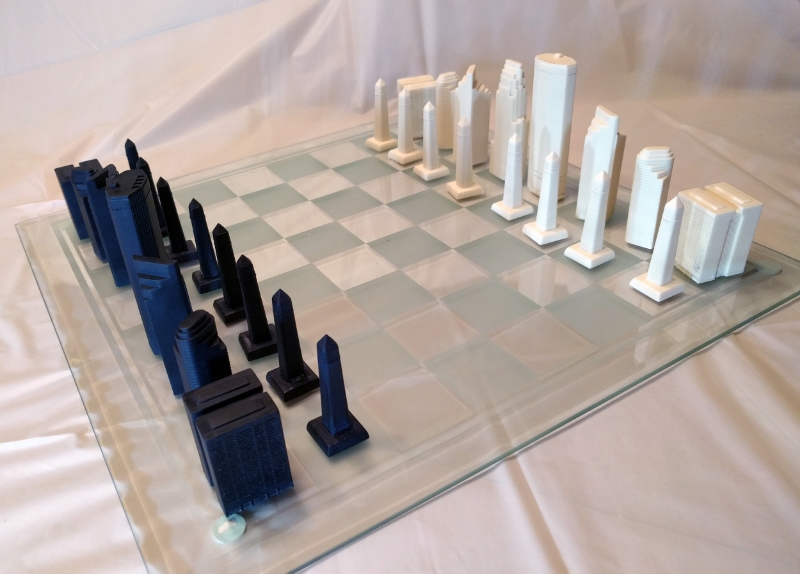
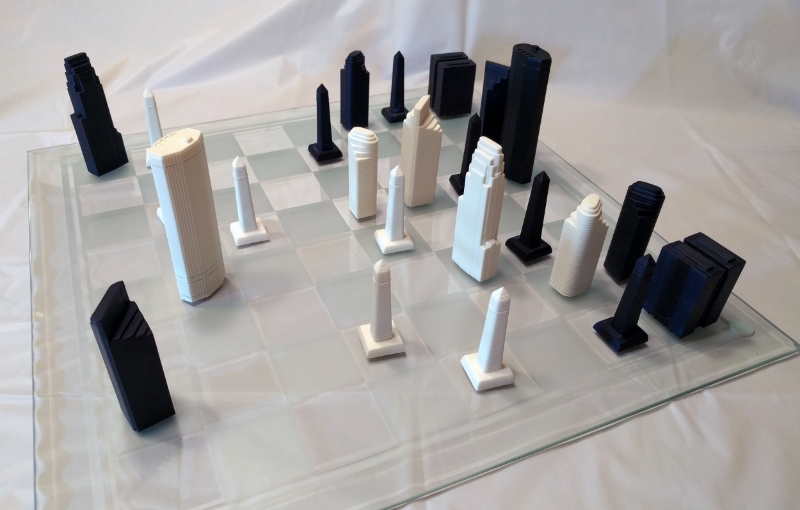
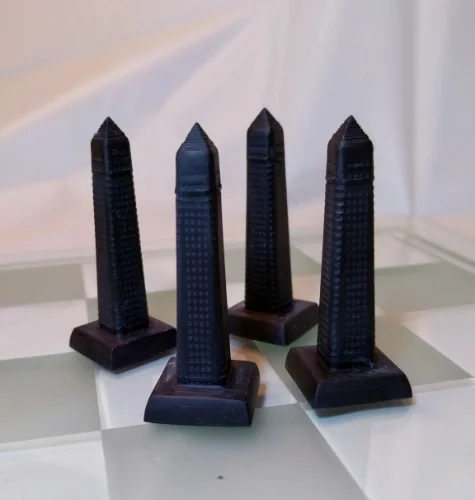
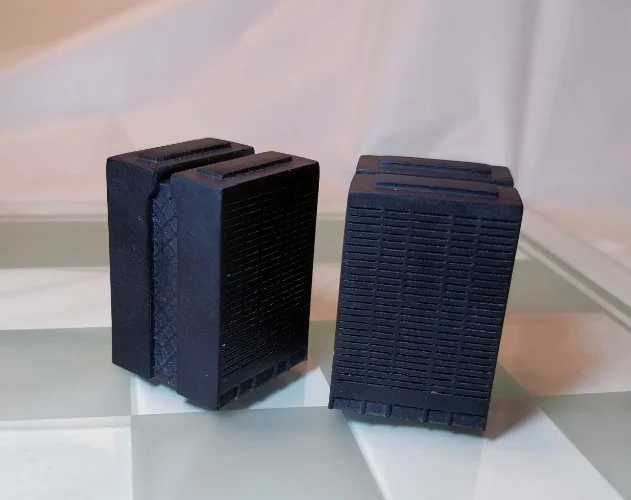
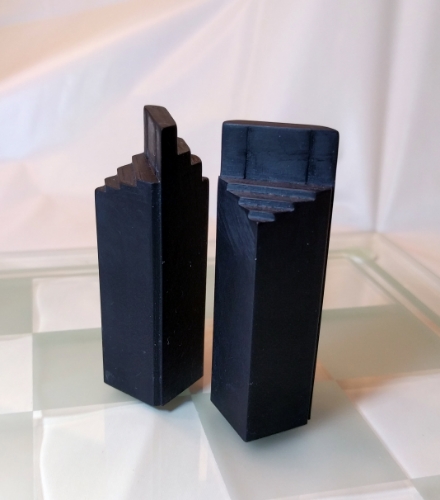
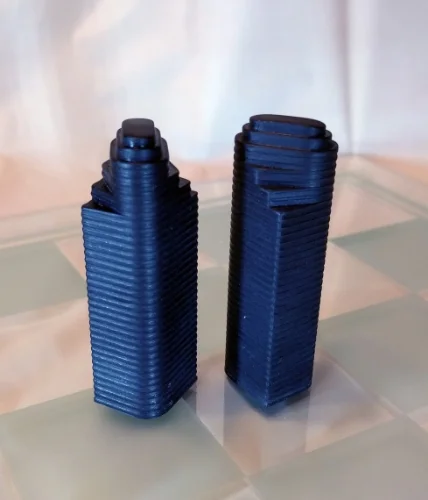
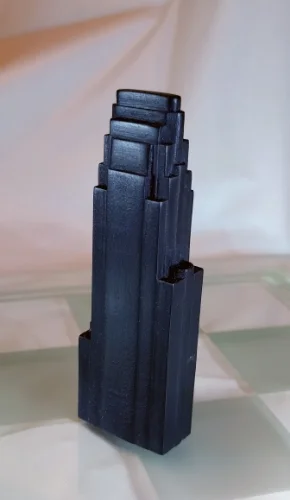
Minneapolis Skyline Chess Set

5
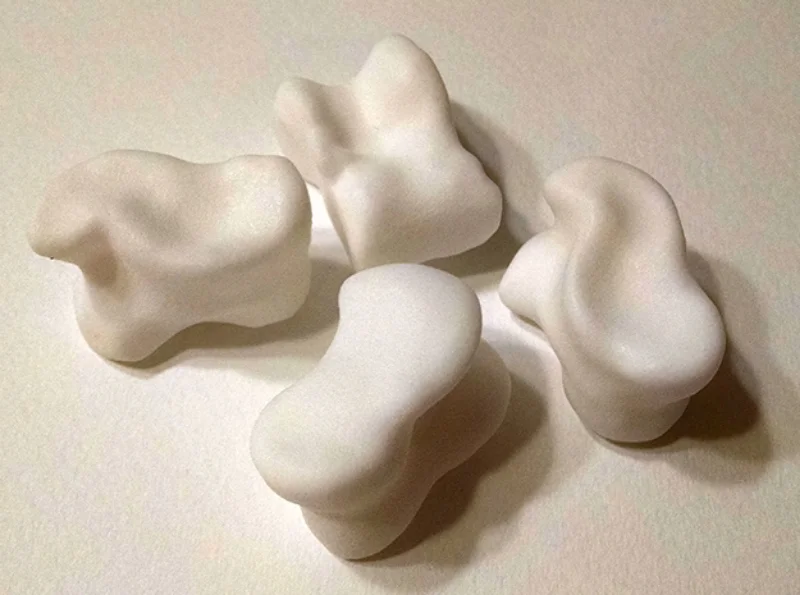
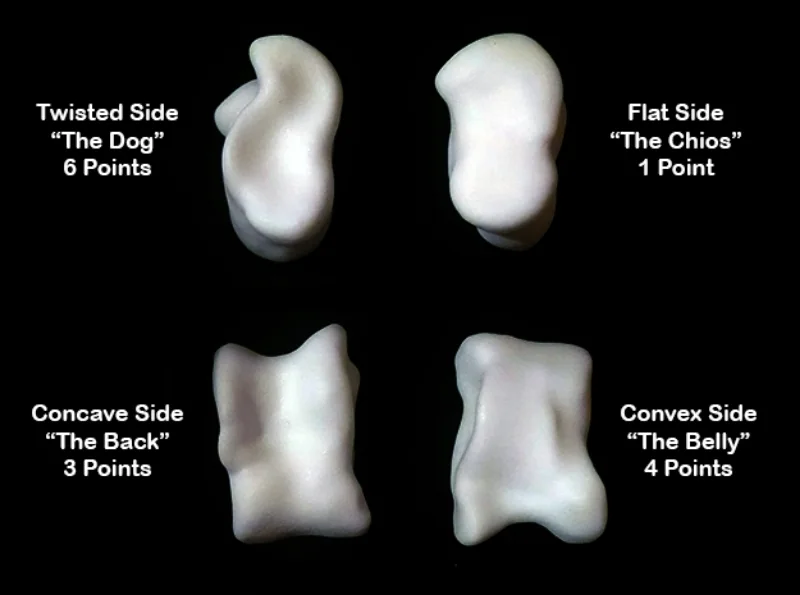
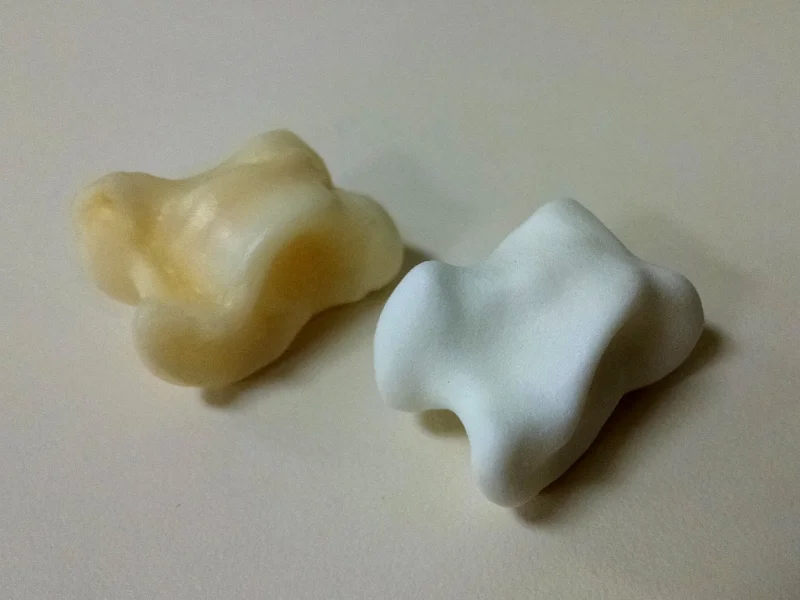
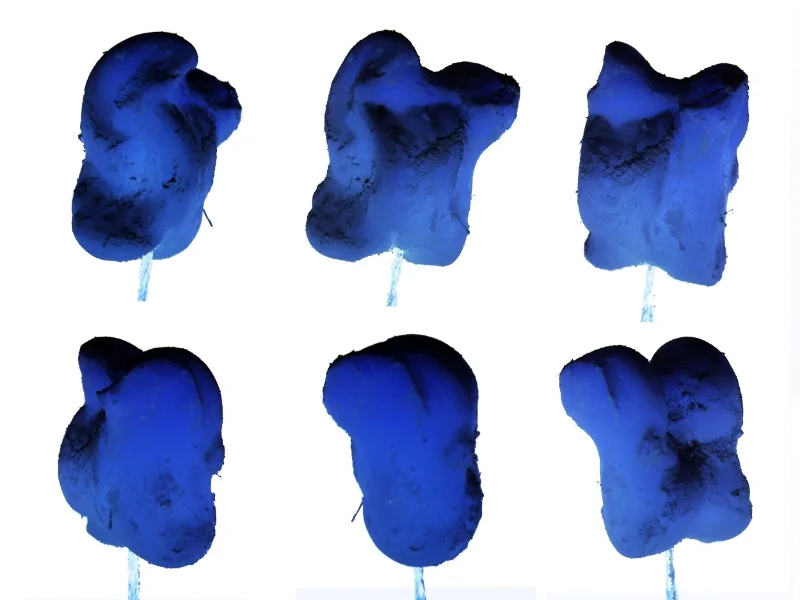
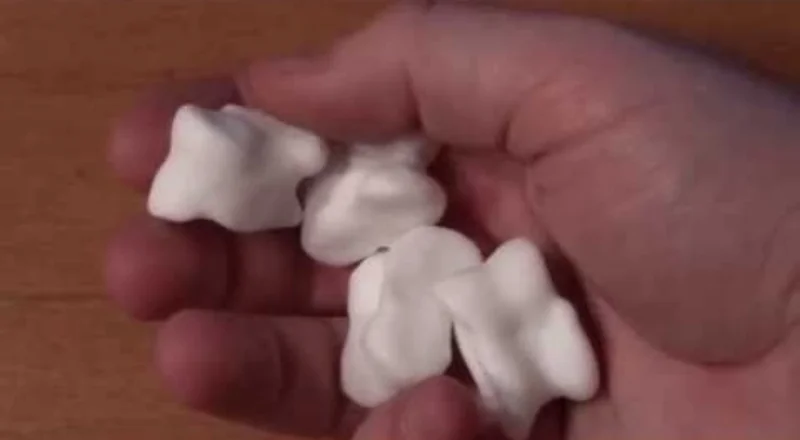
Knucklebone Dice
8
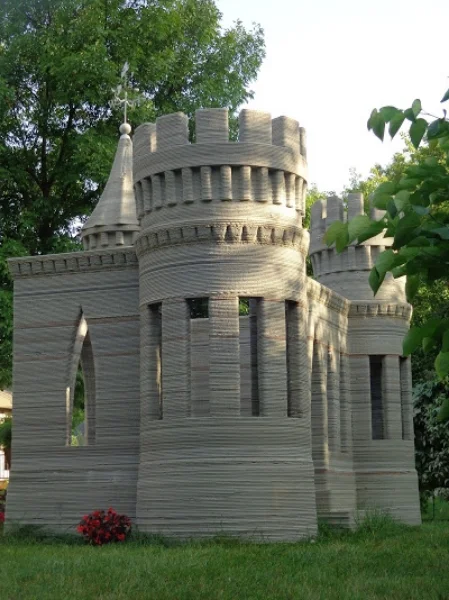
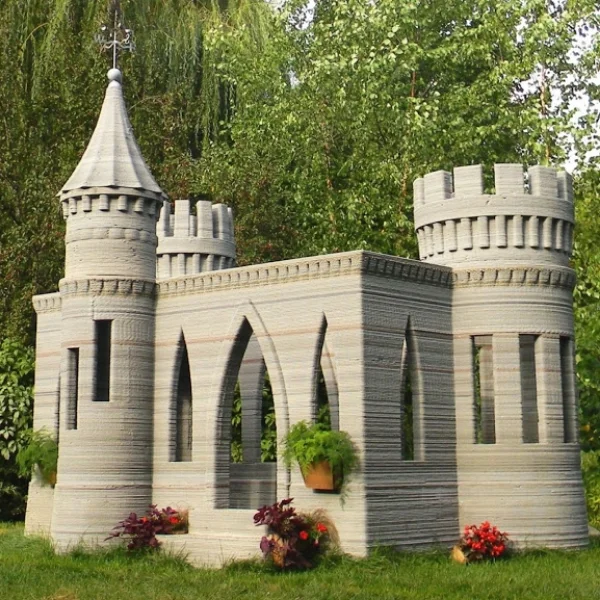
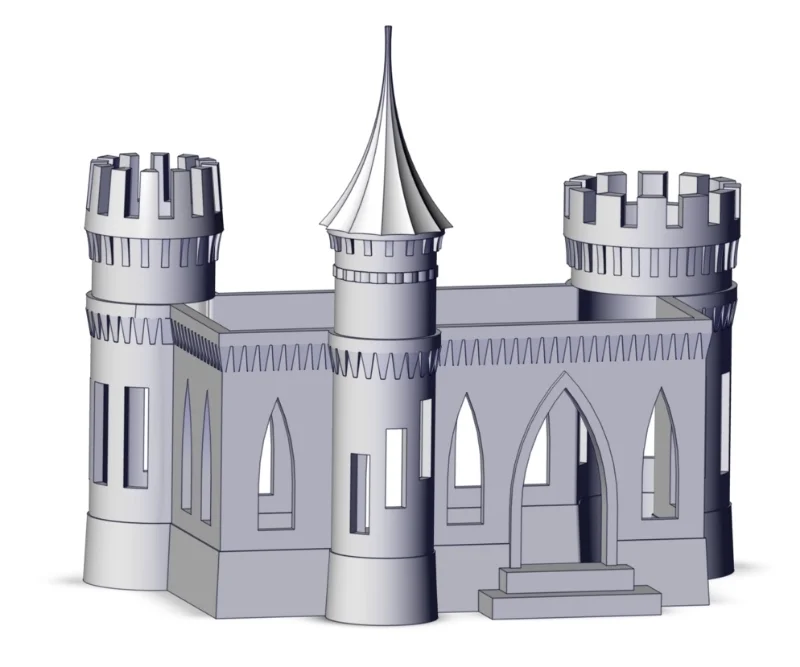
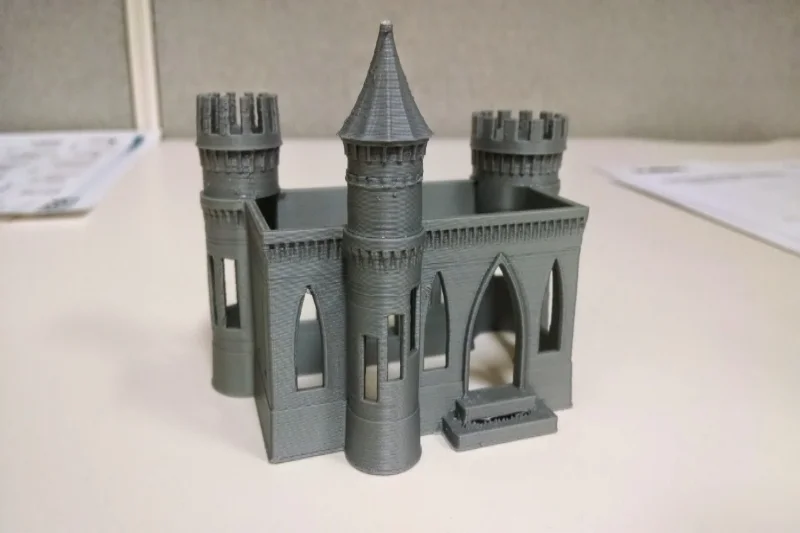
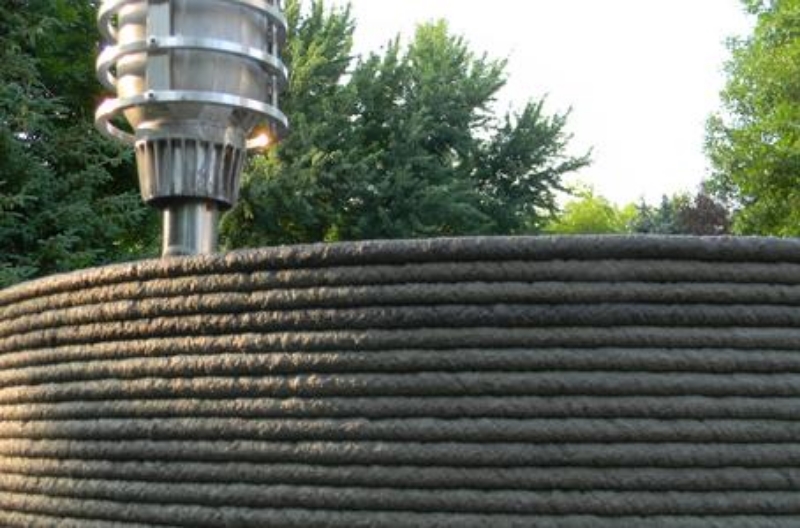
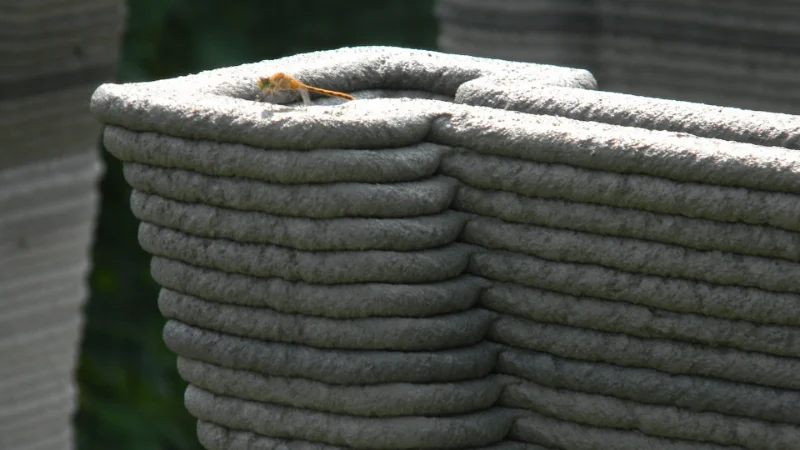
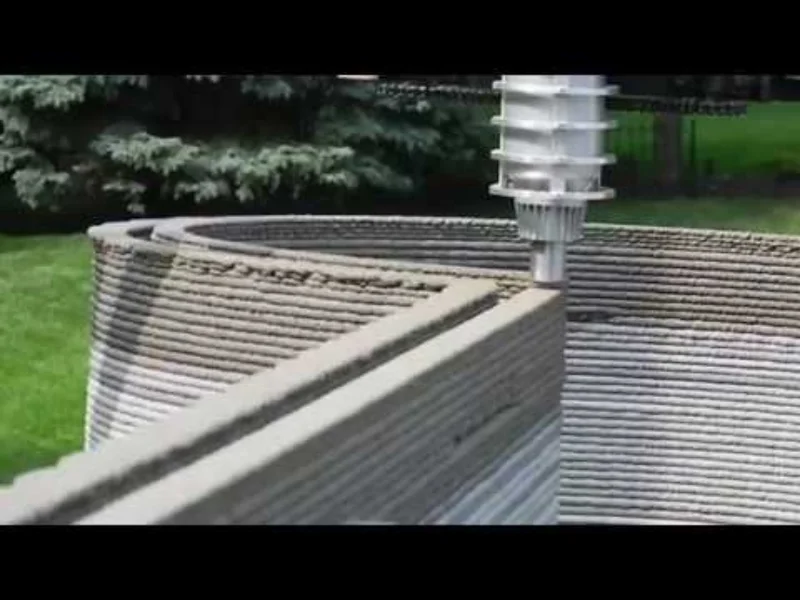
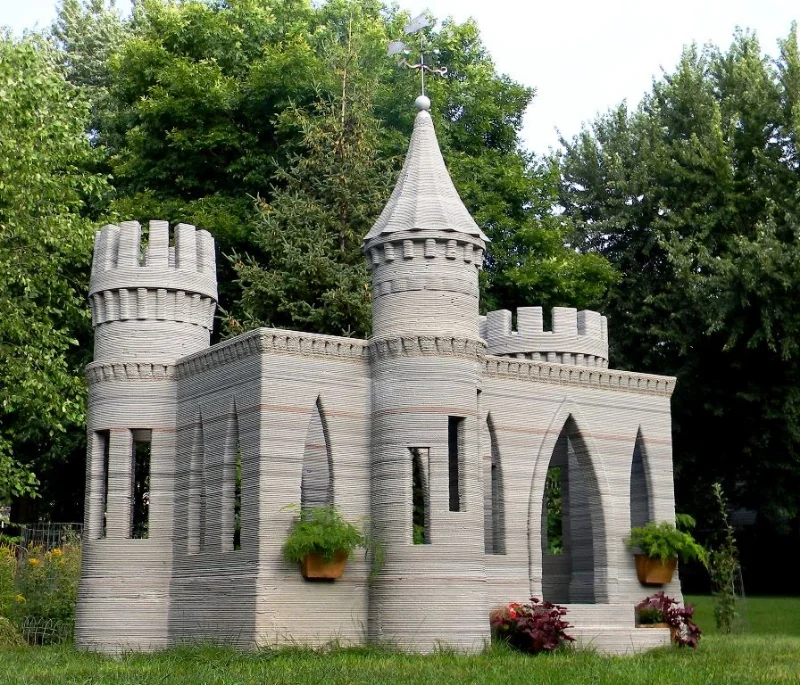
3D Printed Concrete Castle
12
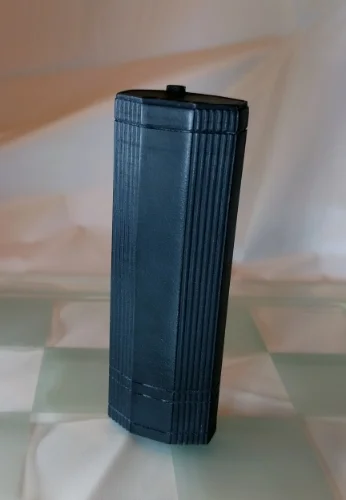
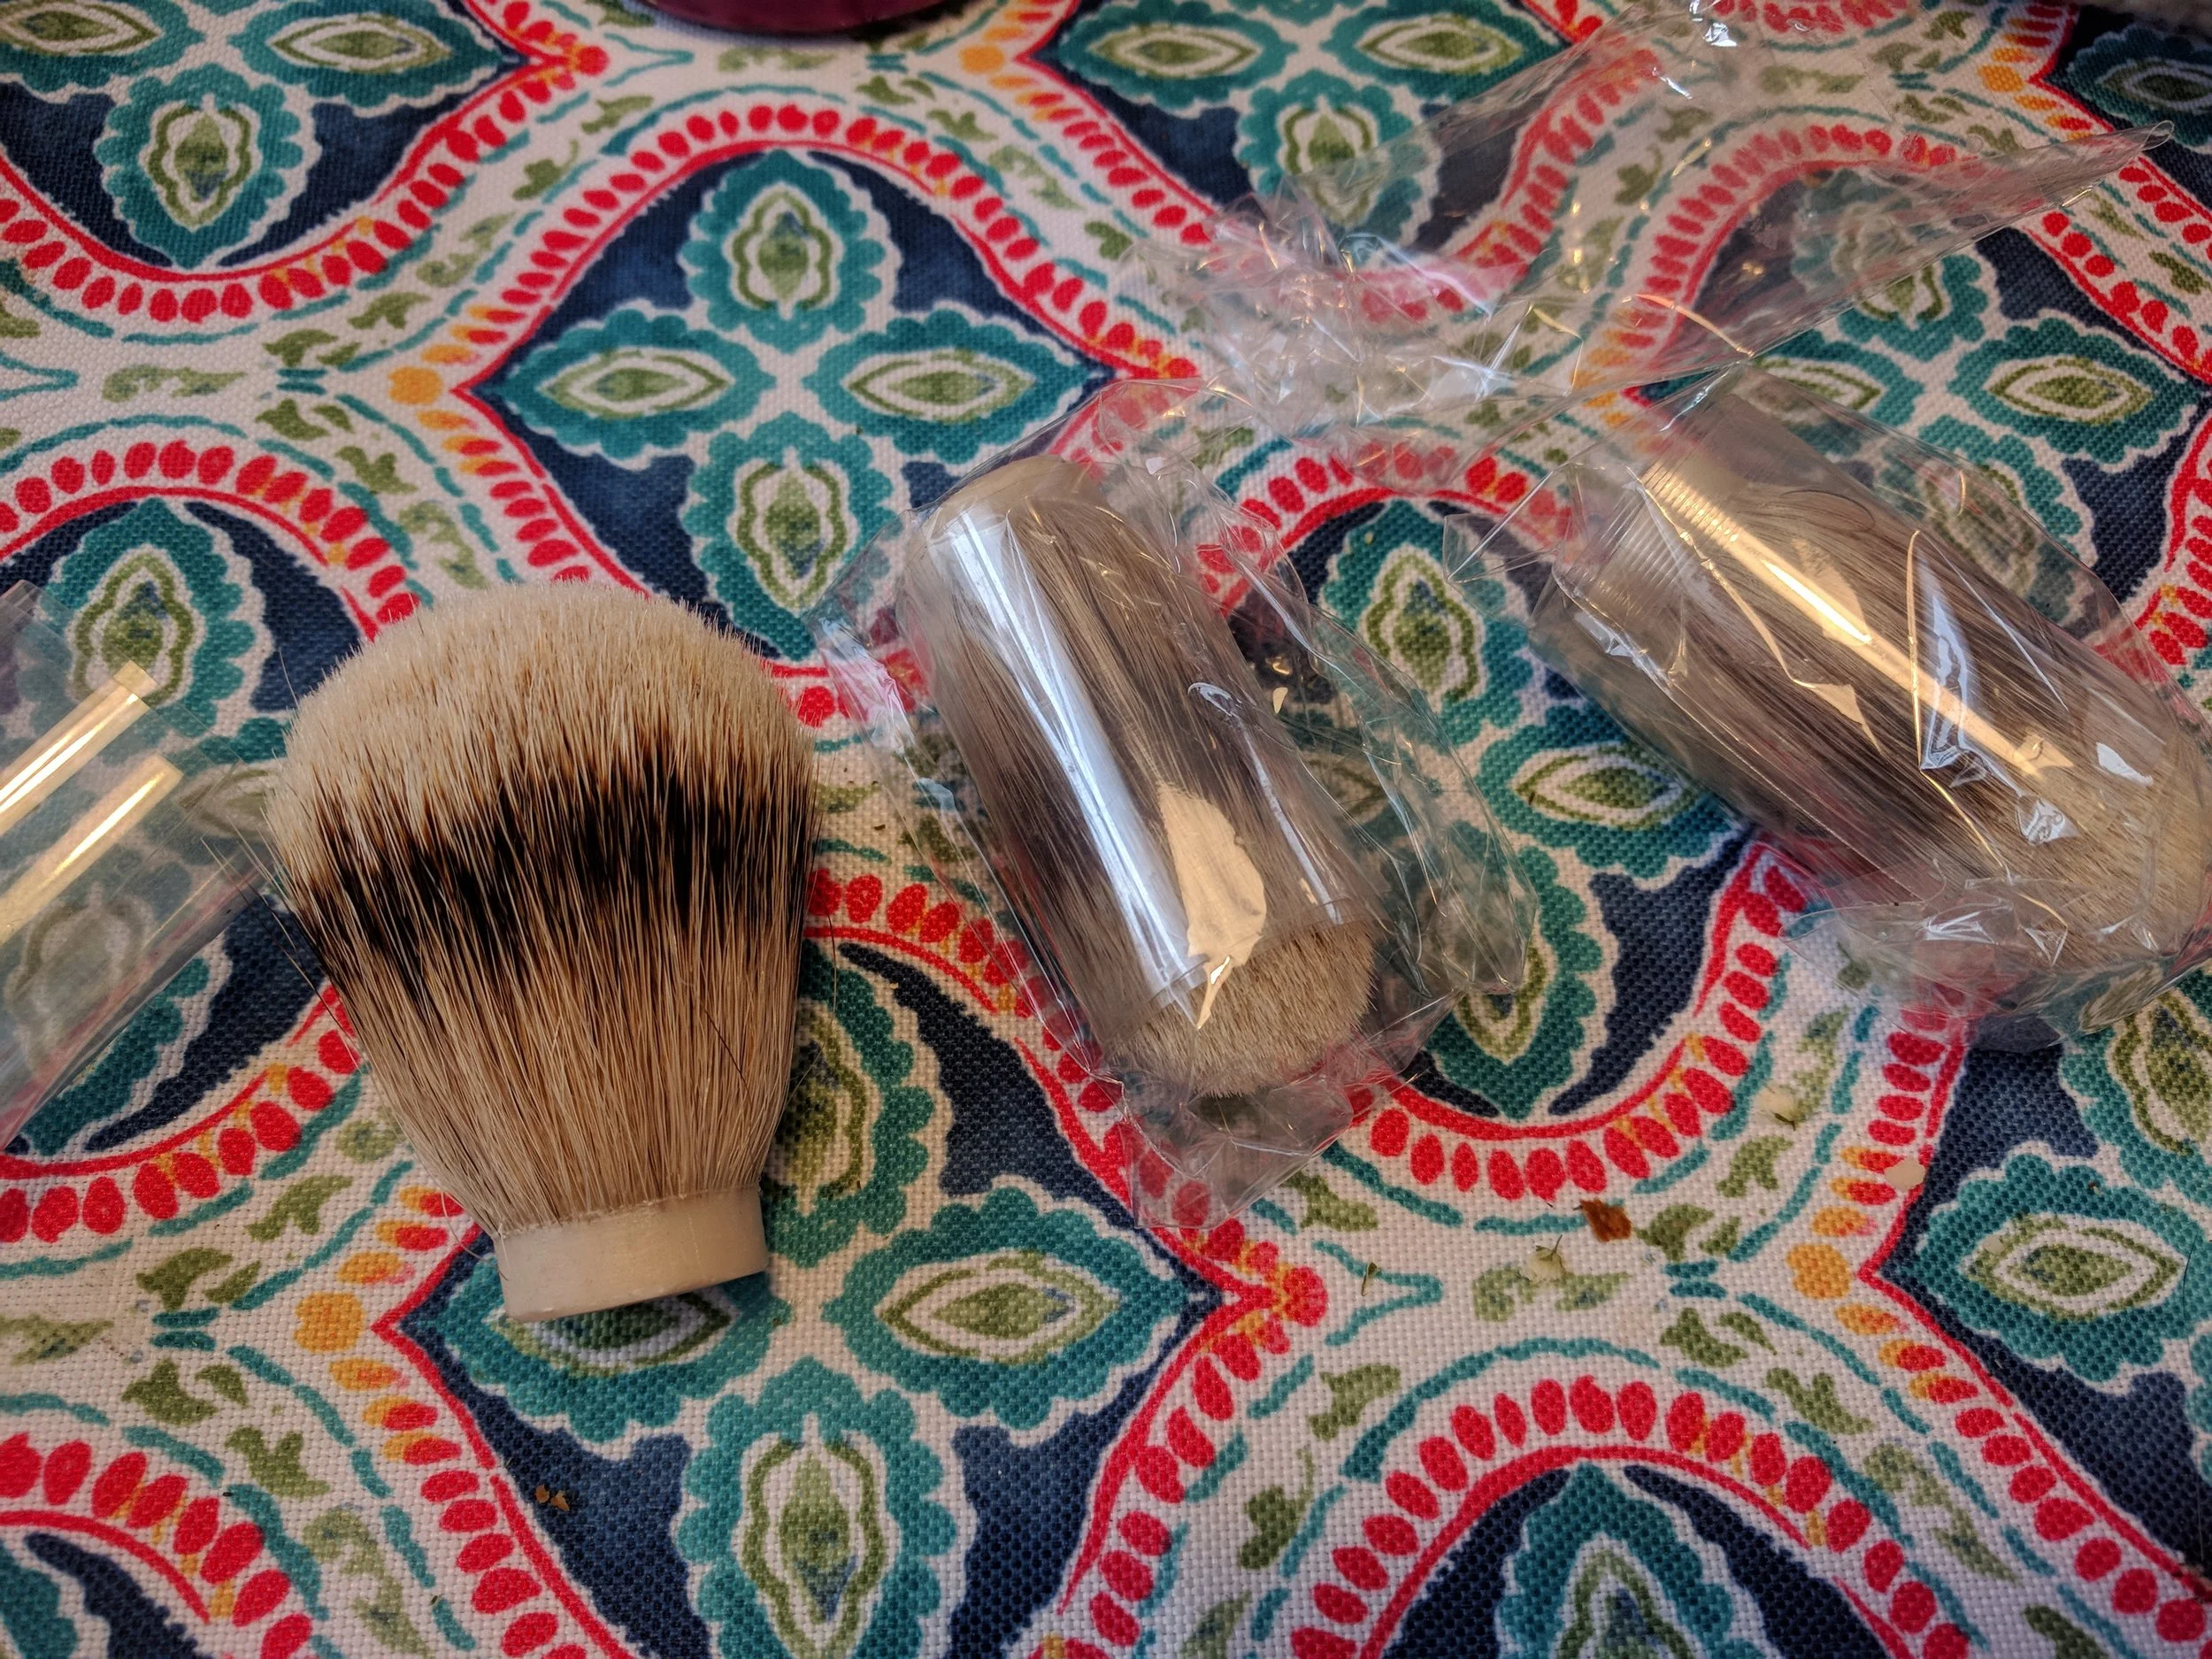
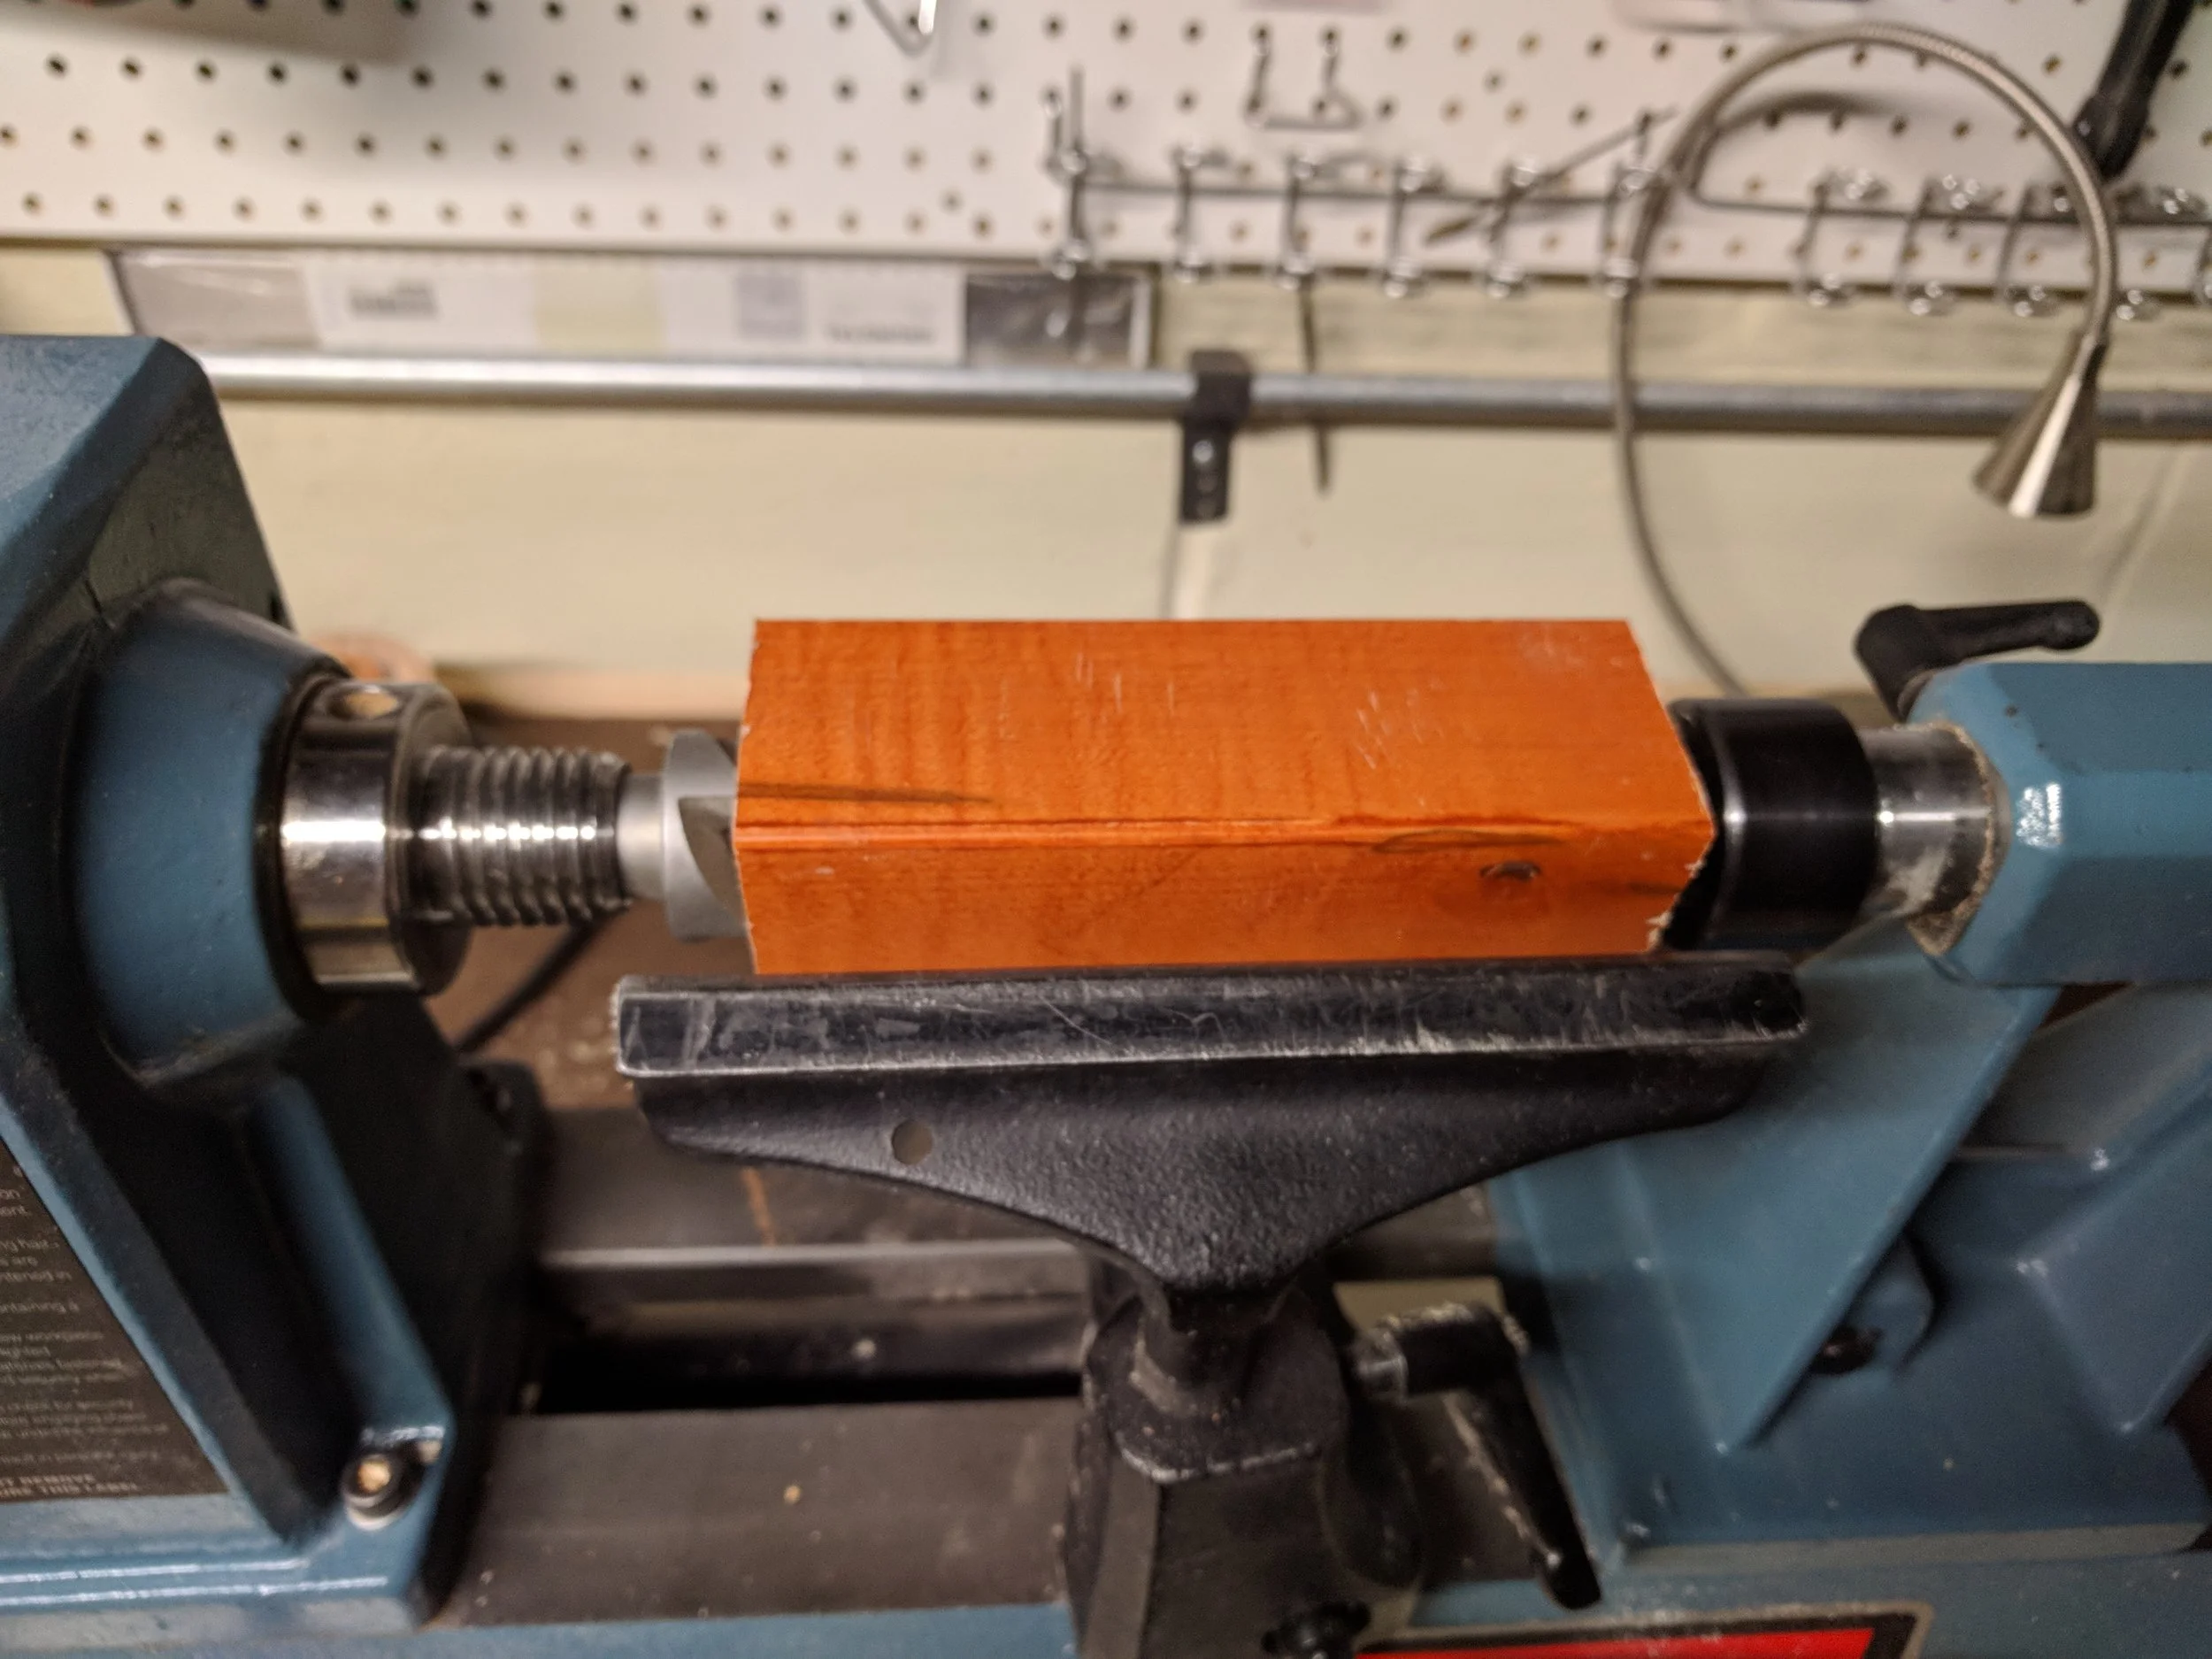
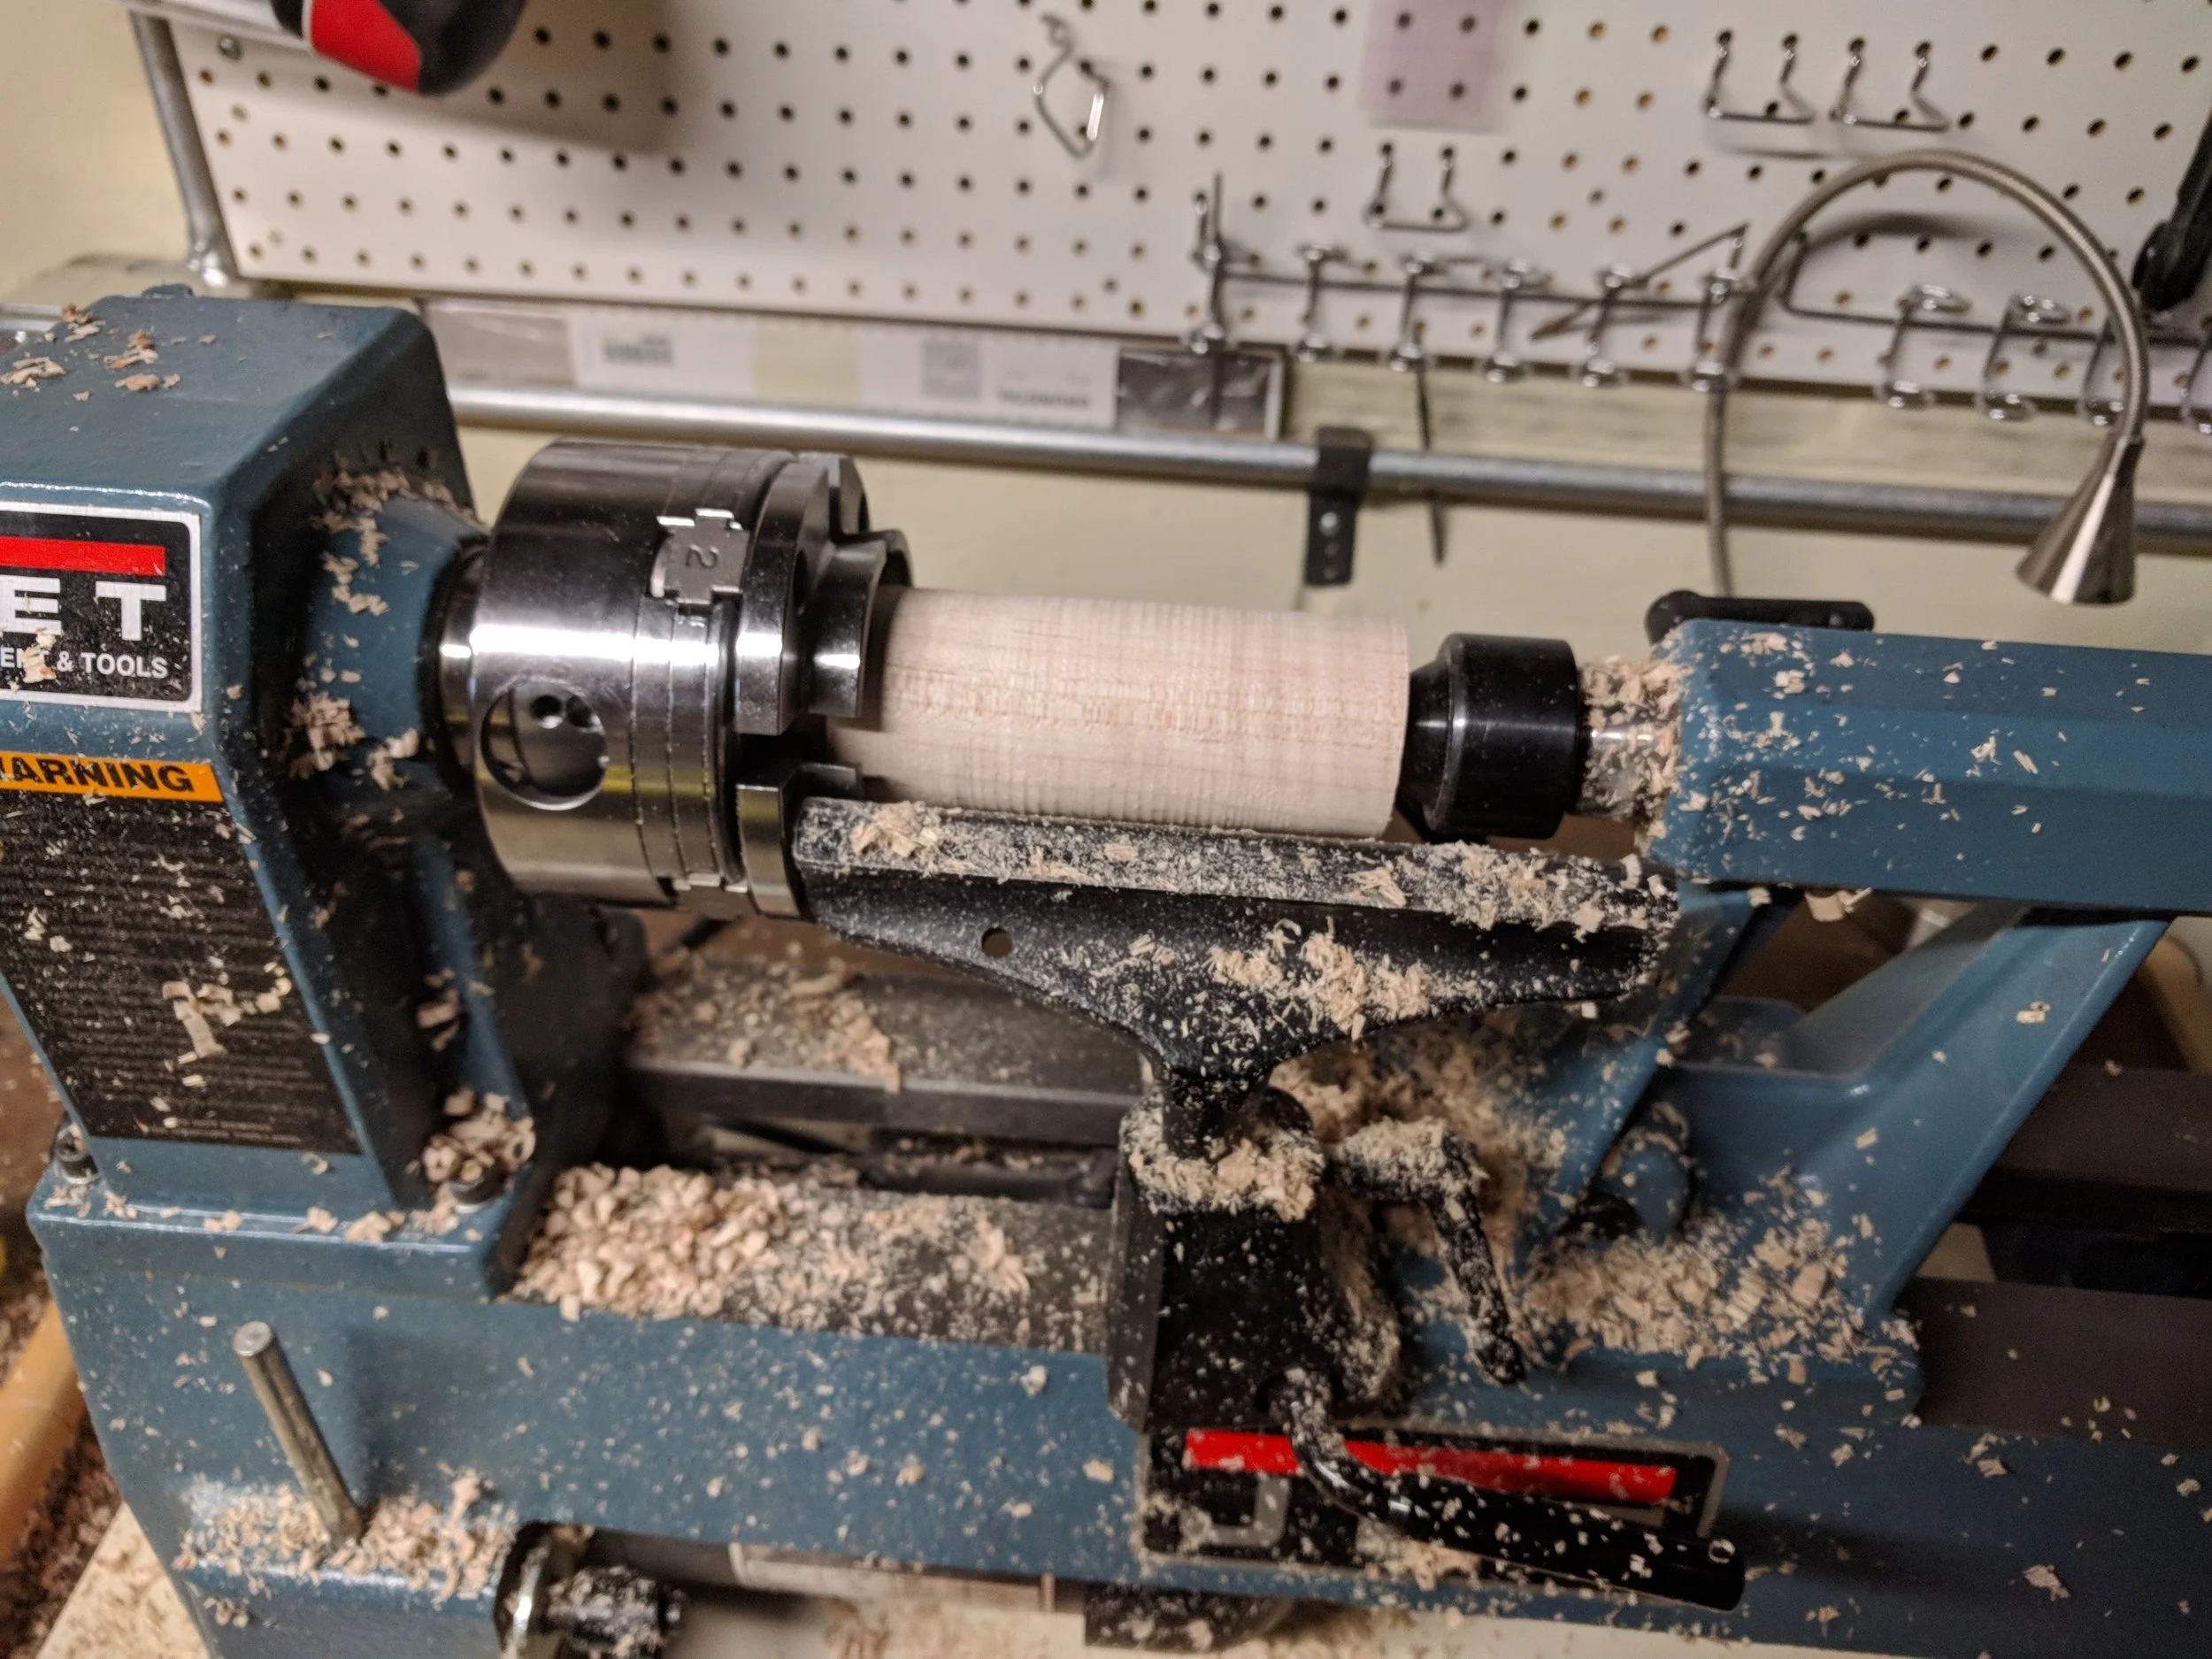
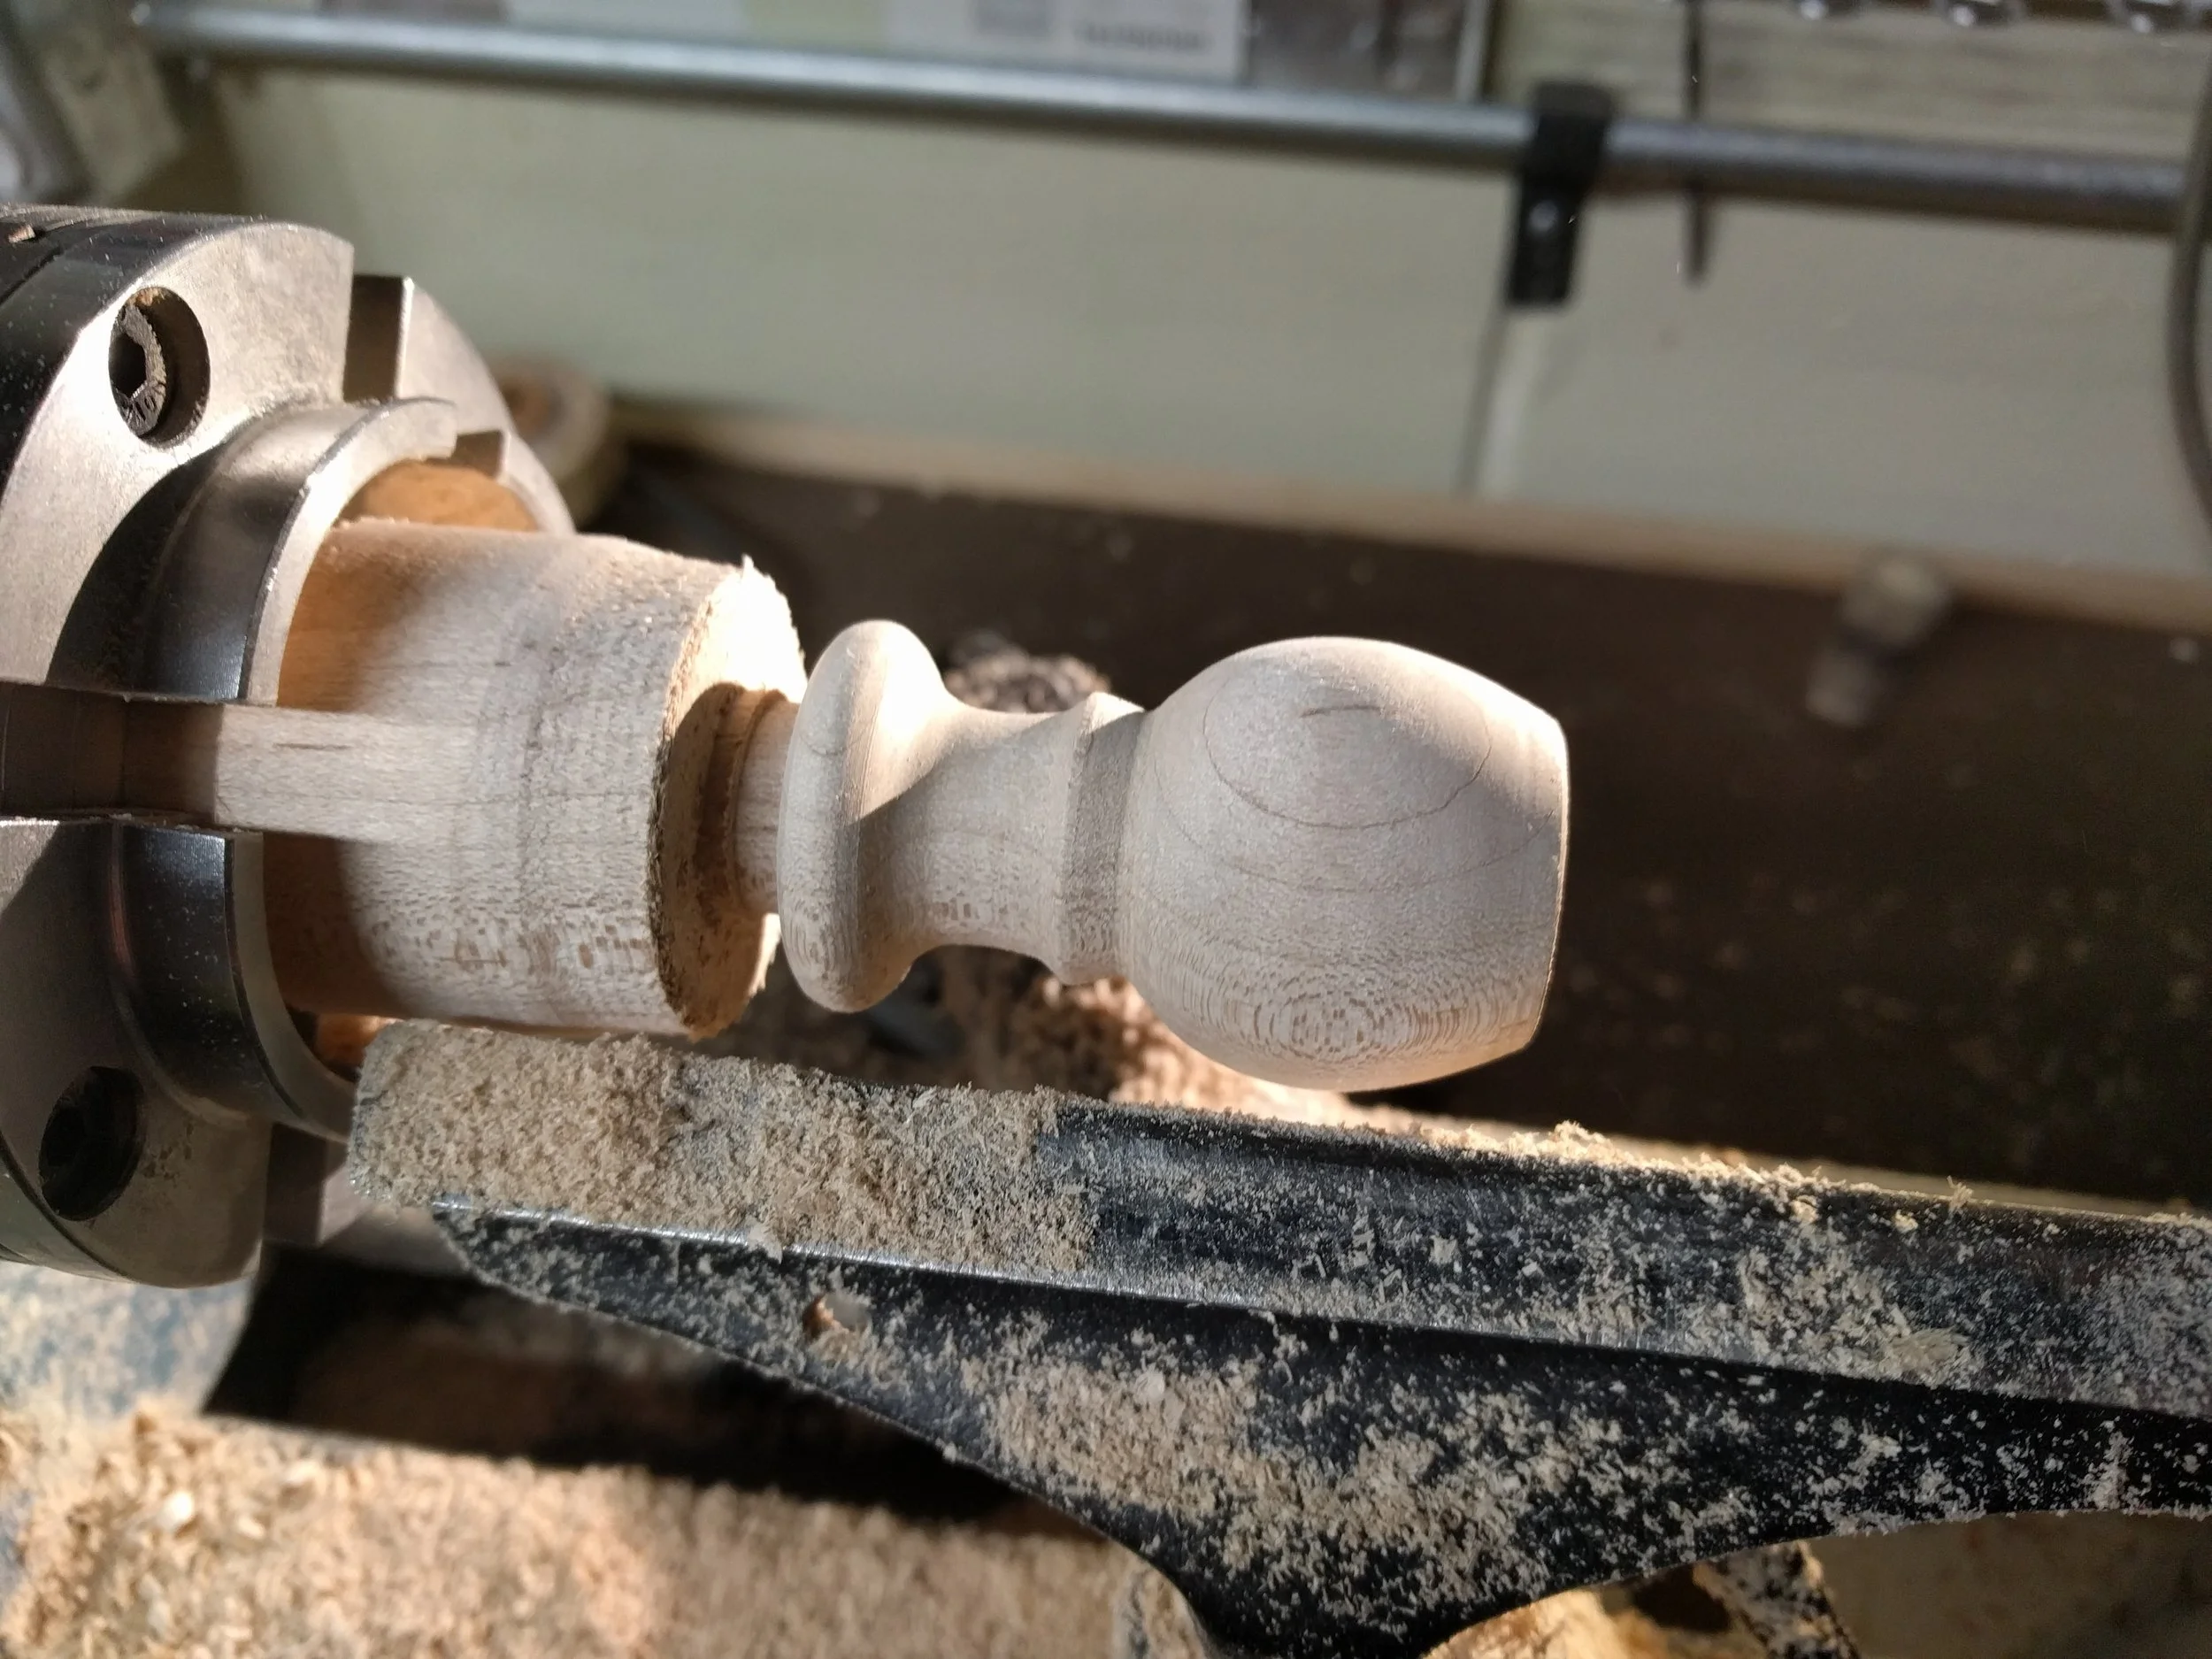
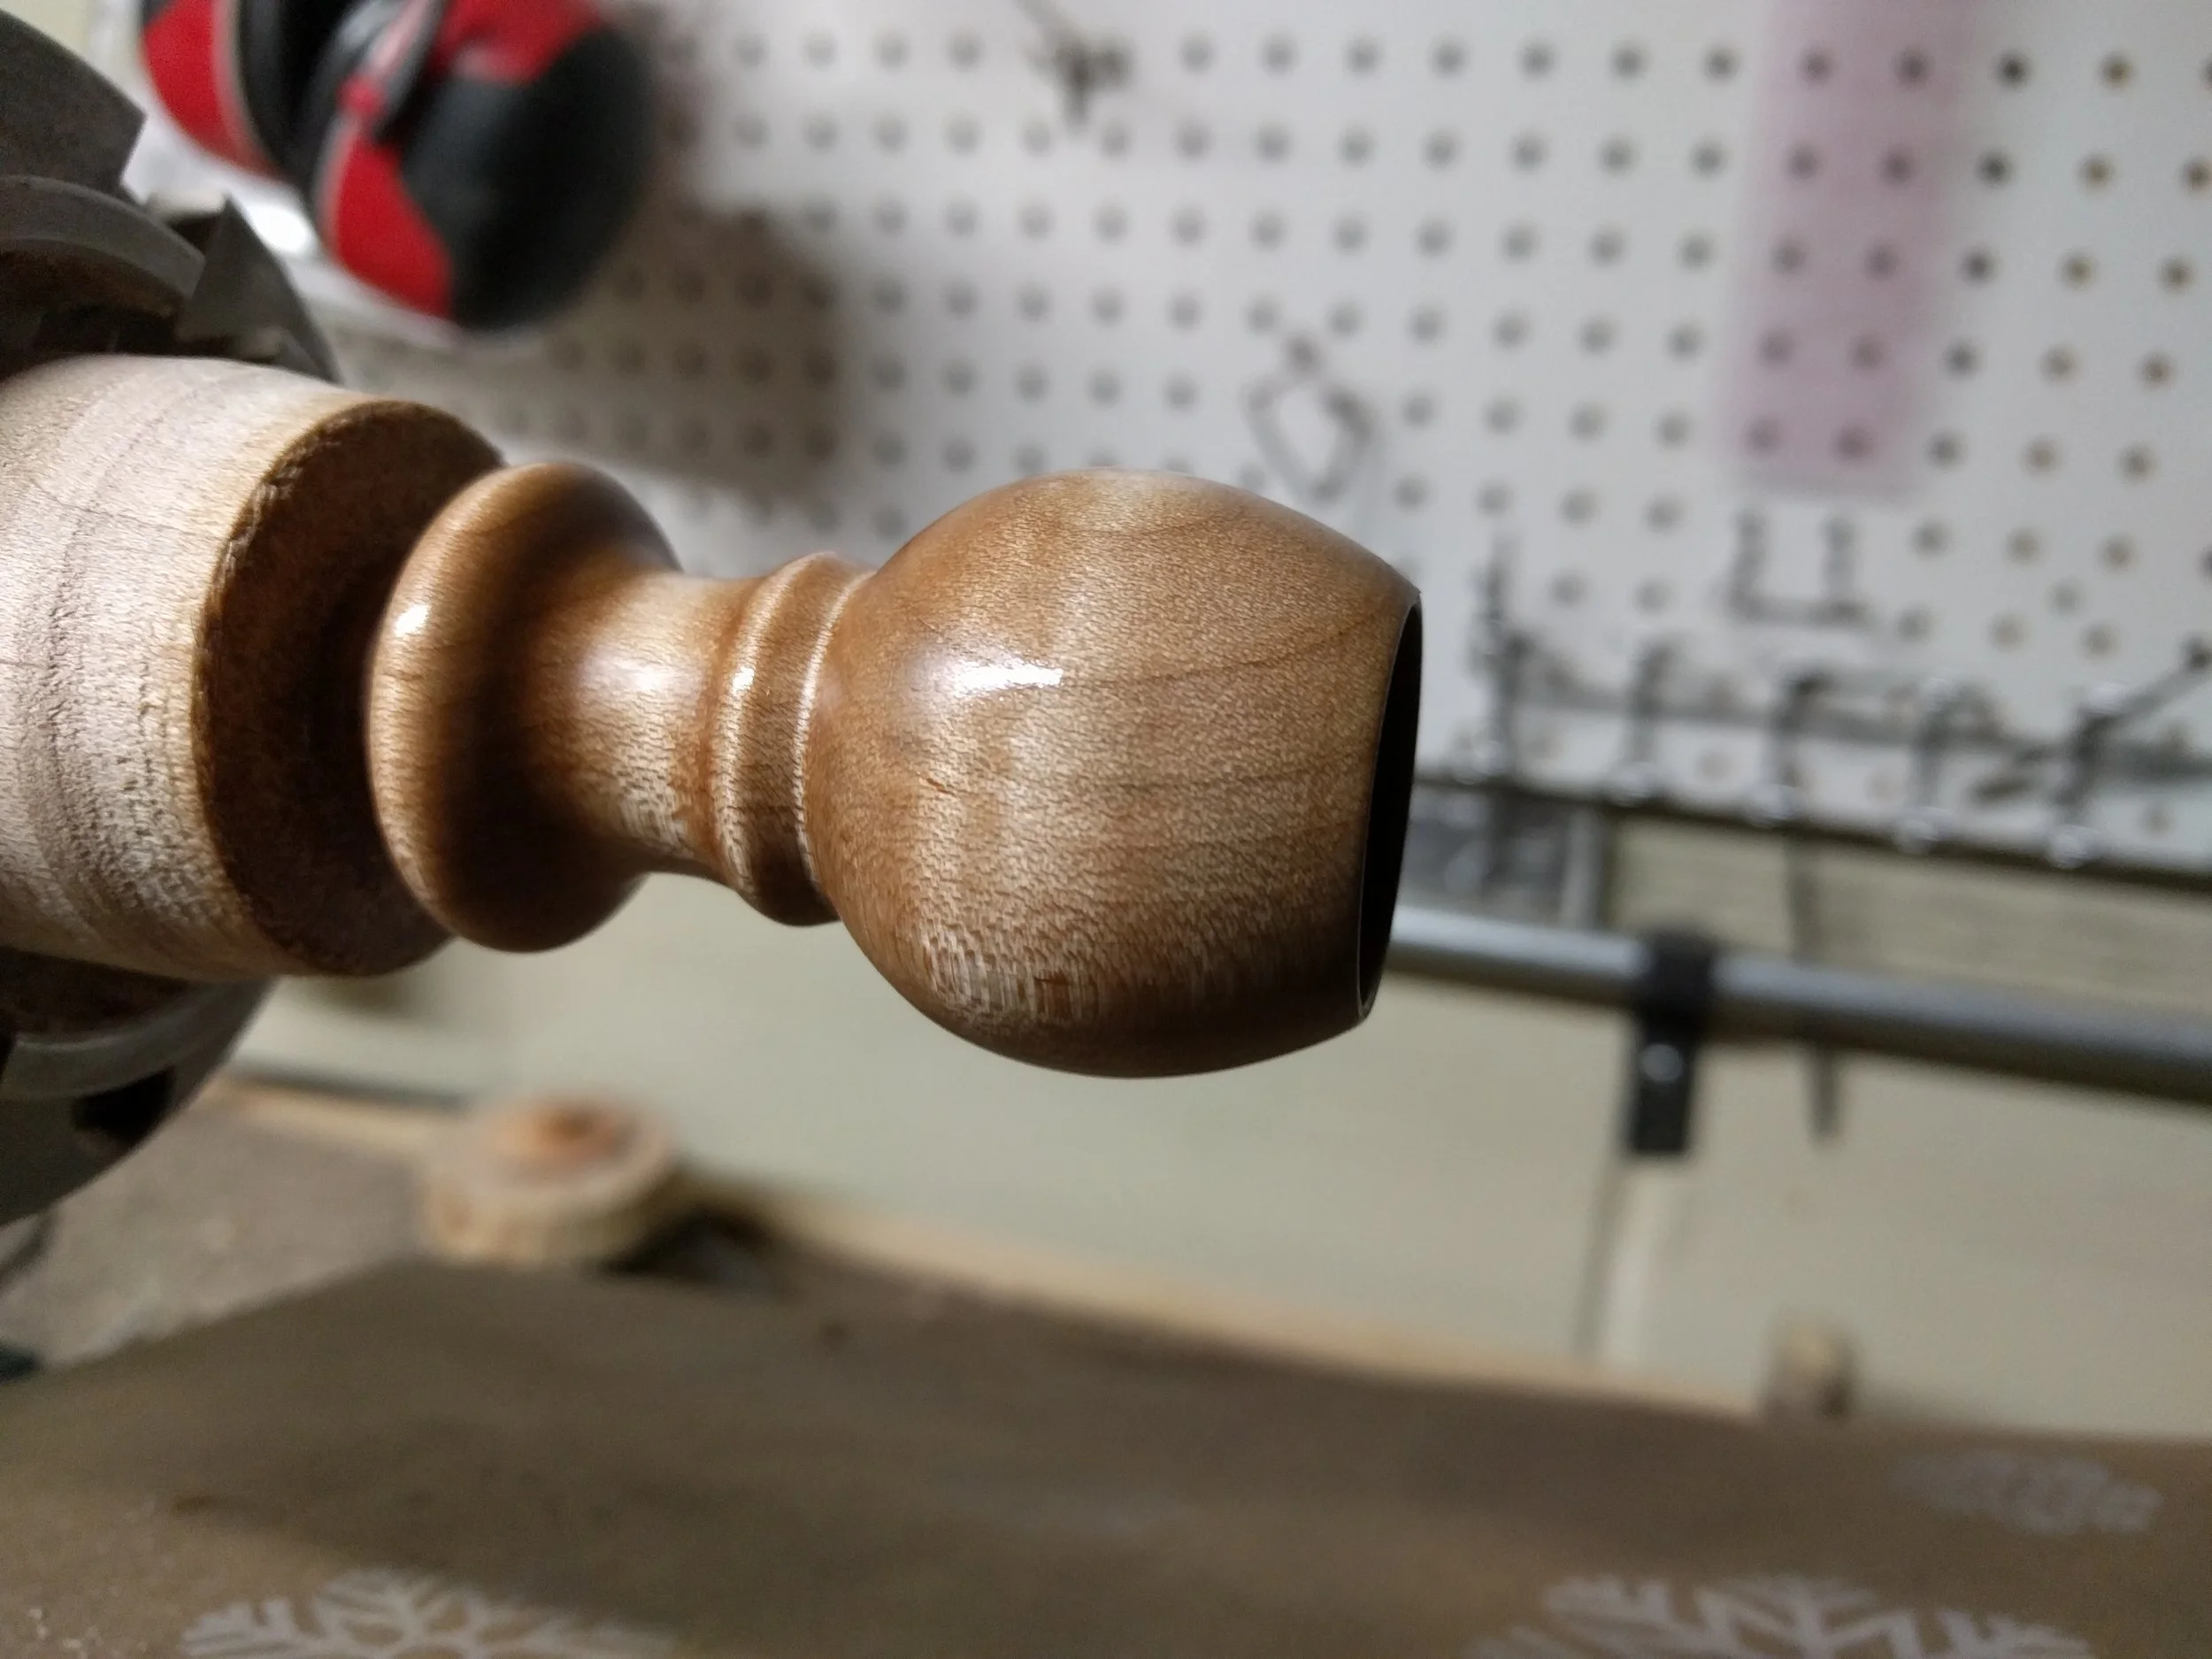
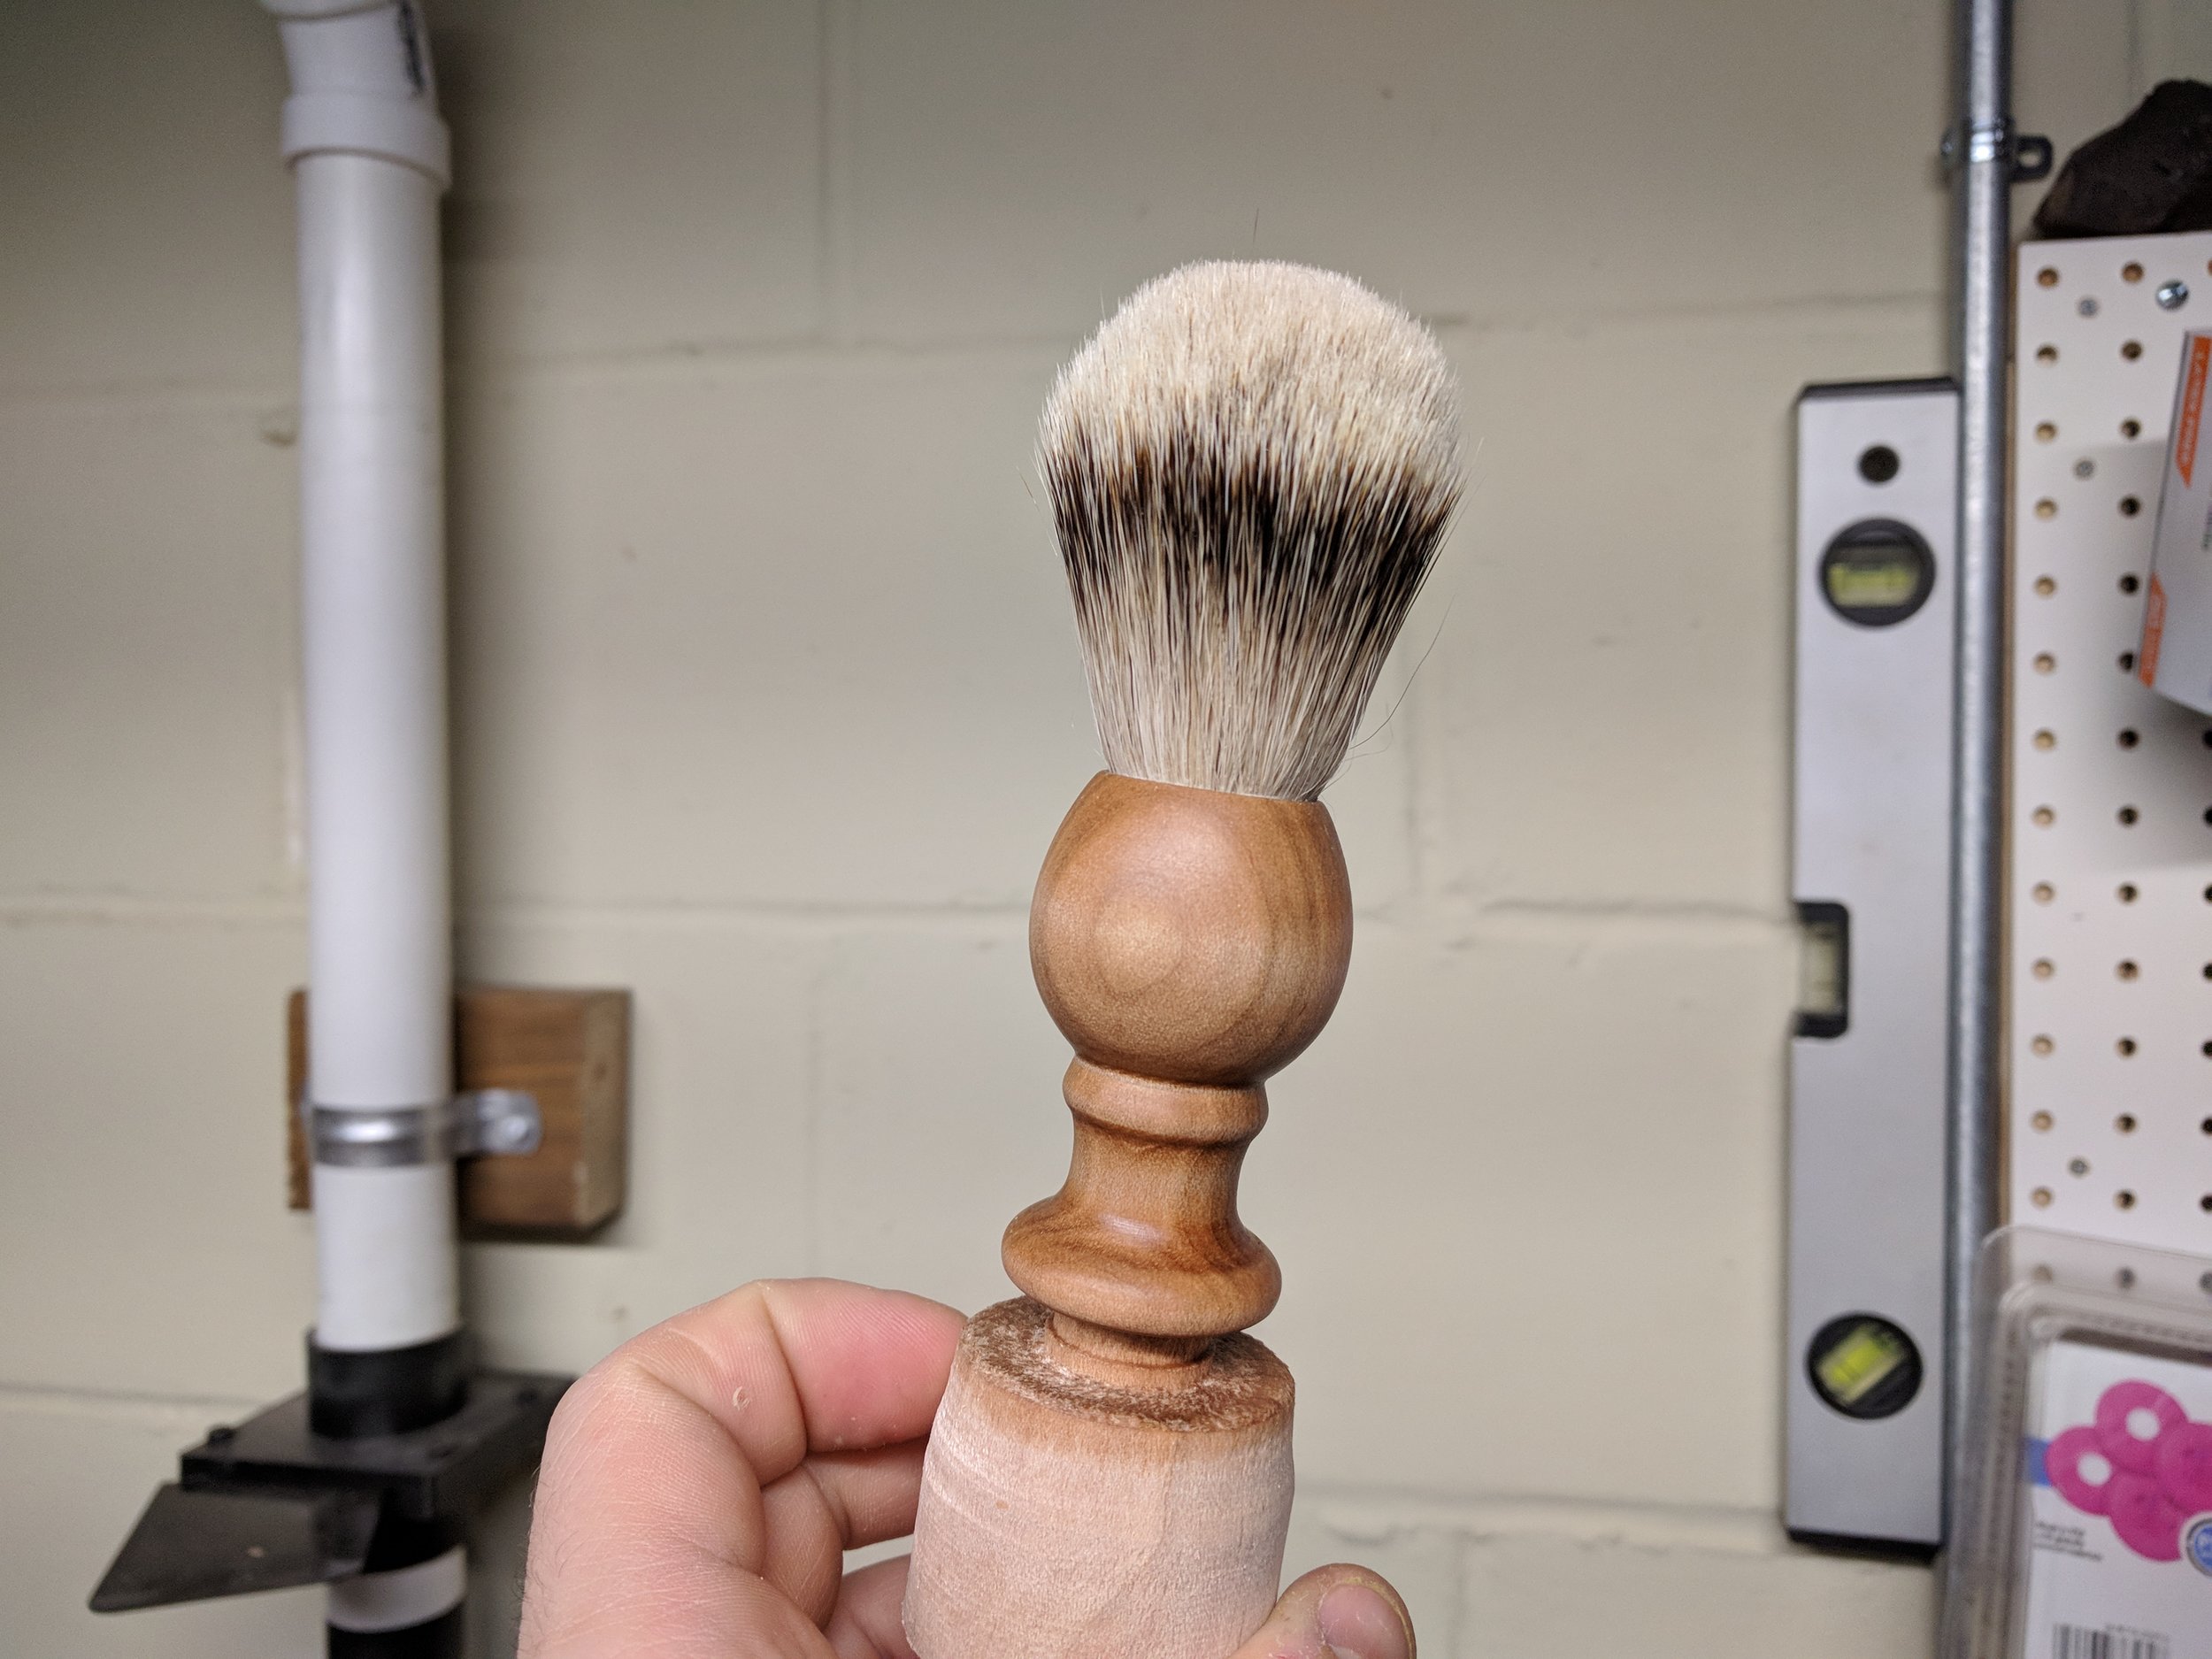
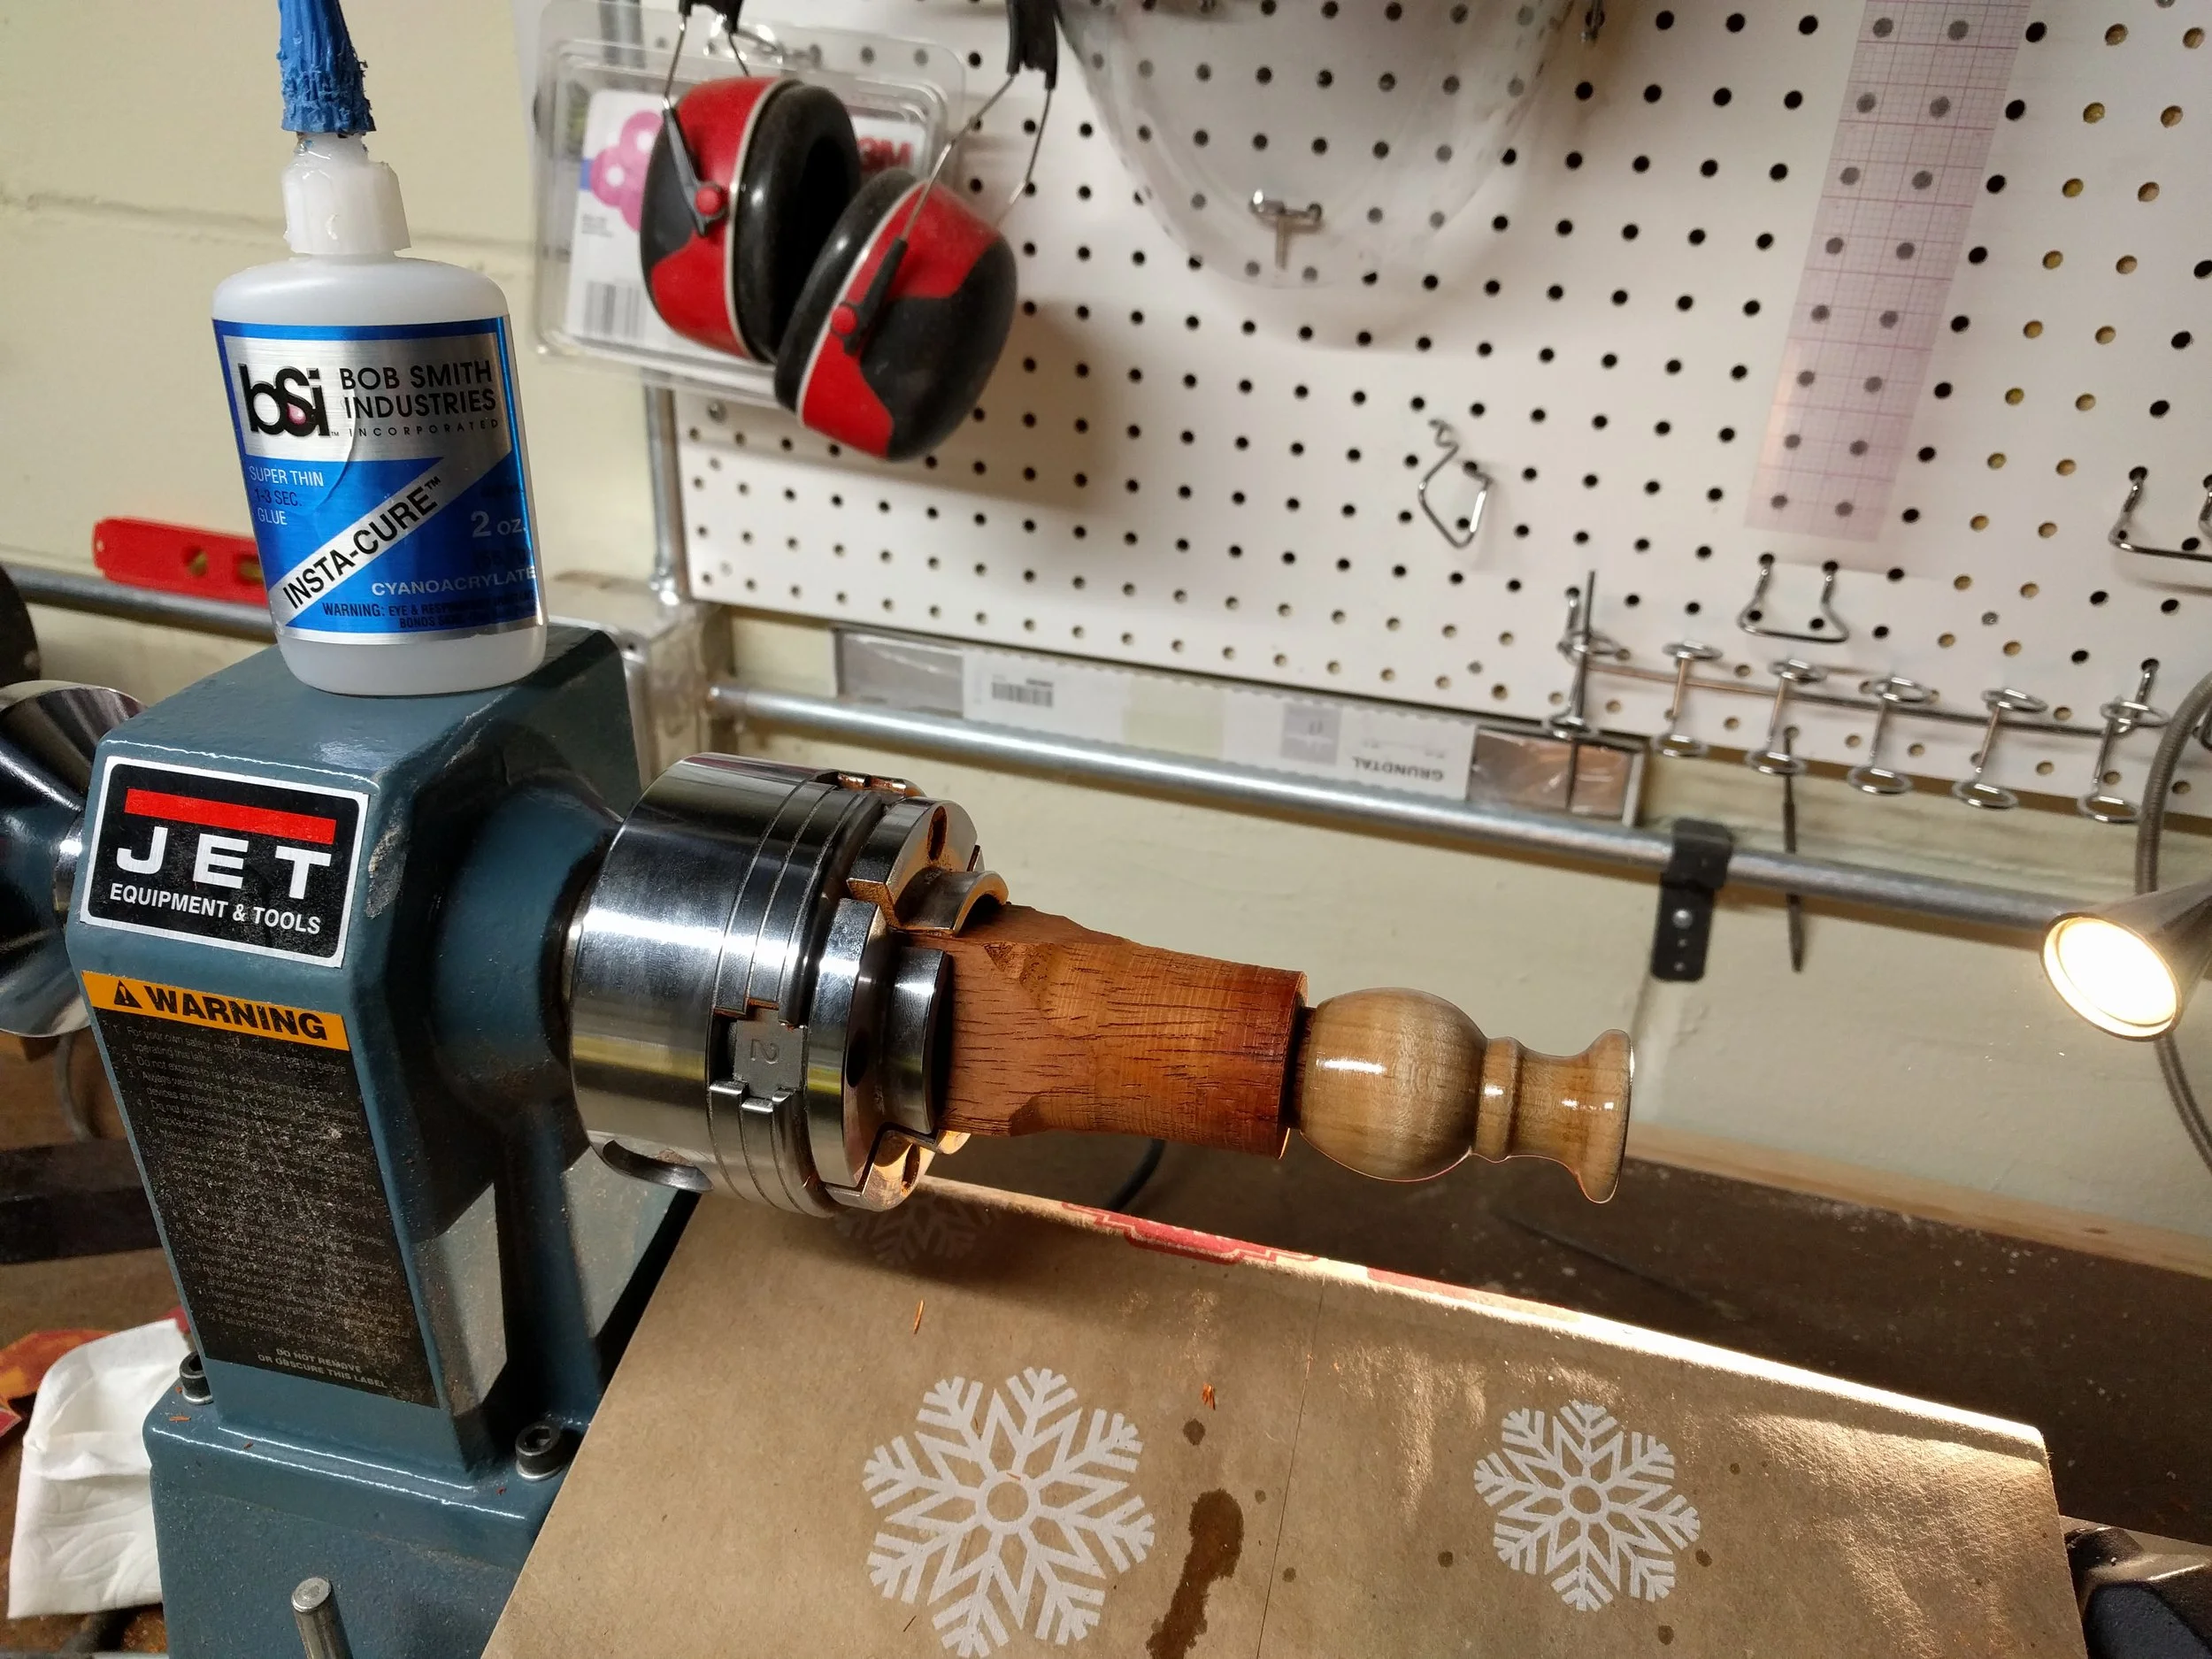
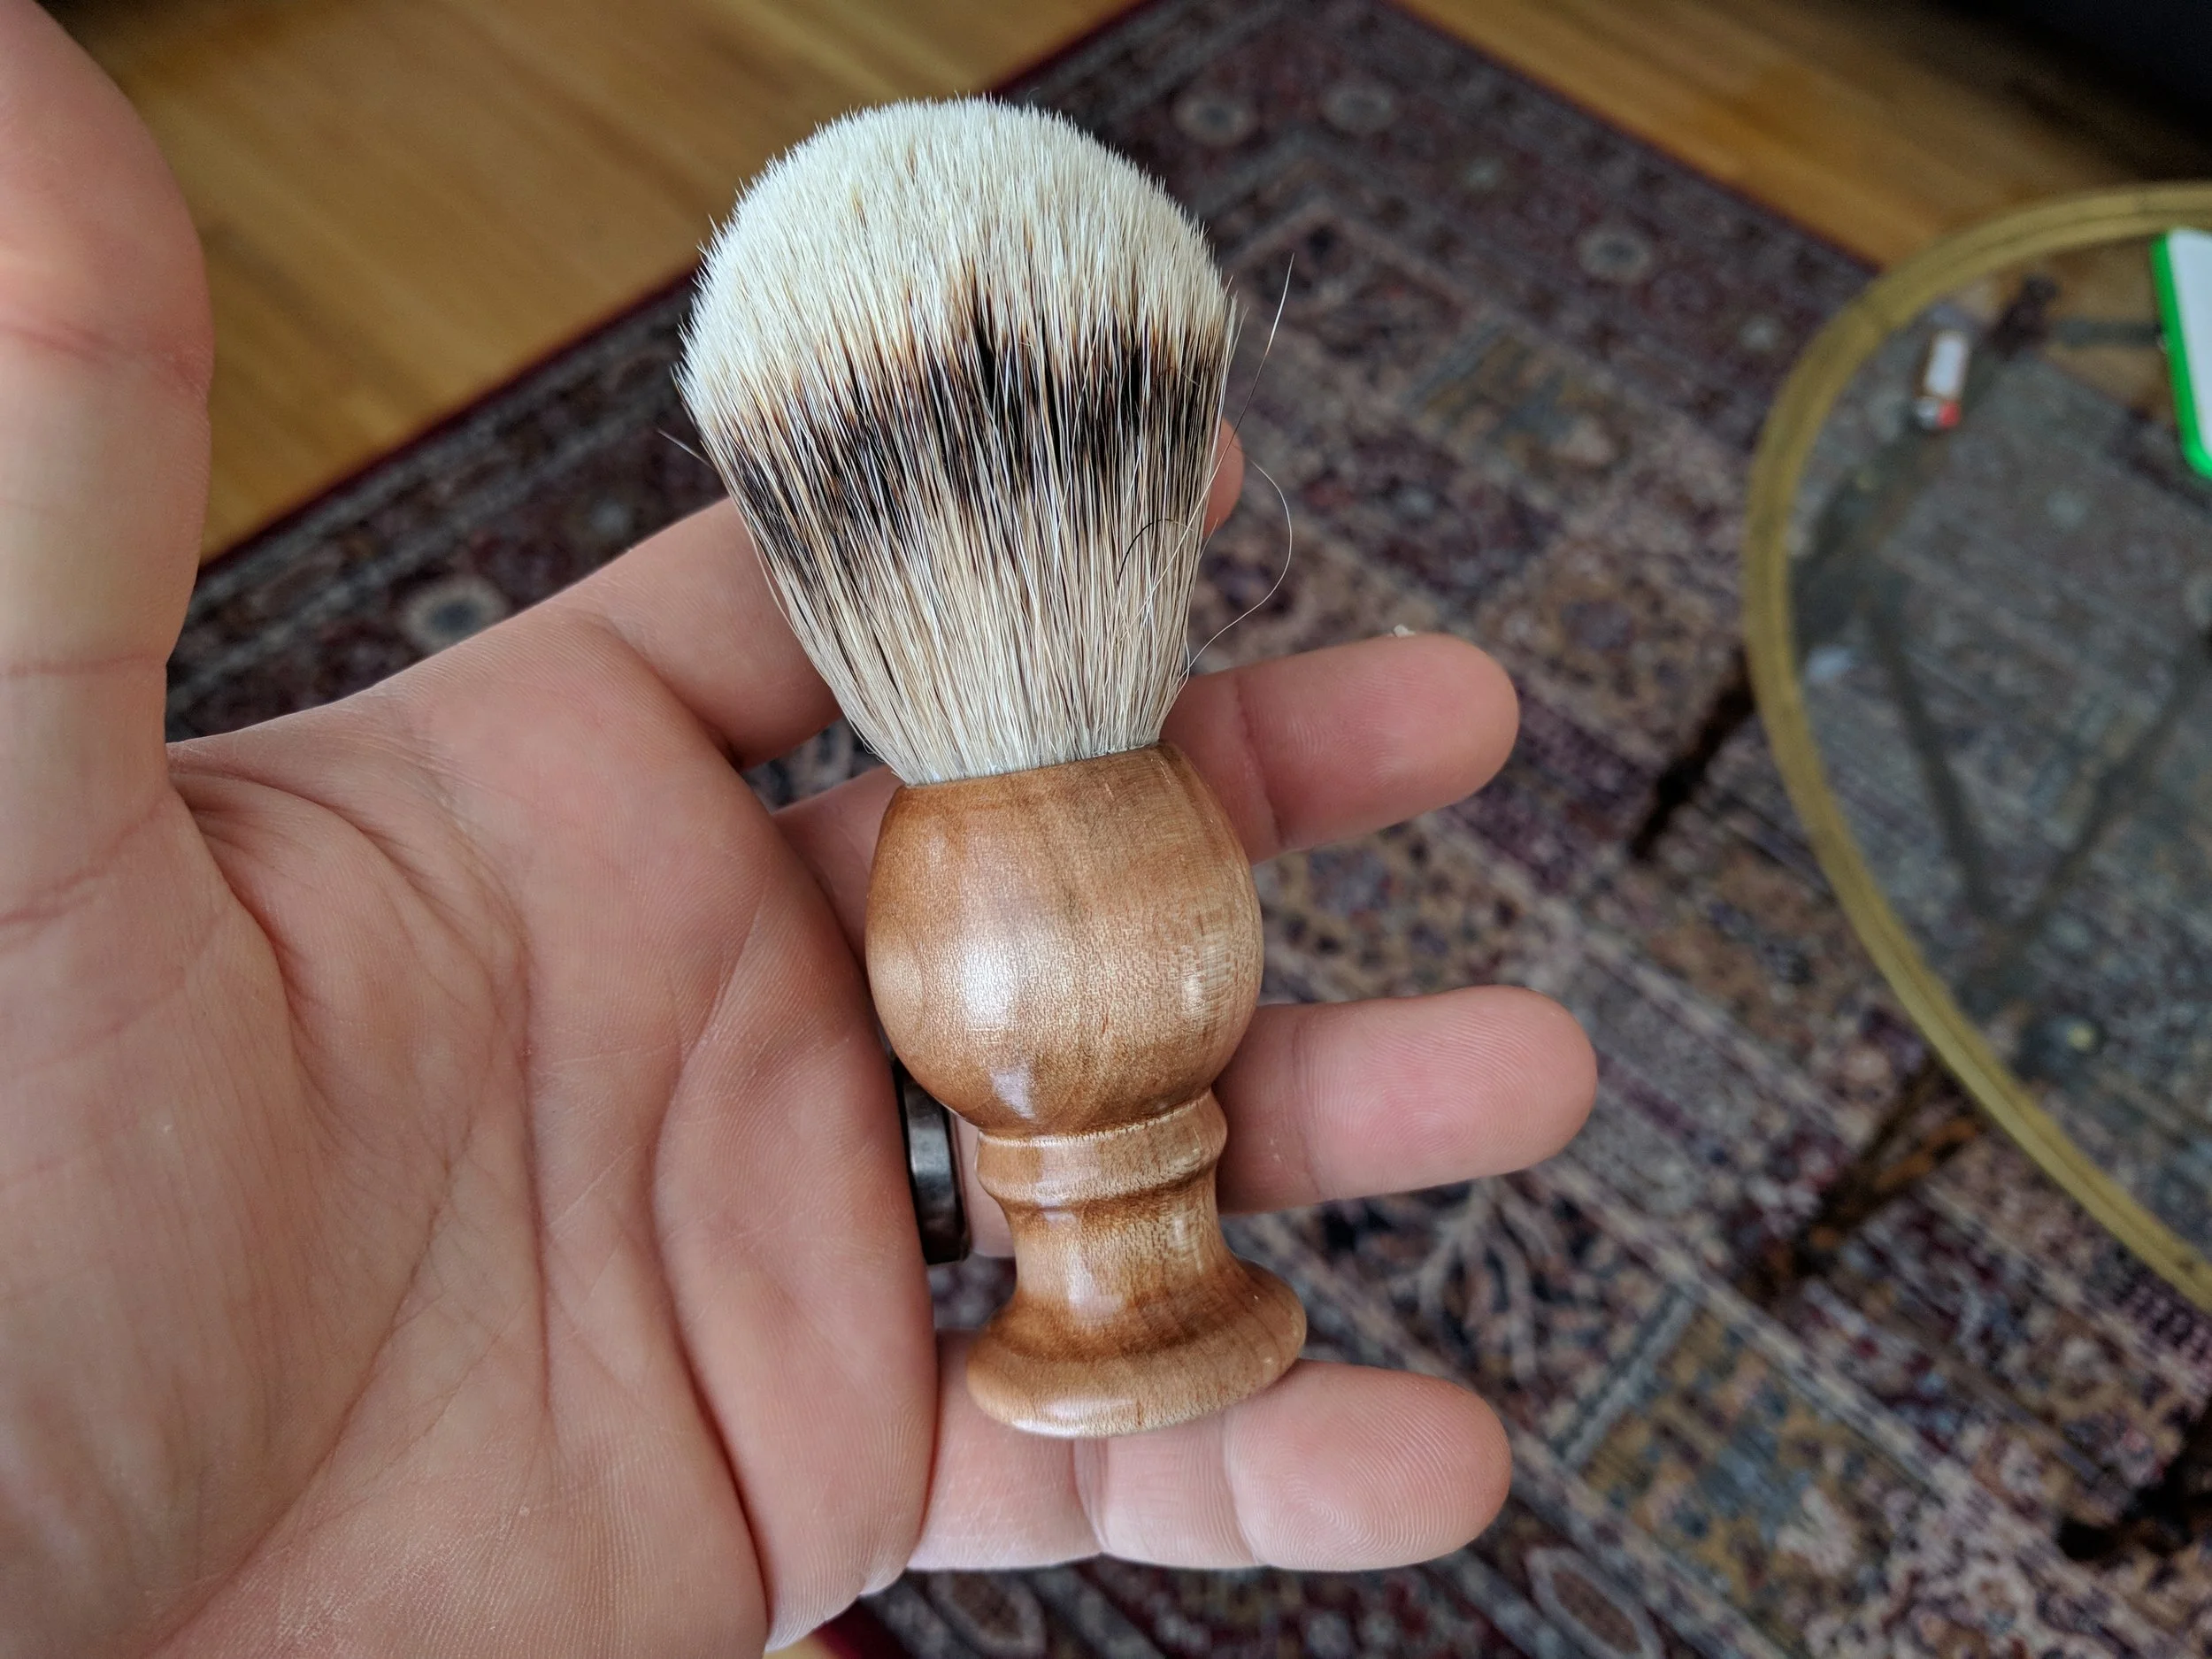
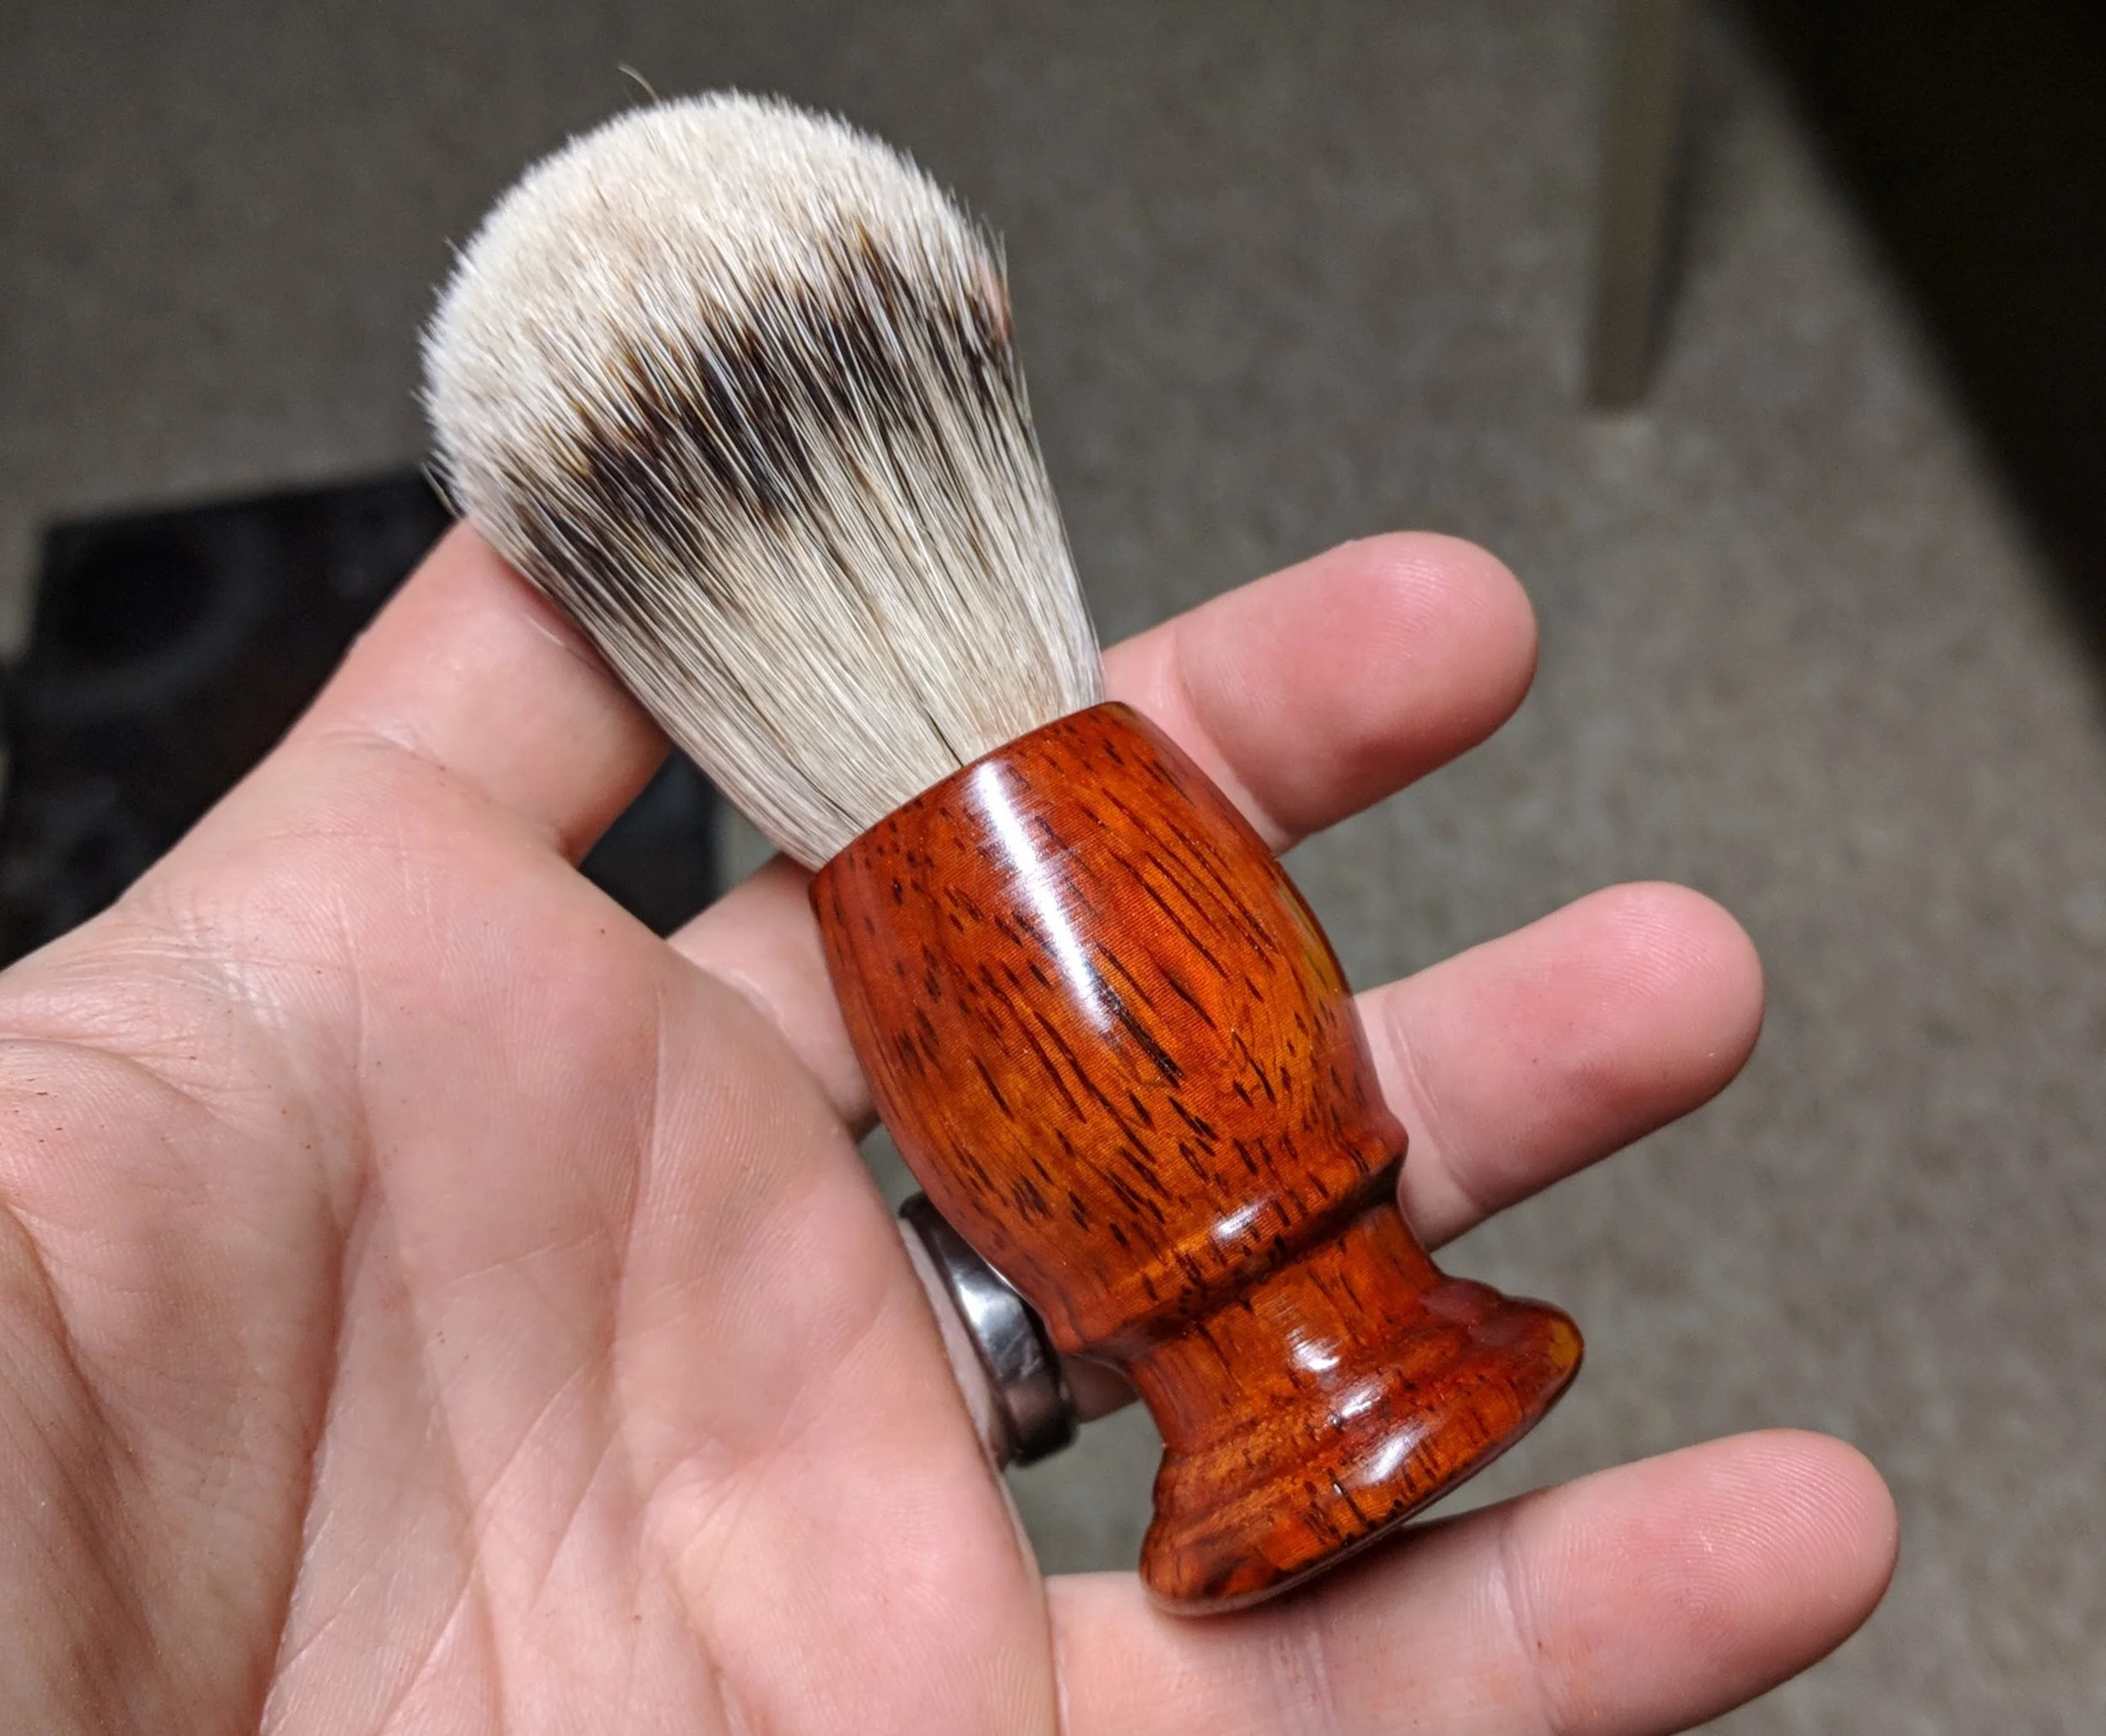
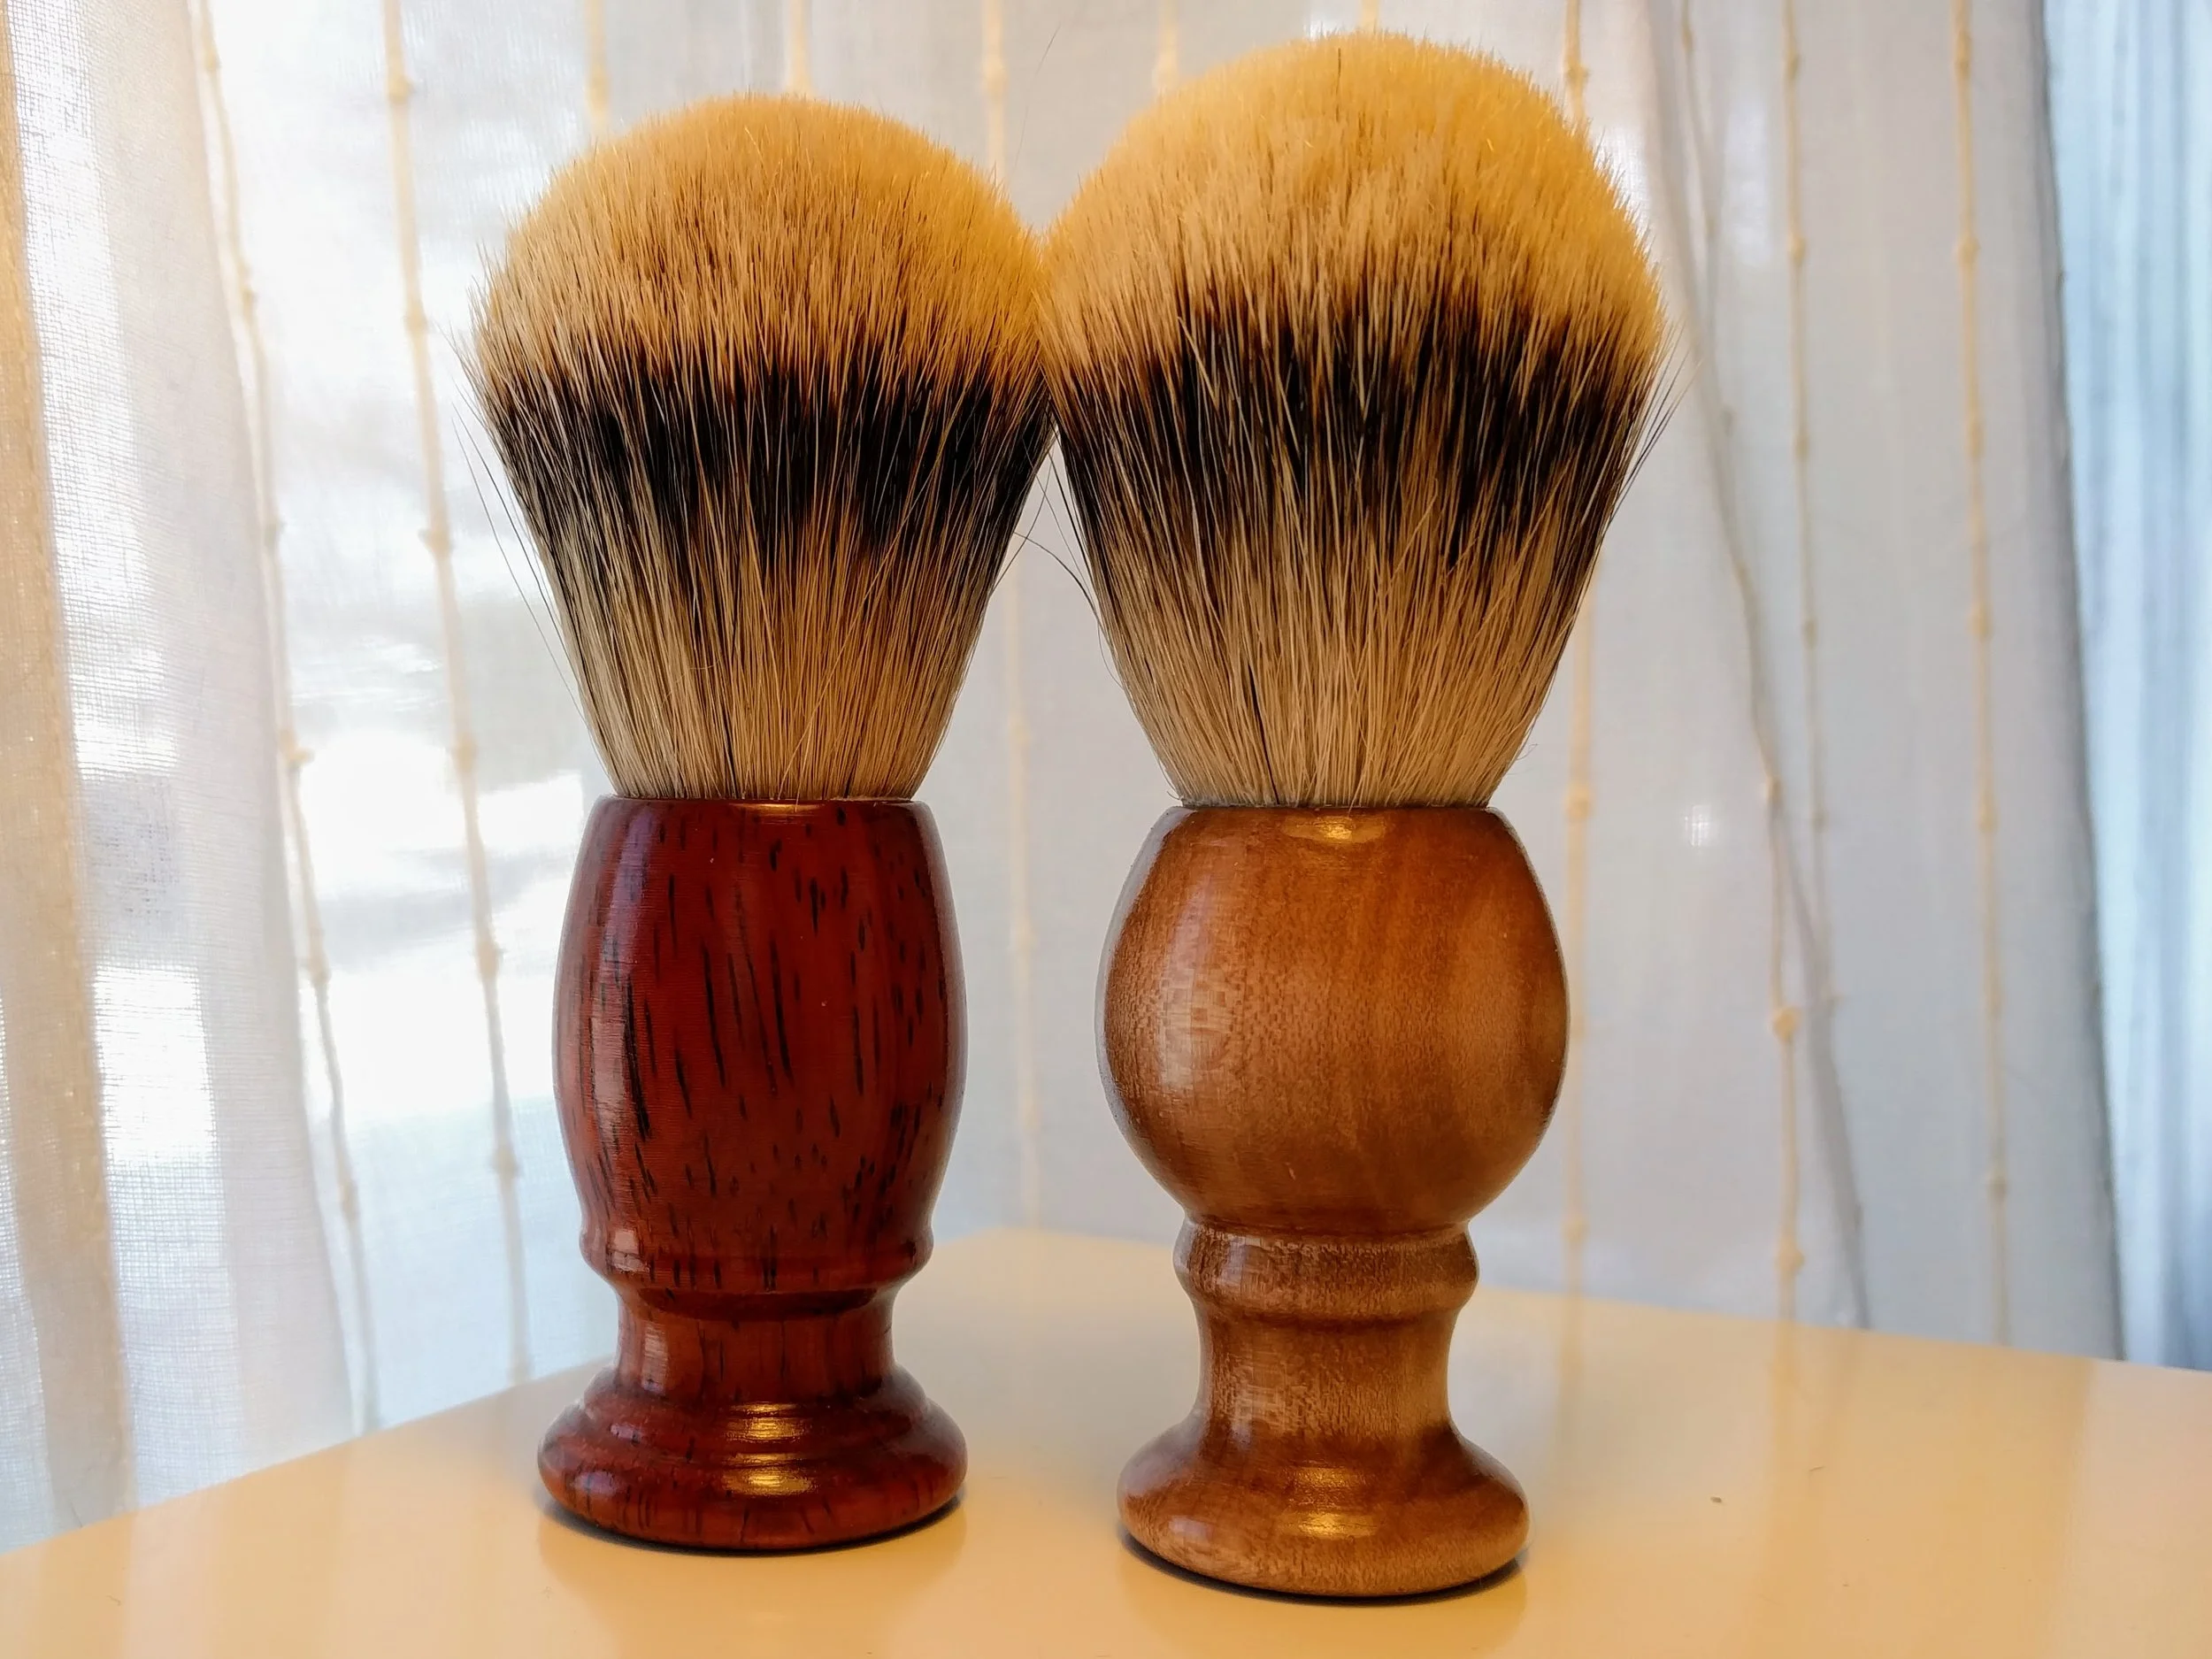
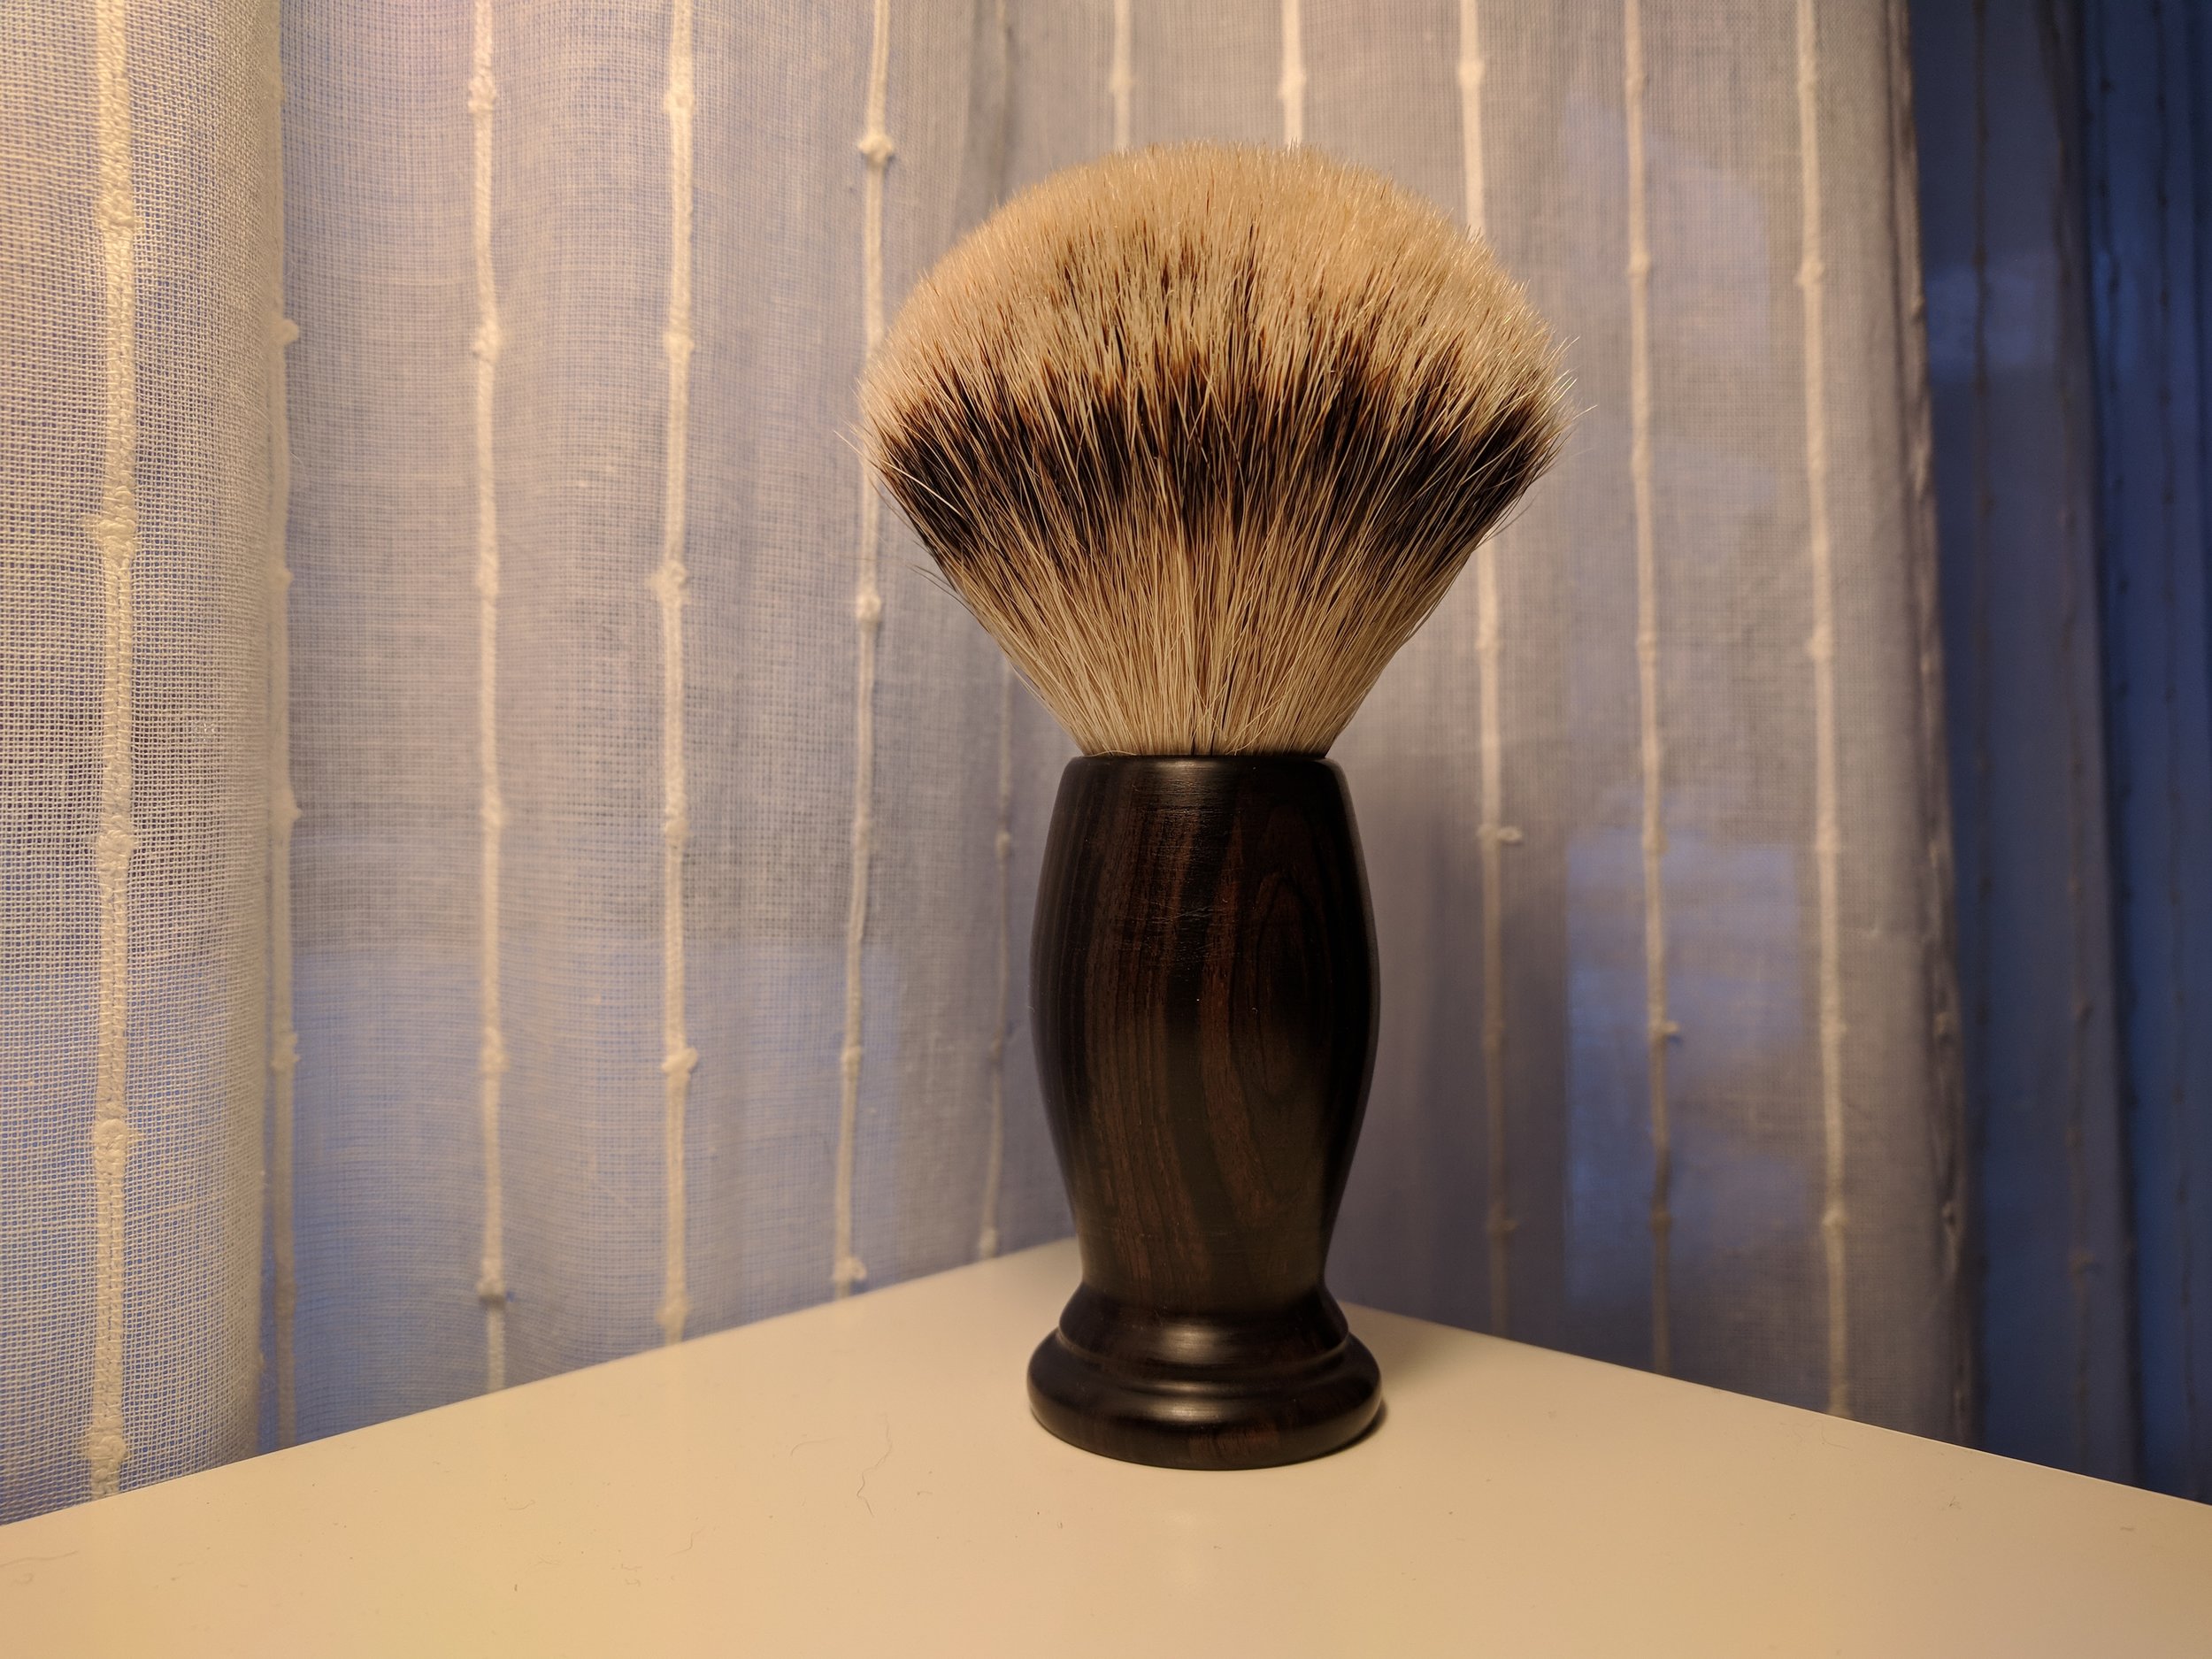
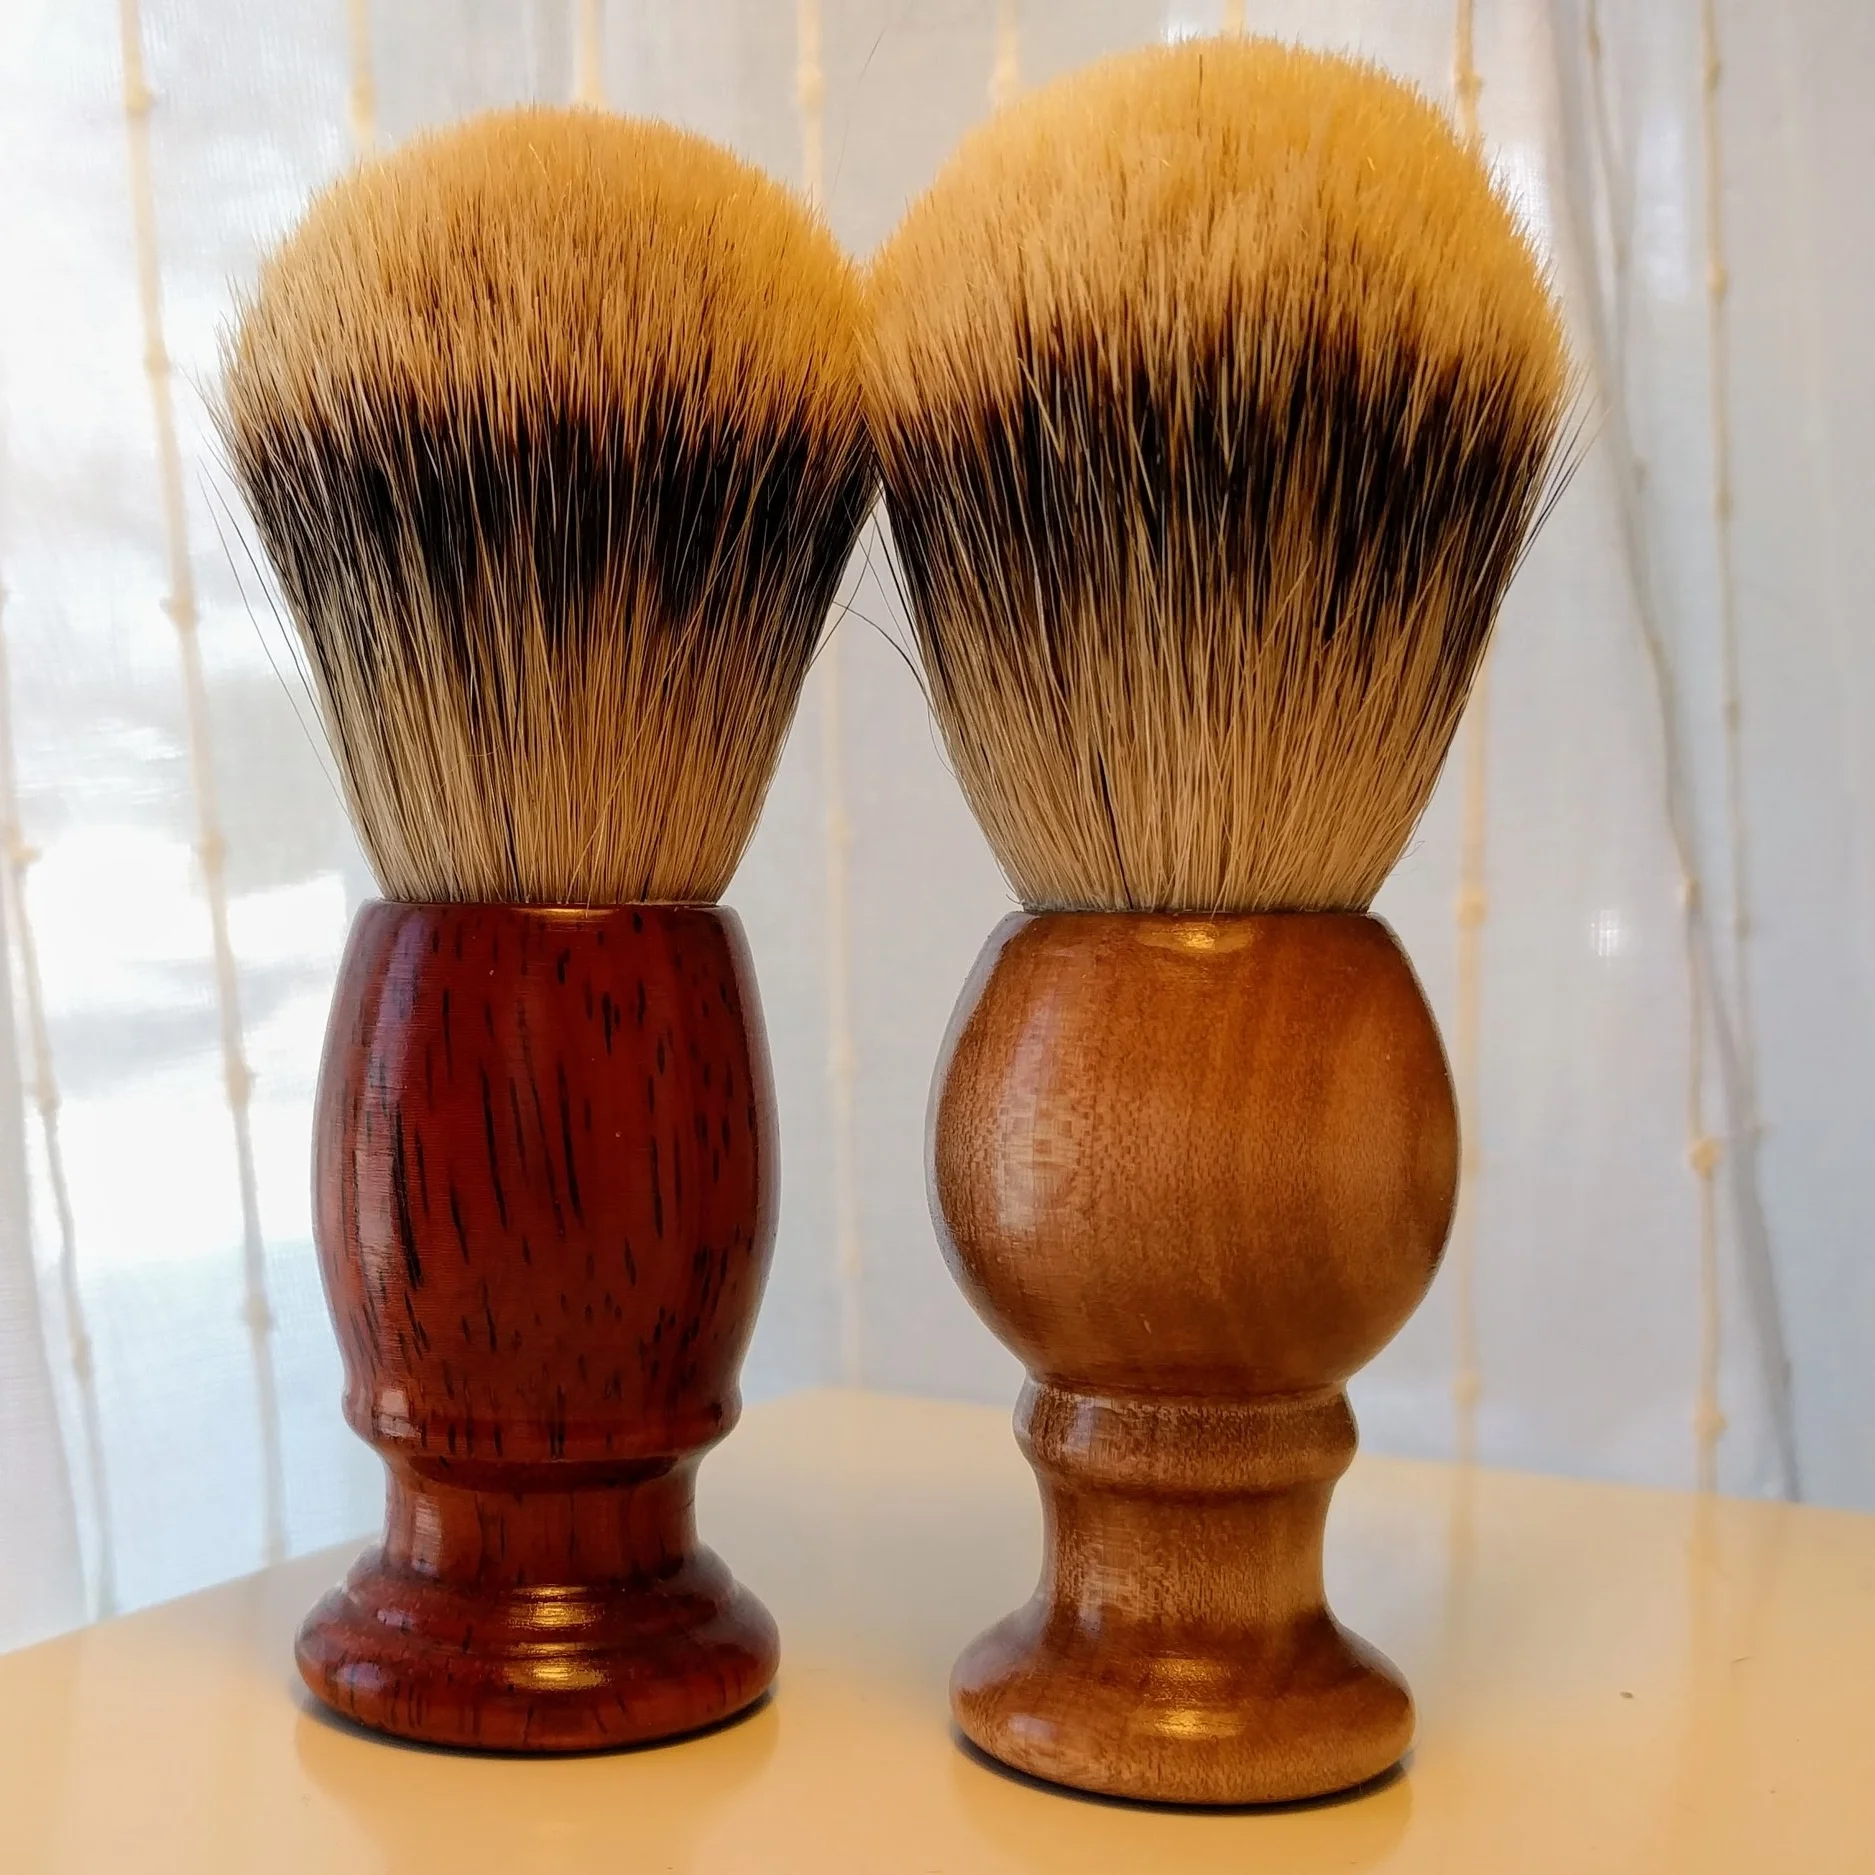
Shaving Brush Handle
7
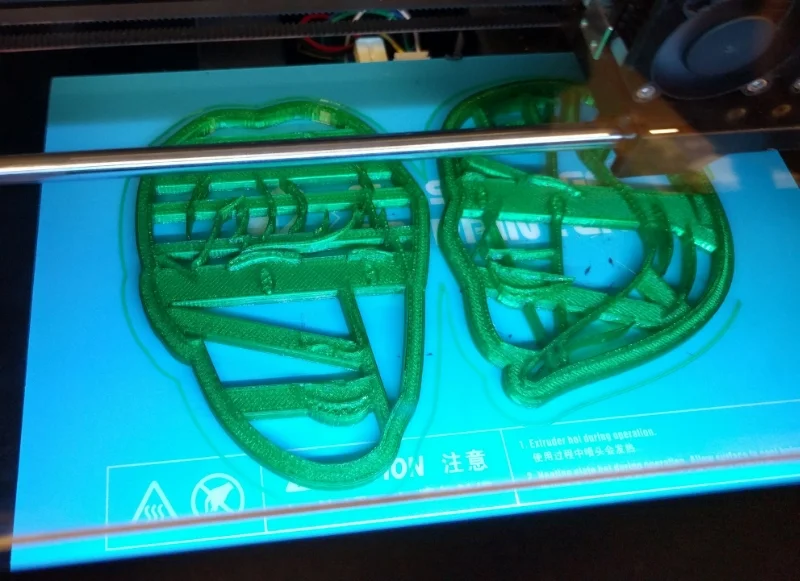
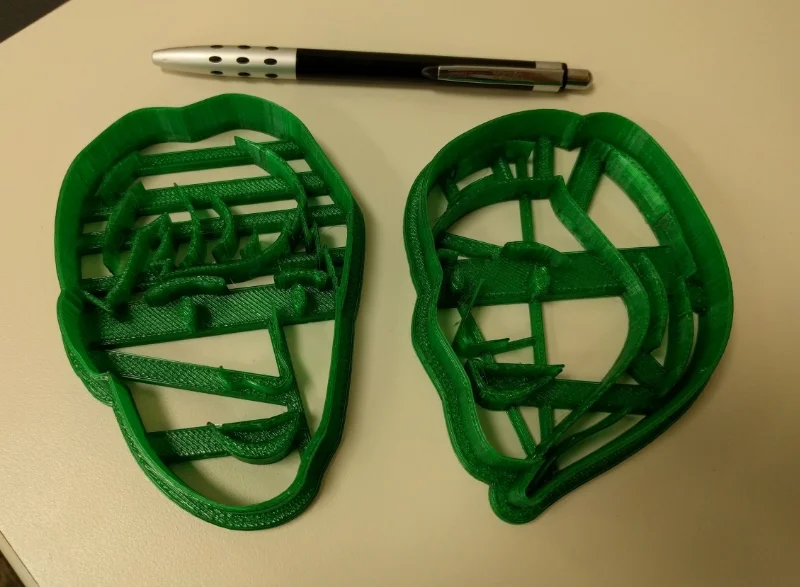
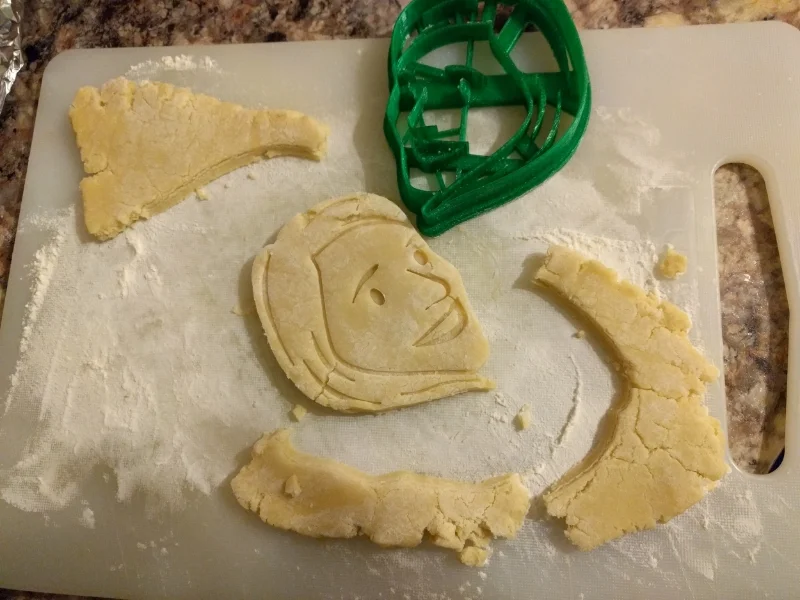
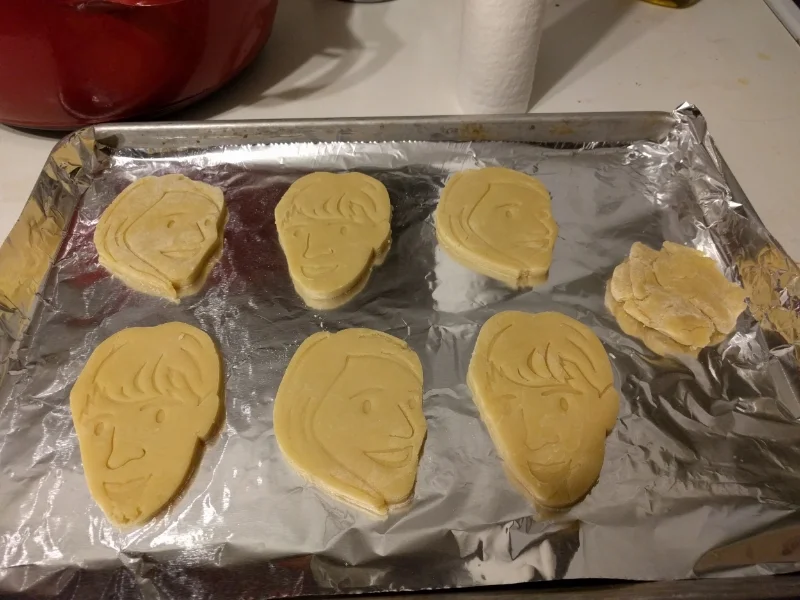
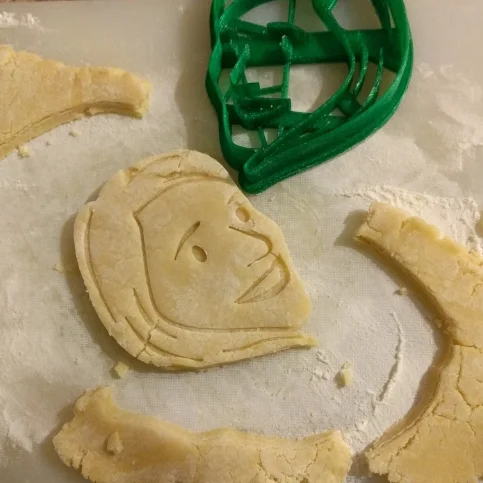
Cookie Cutters

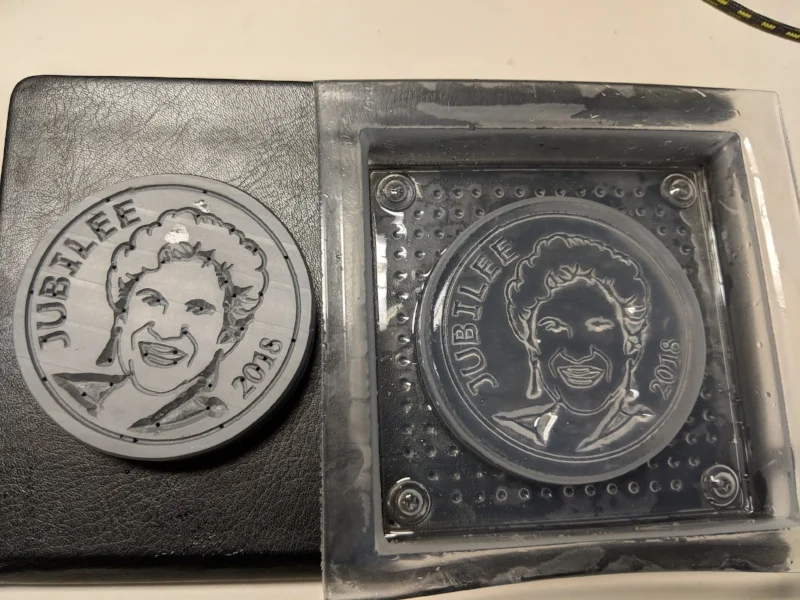
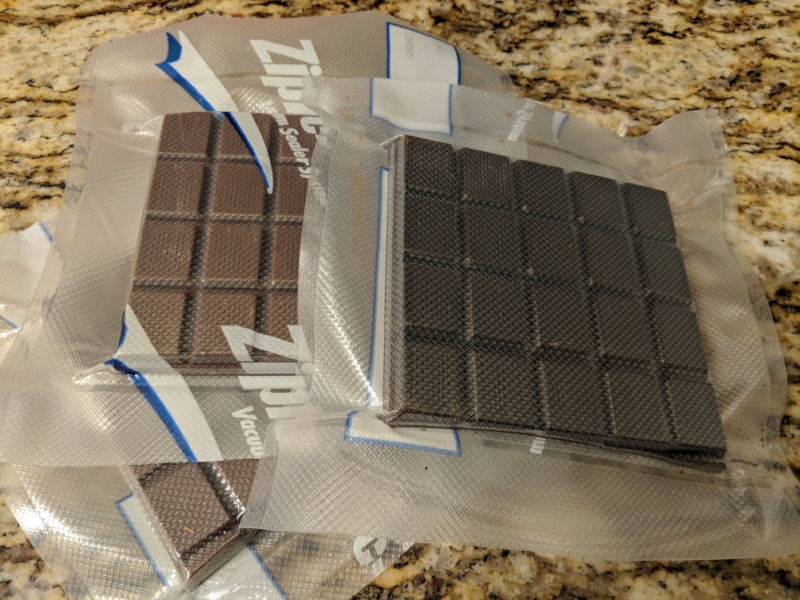
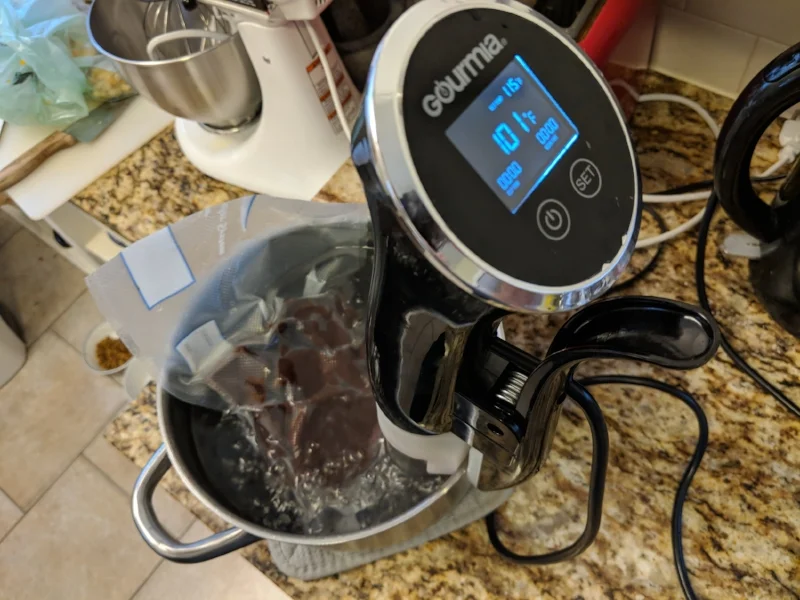
11
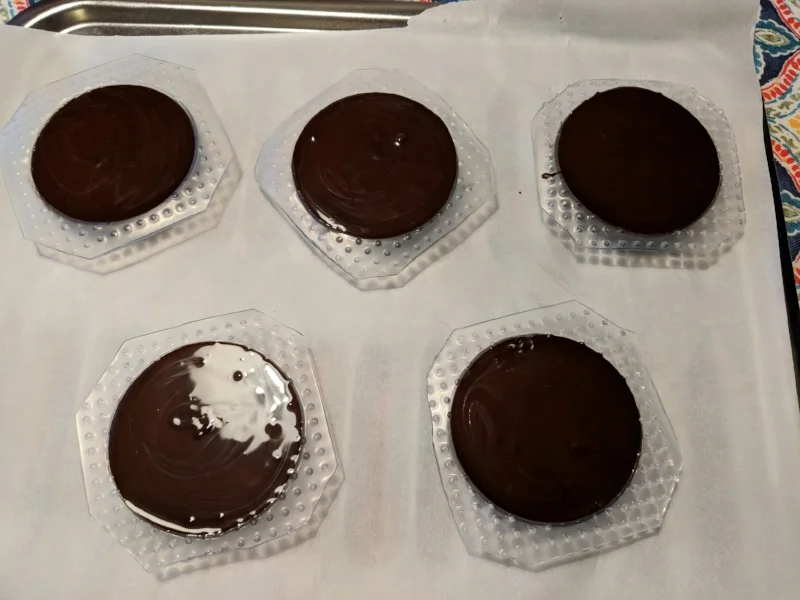
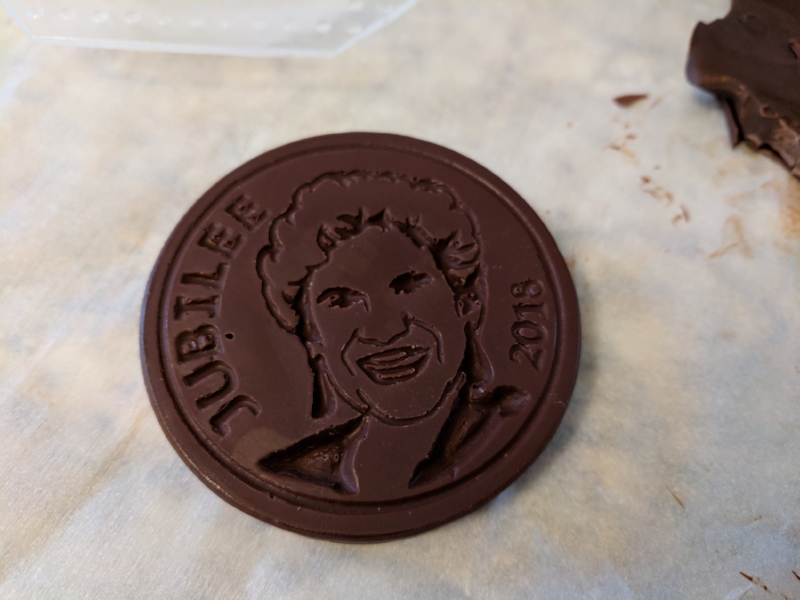
Chocolate Medal

11
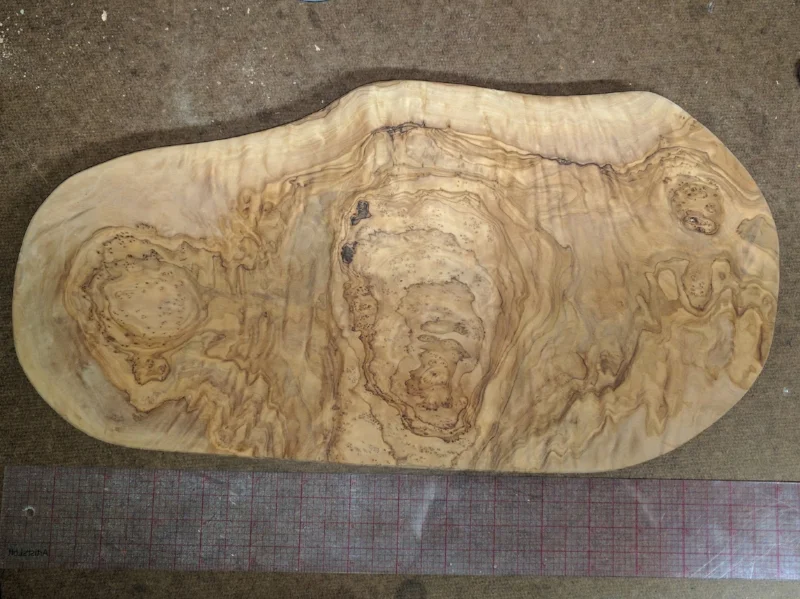
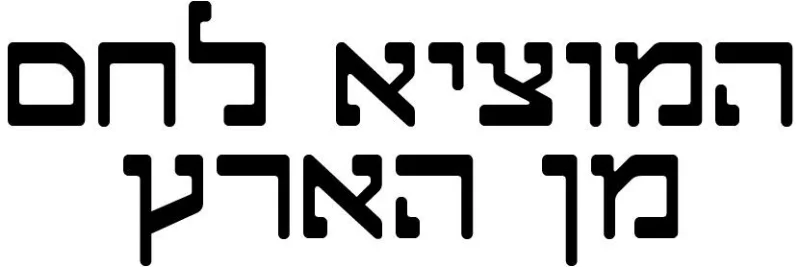
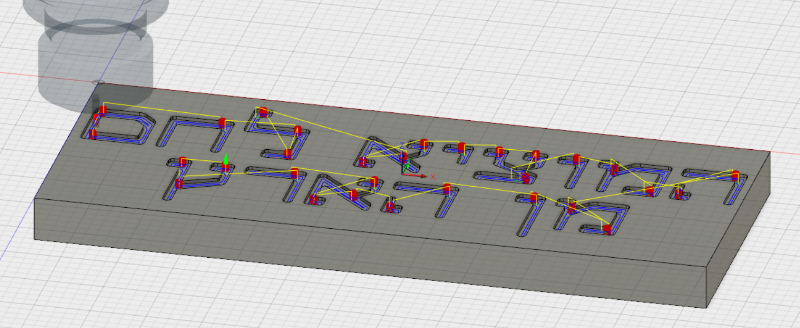
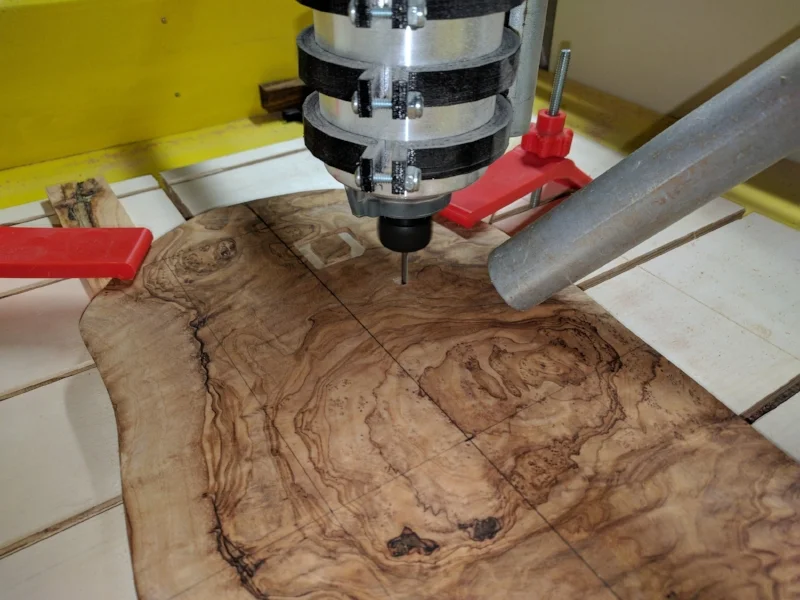
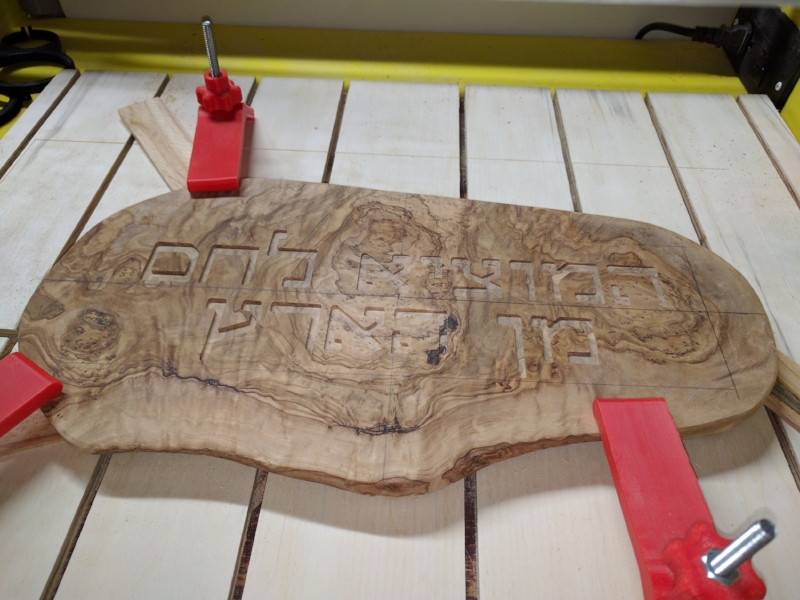
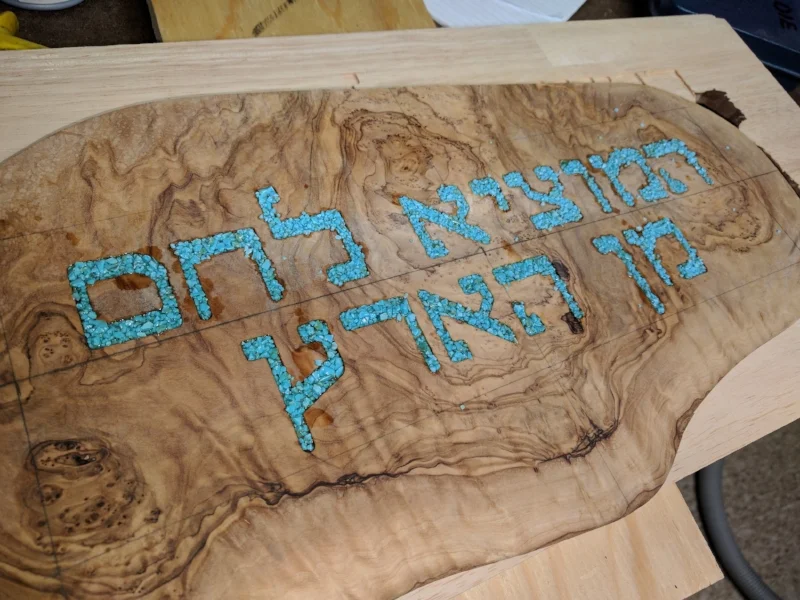
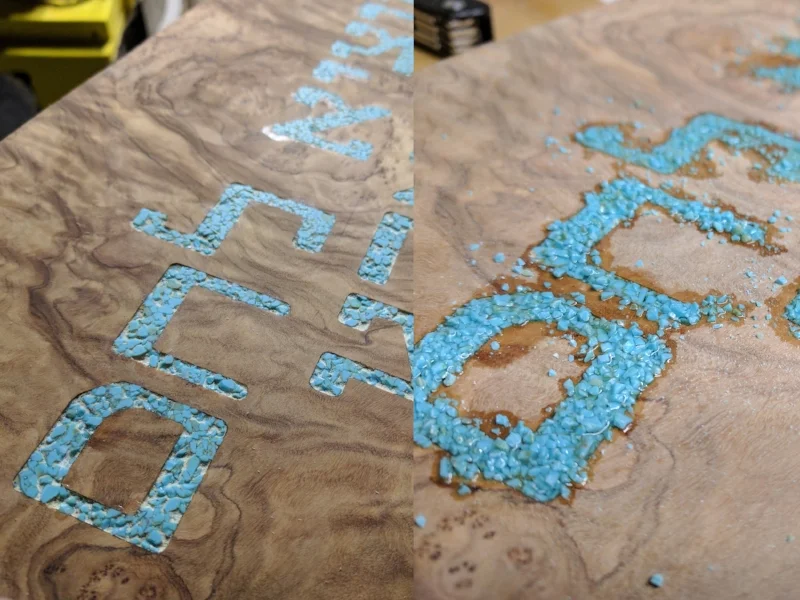
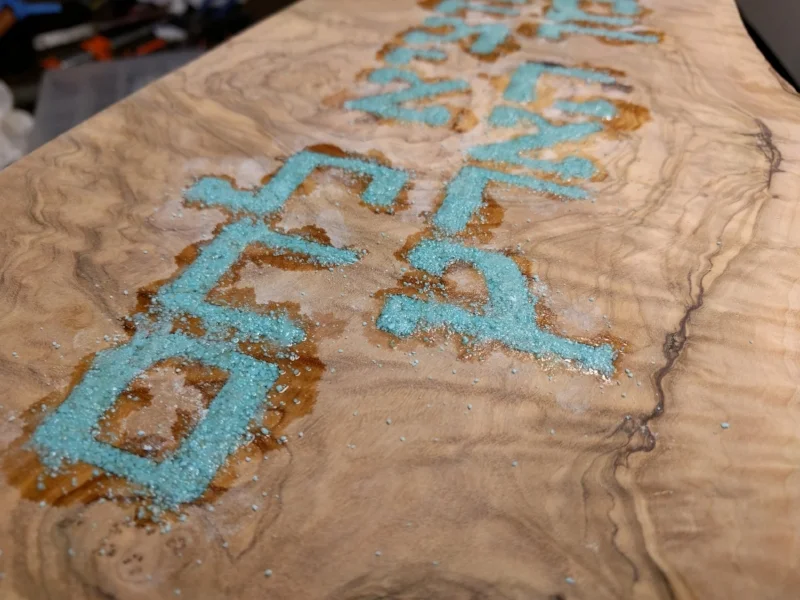
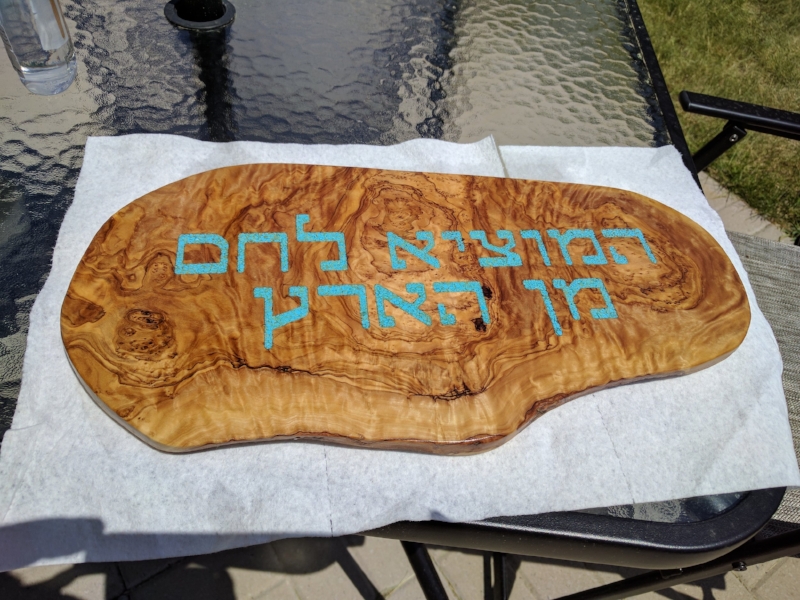
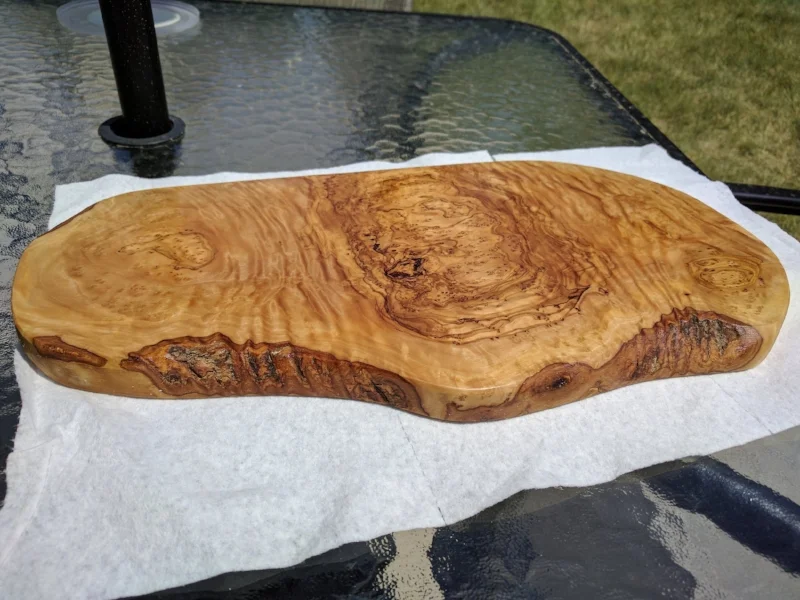
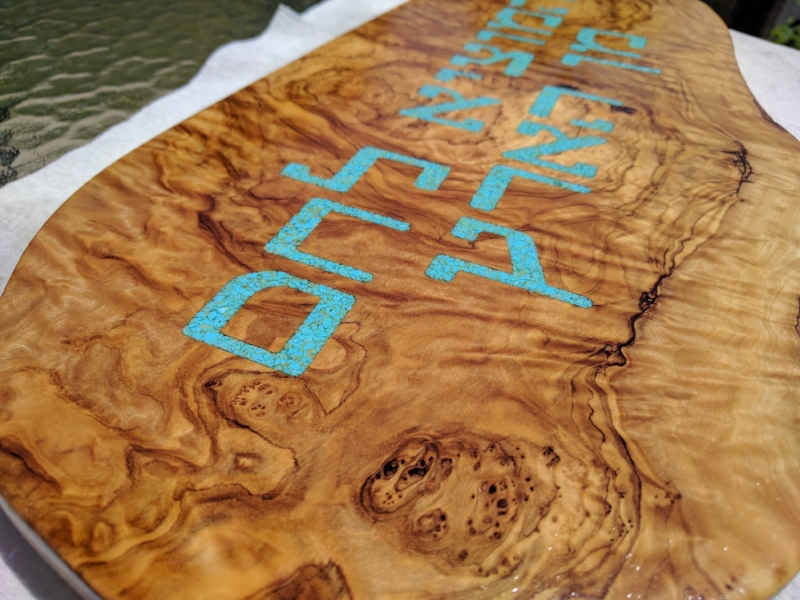
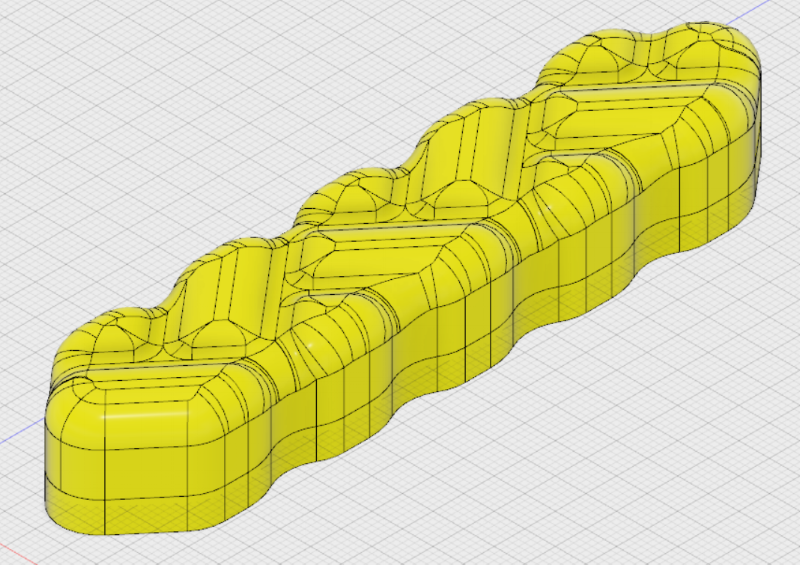
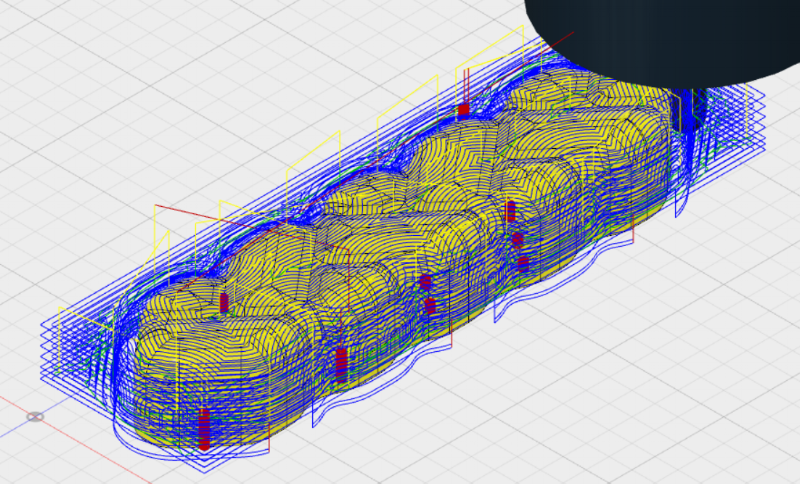
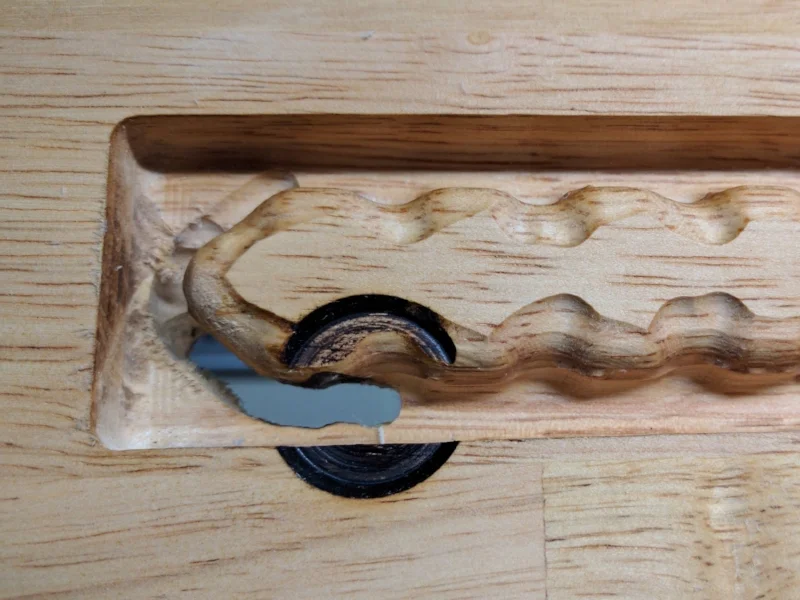
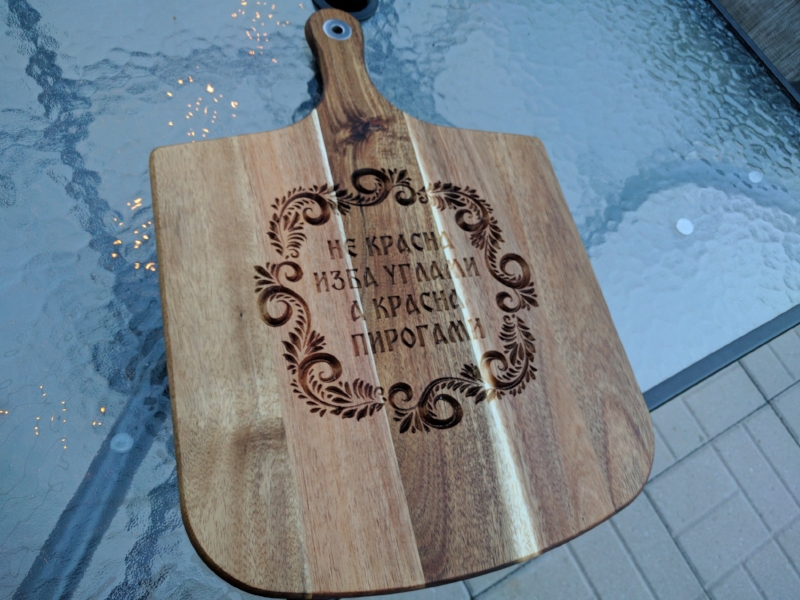
Challah Bread Board

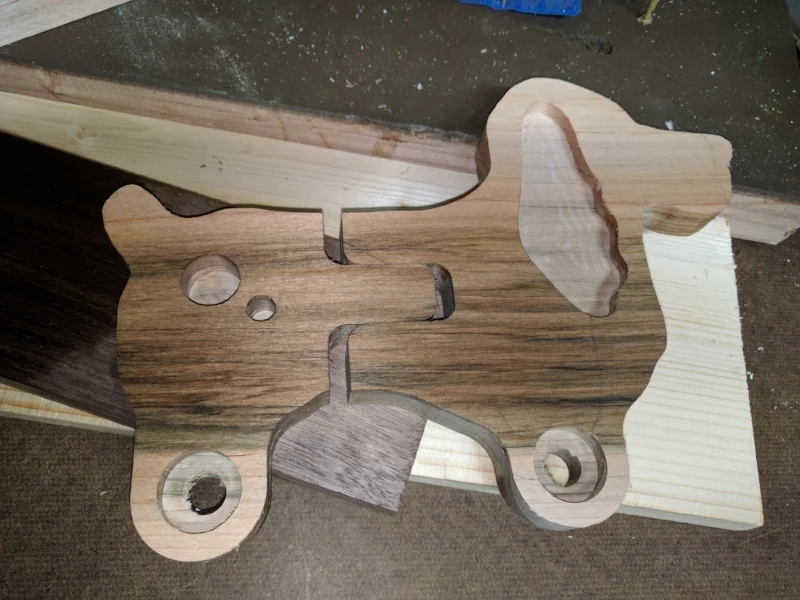
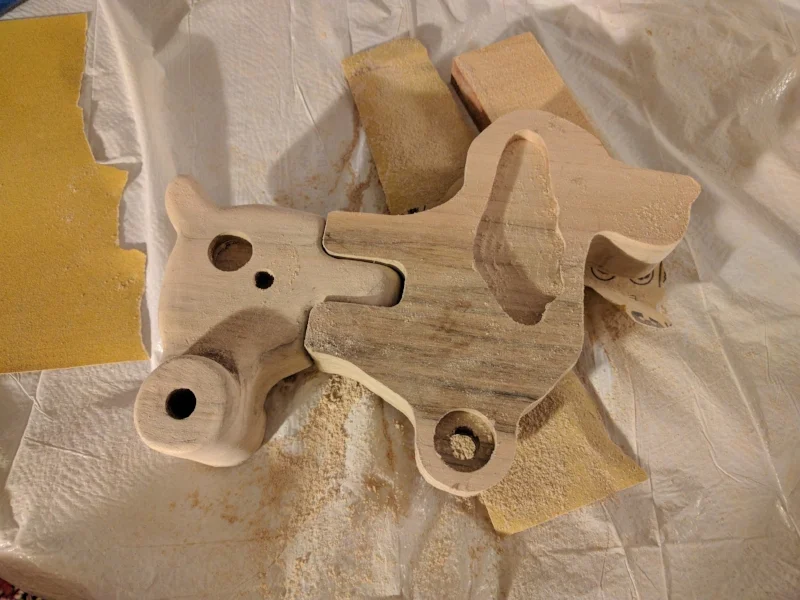
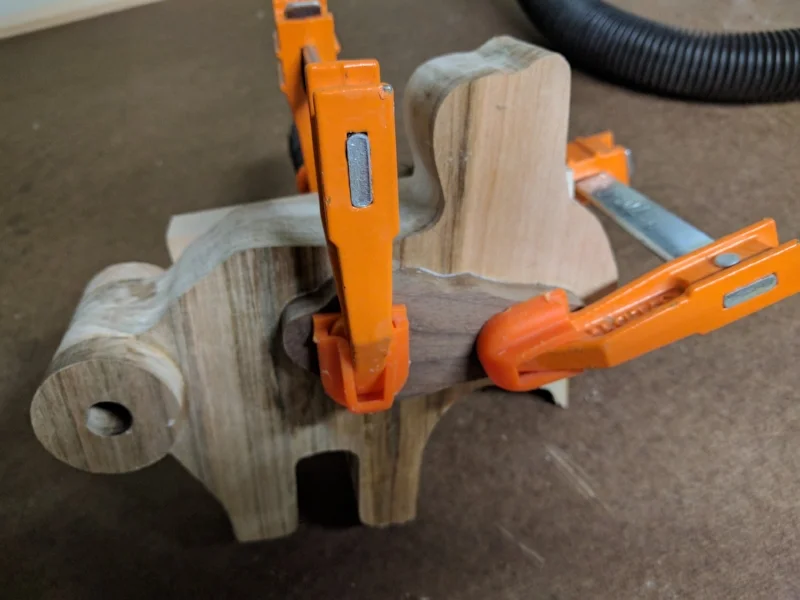
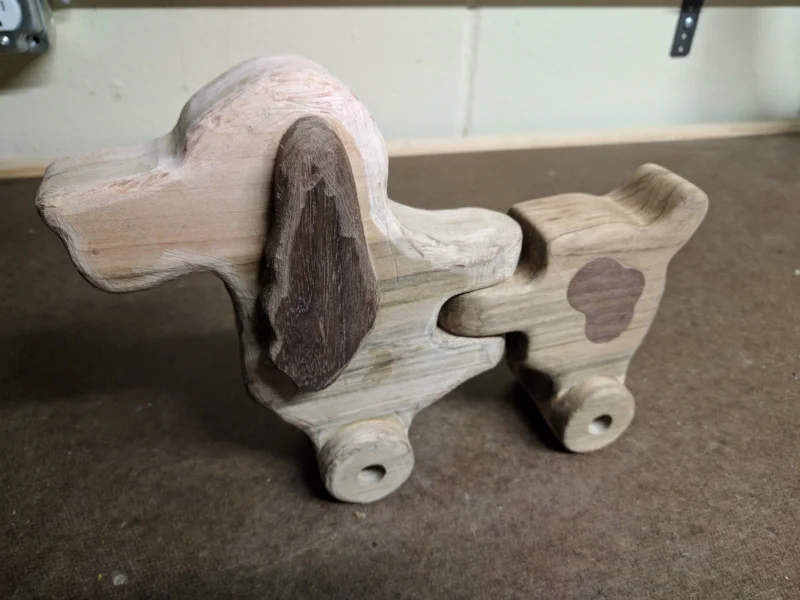
13
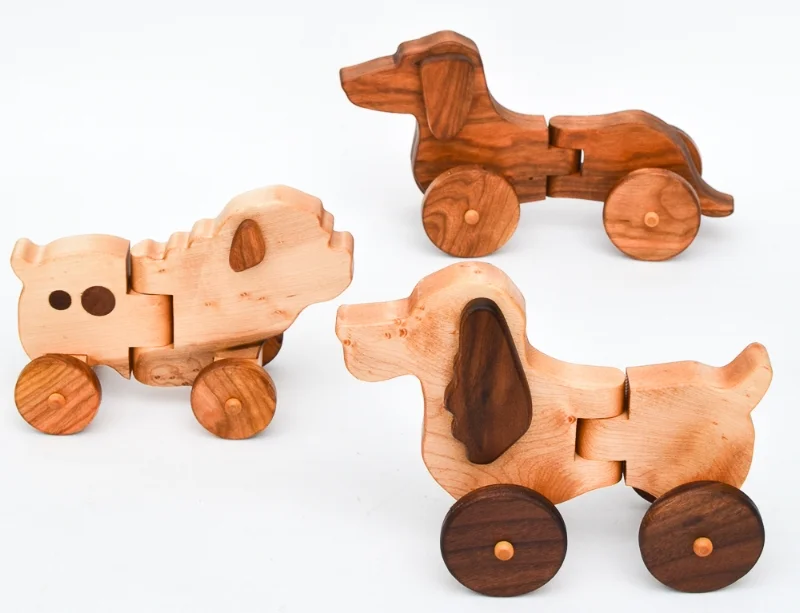
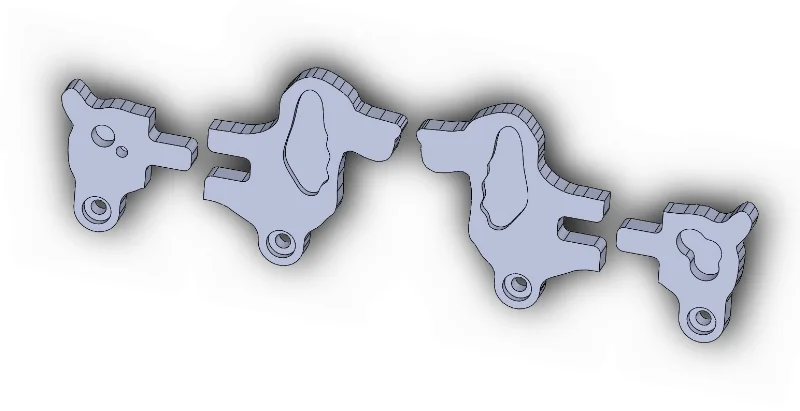
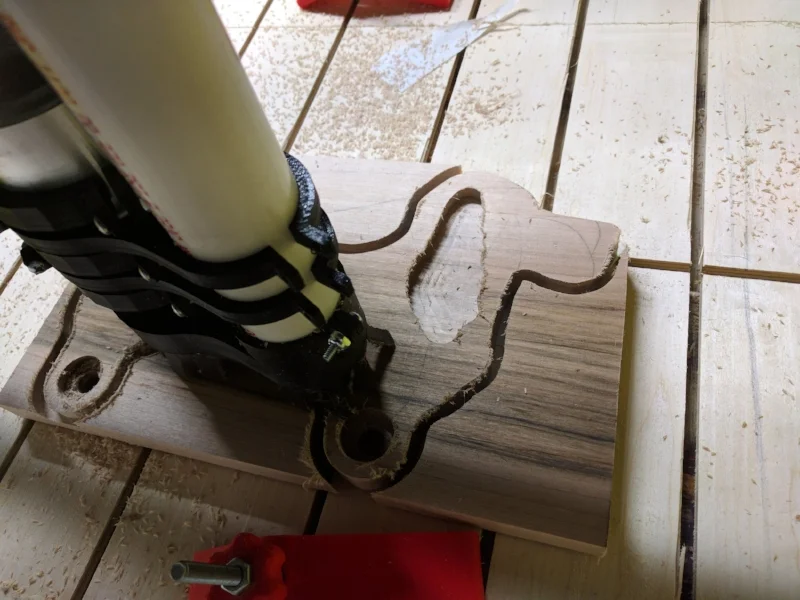
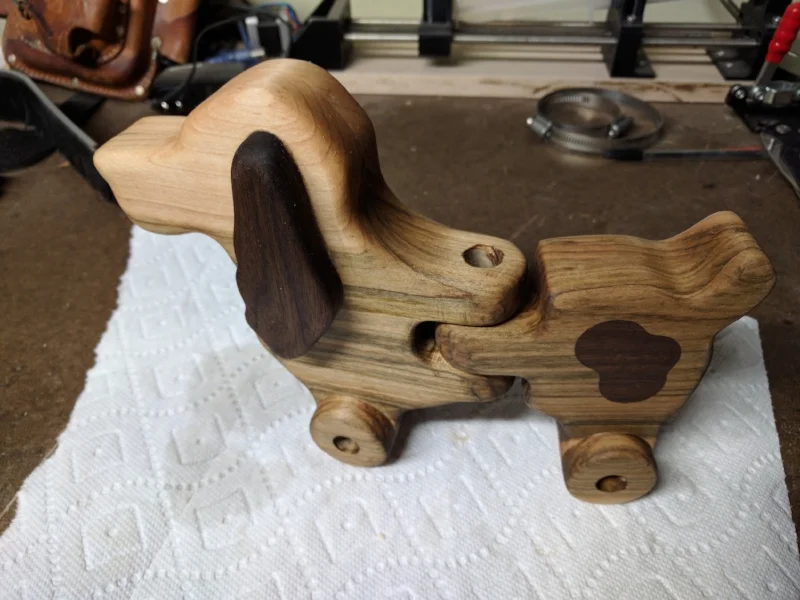
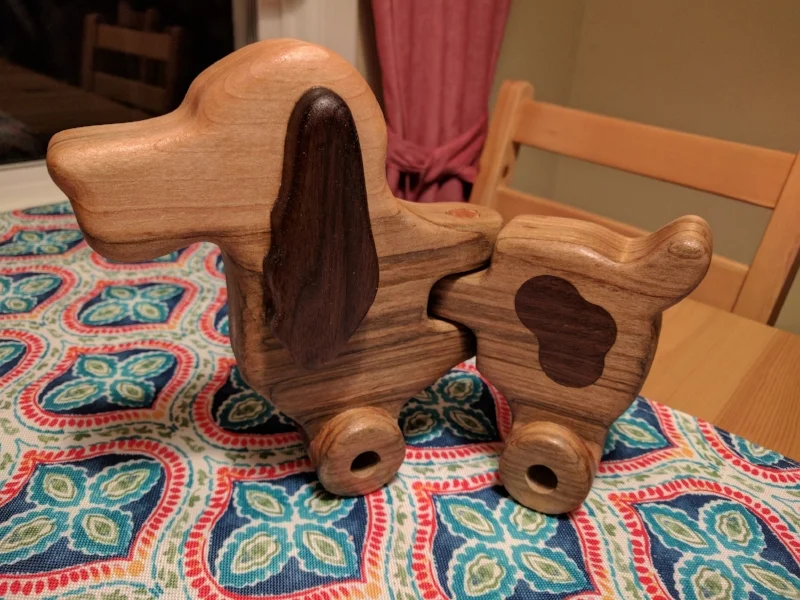
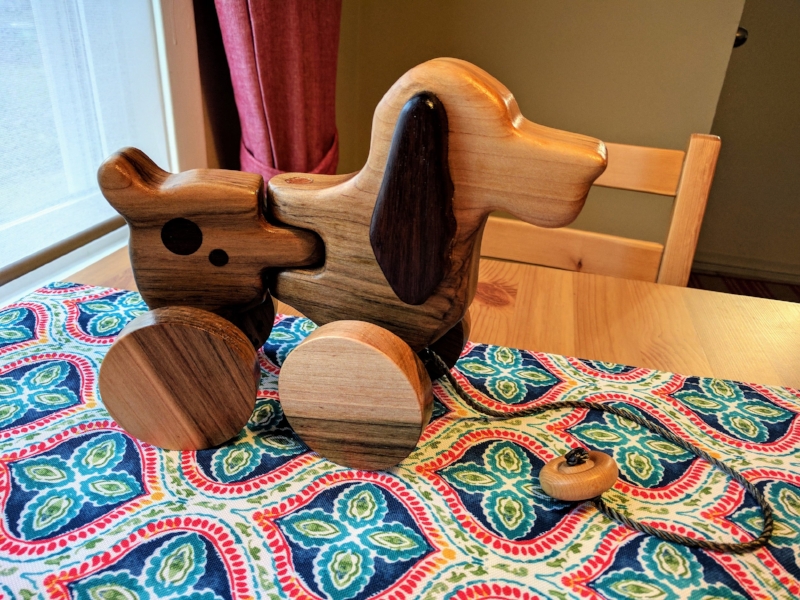
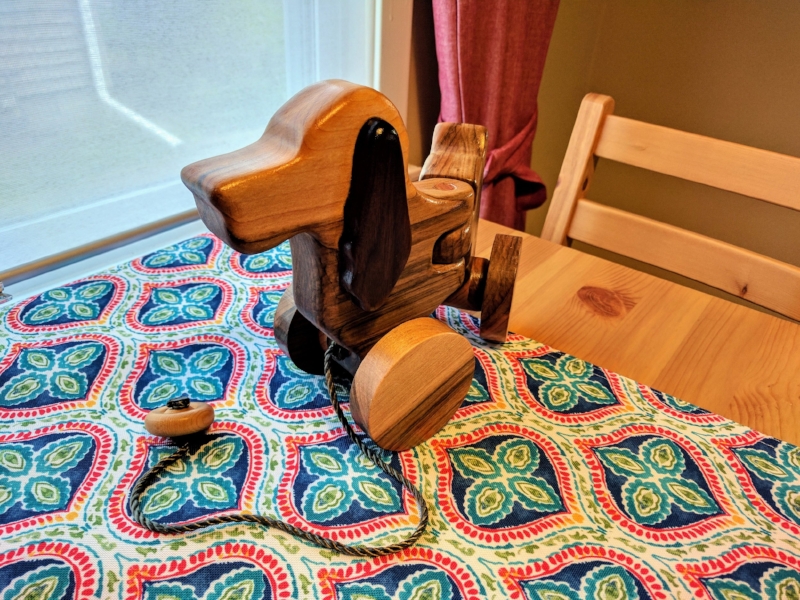
Wooden Pull Toy
6
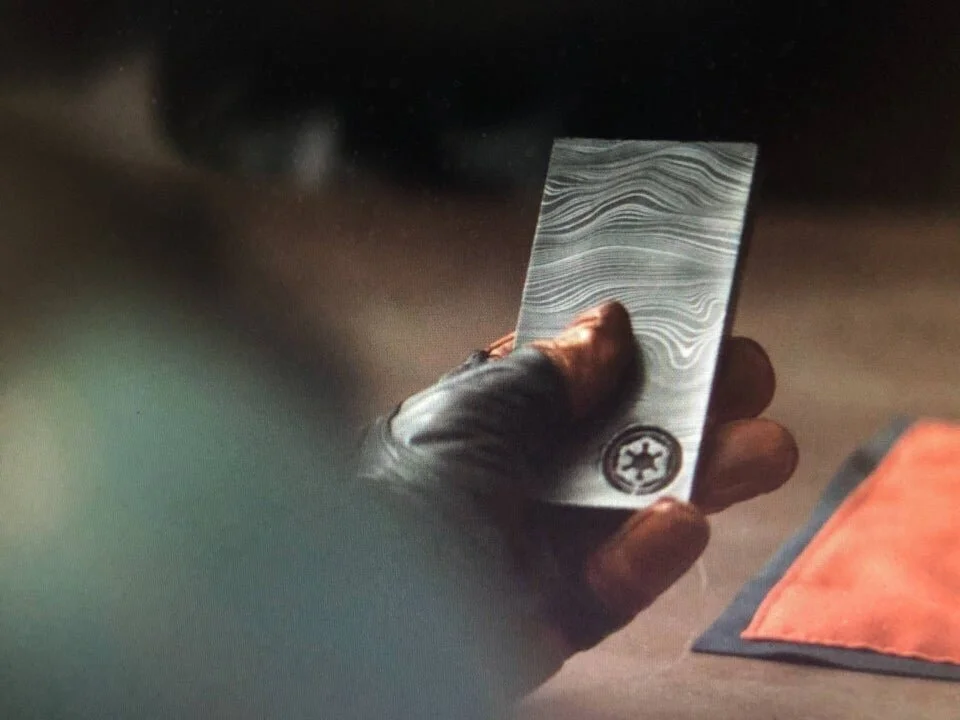
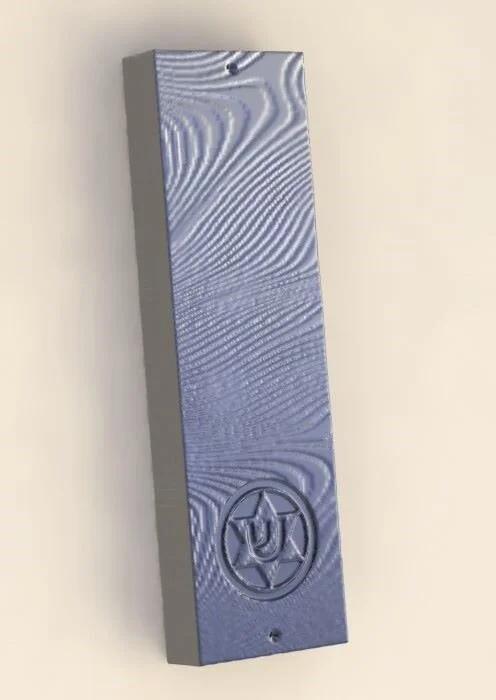
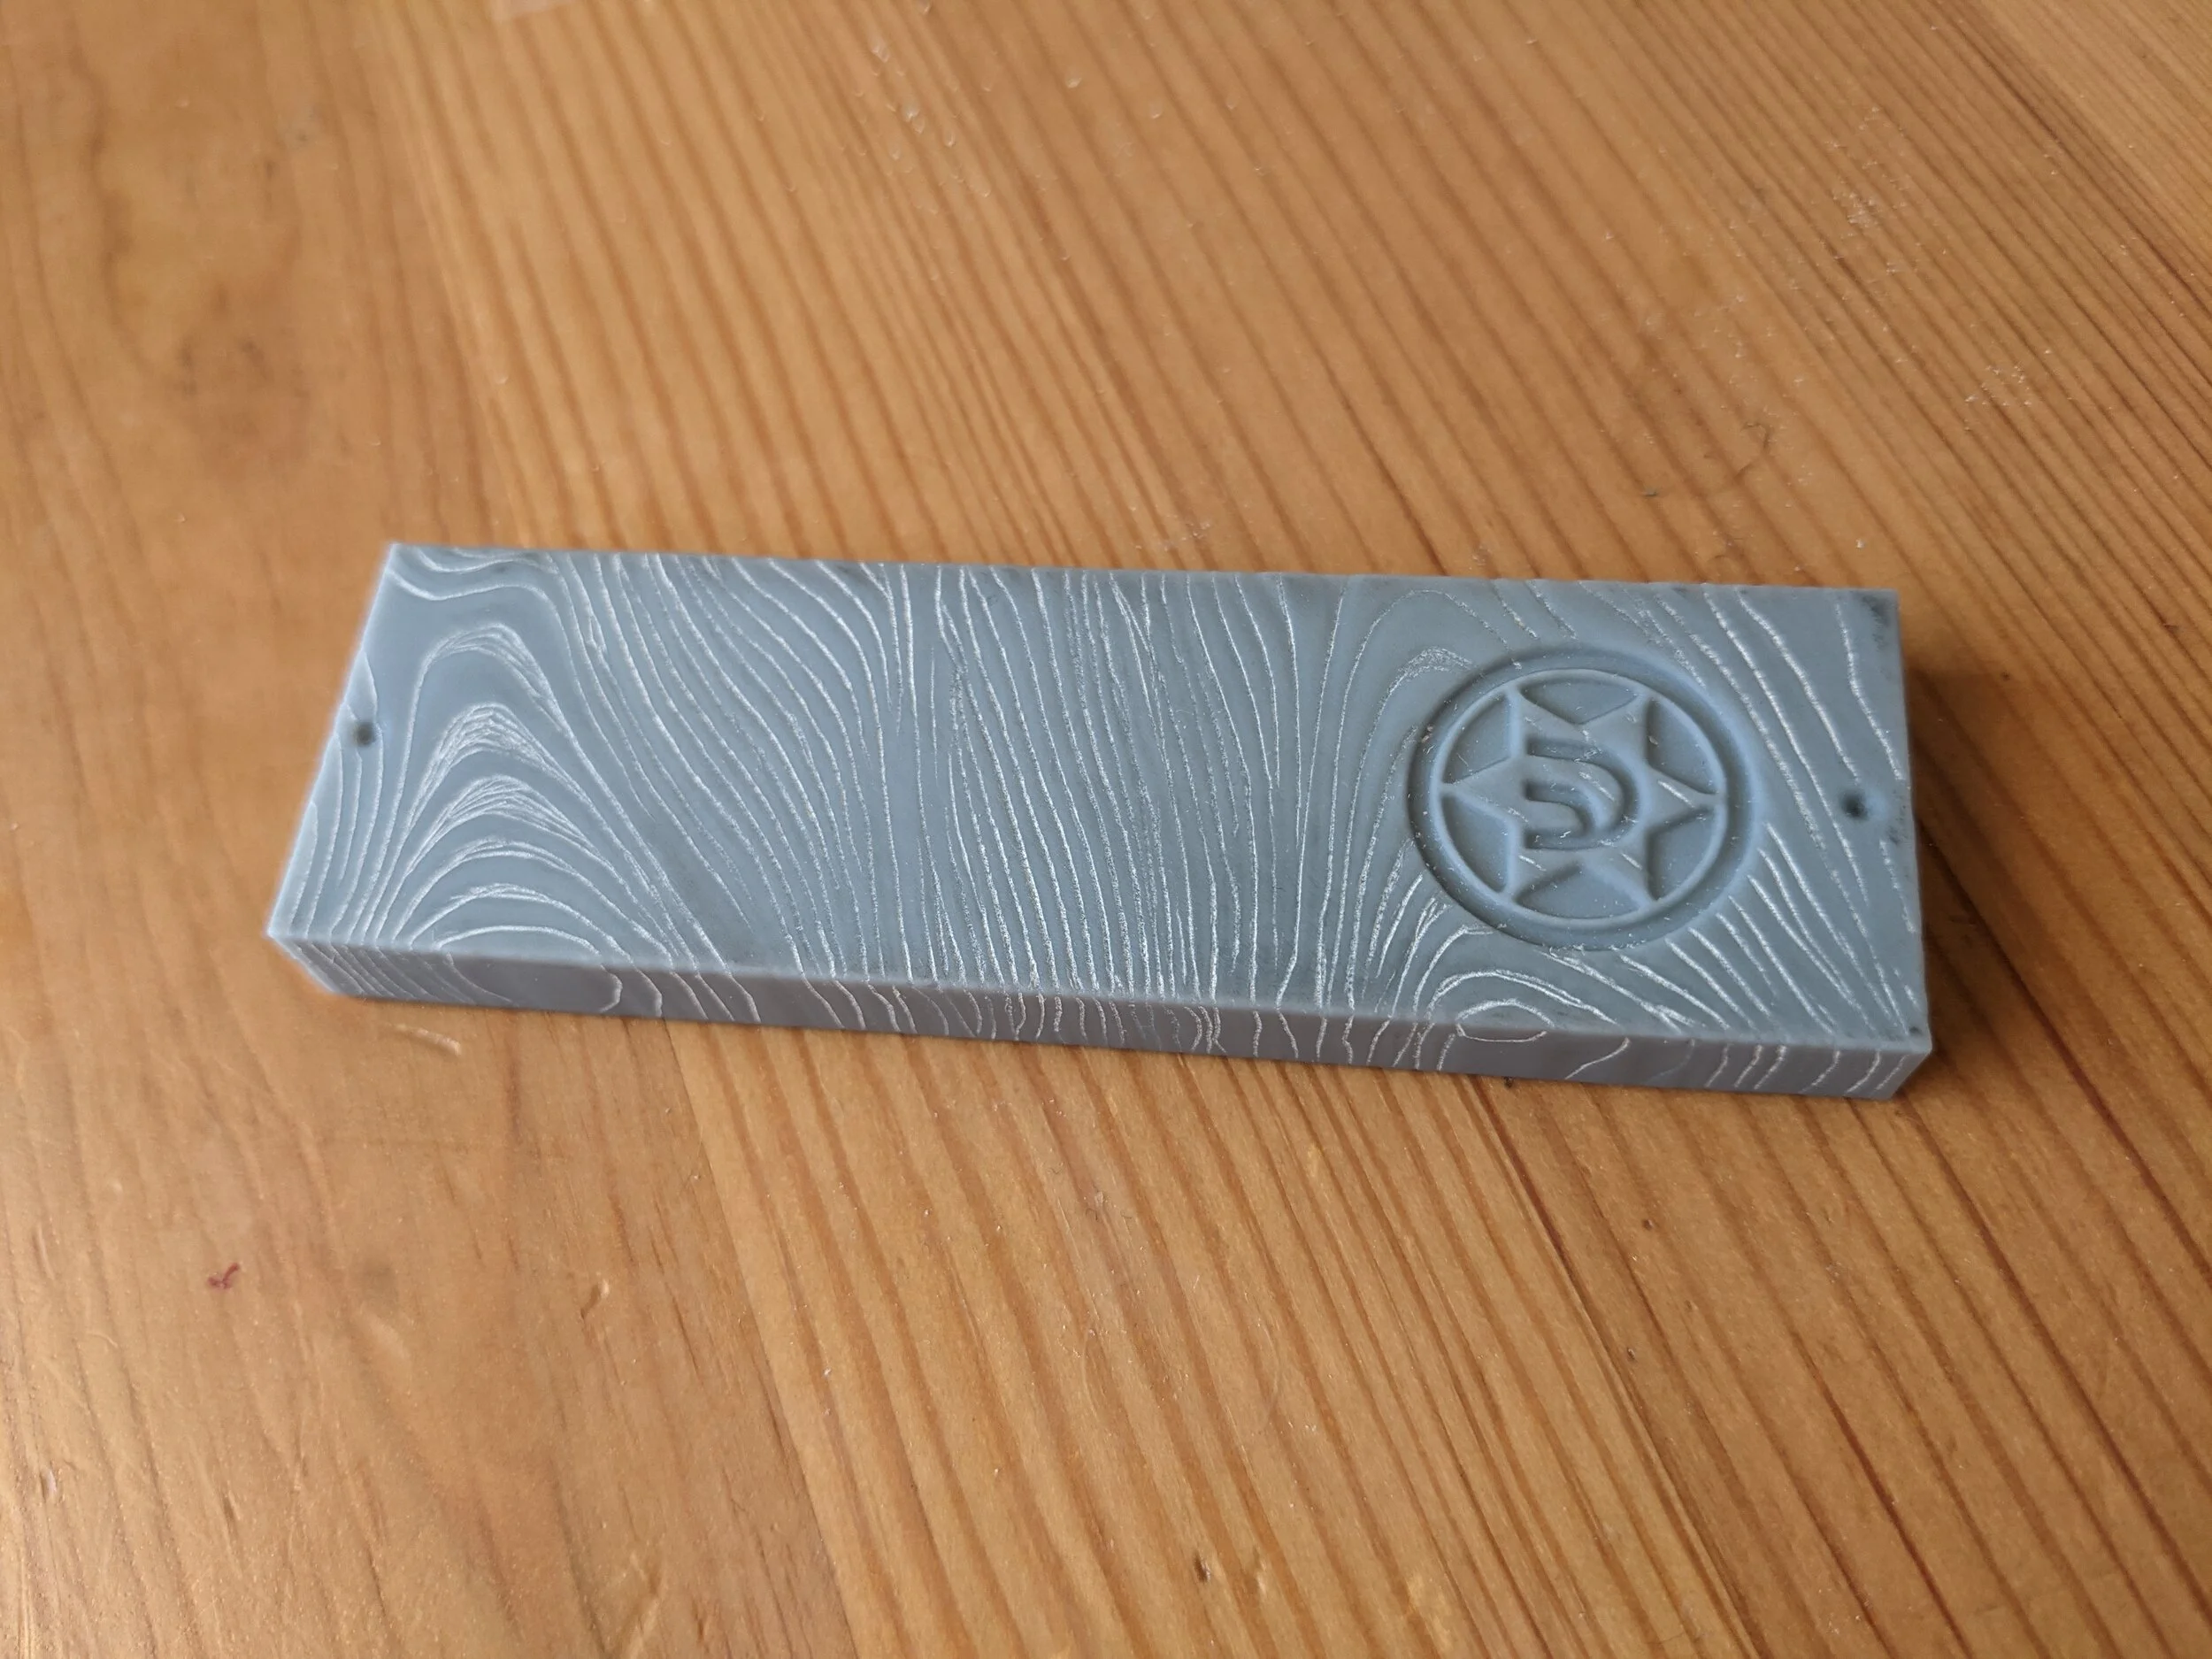
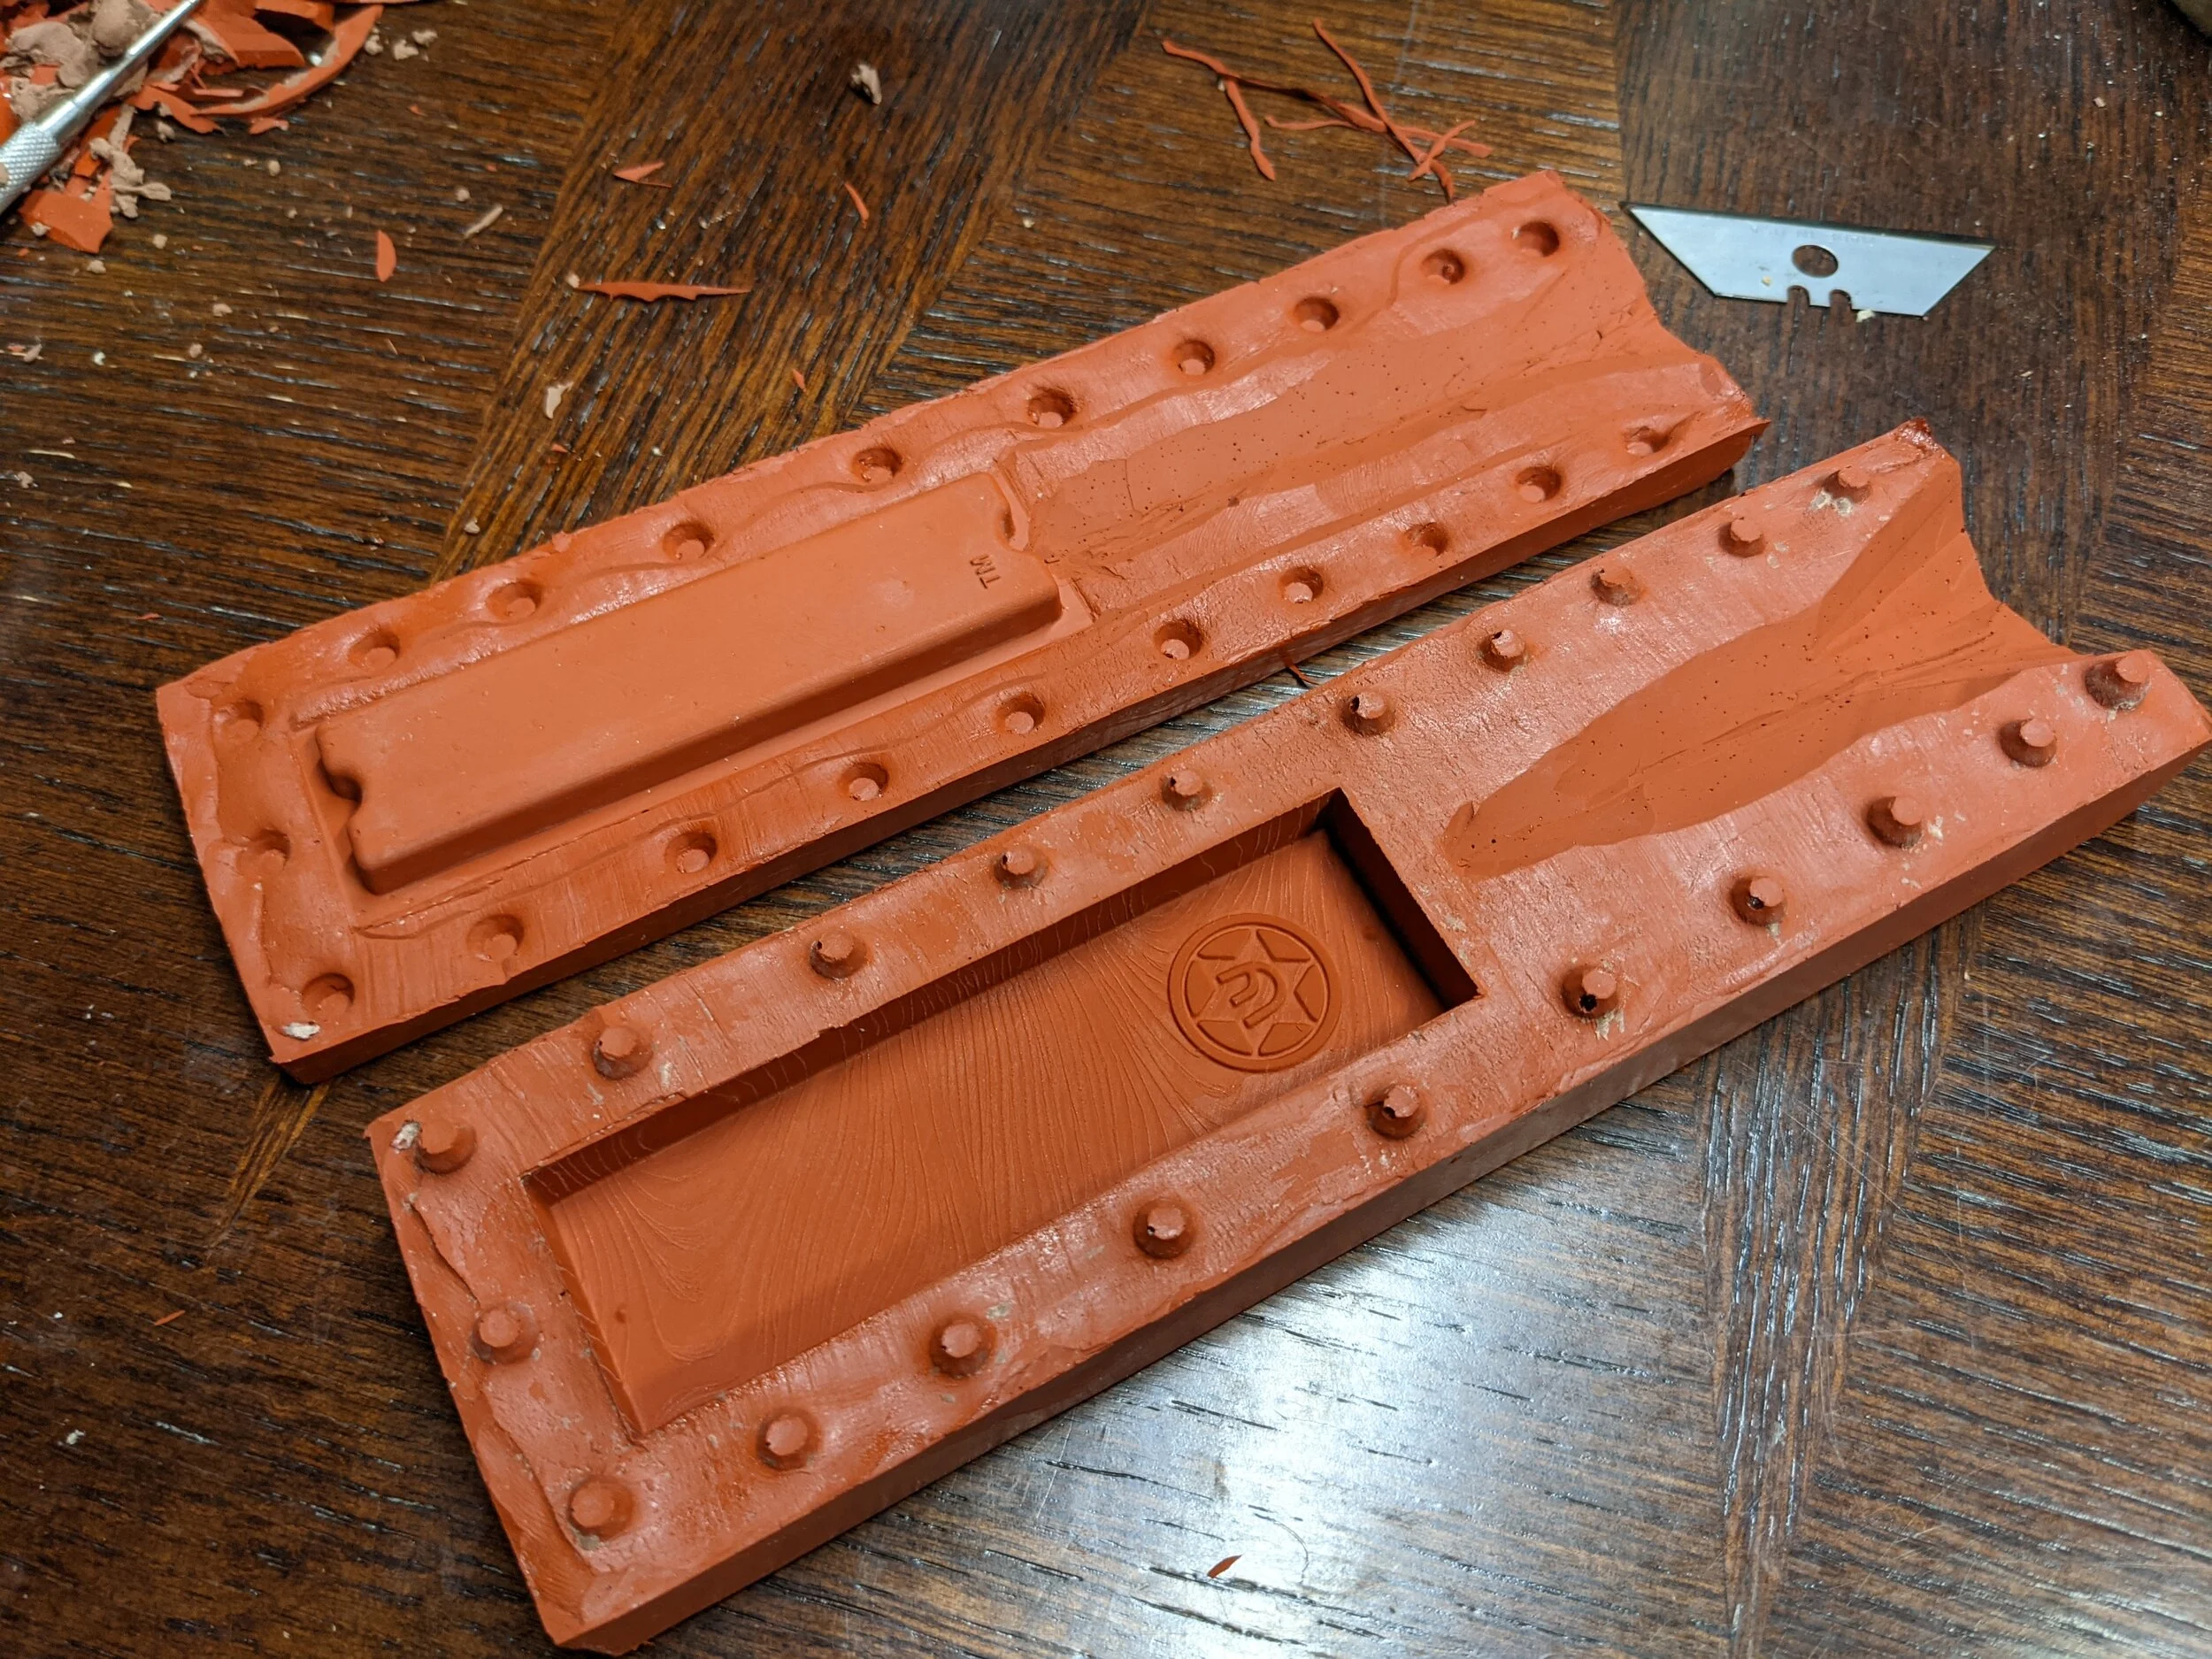
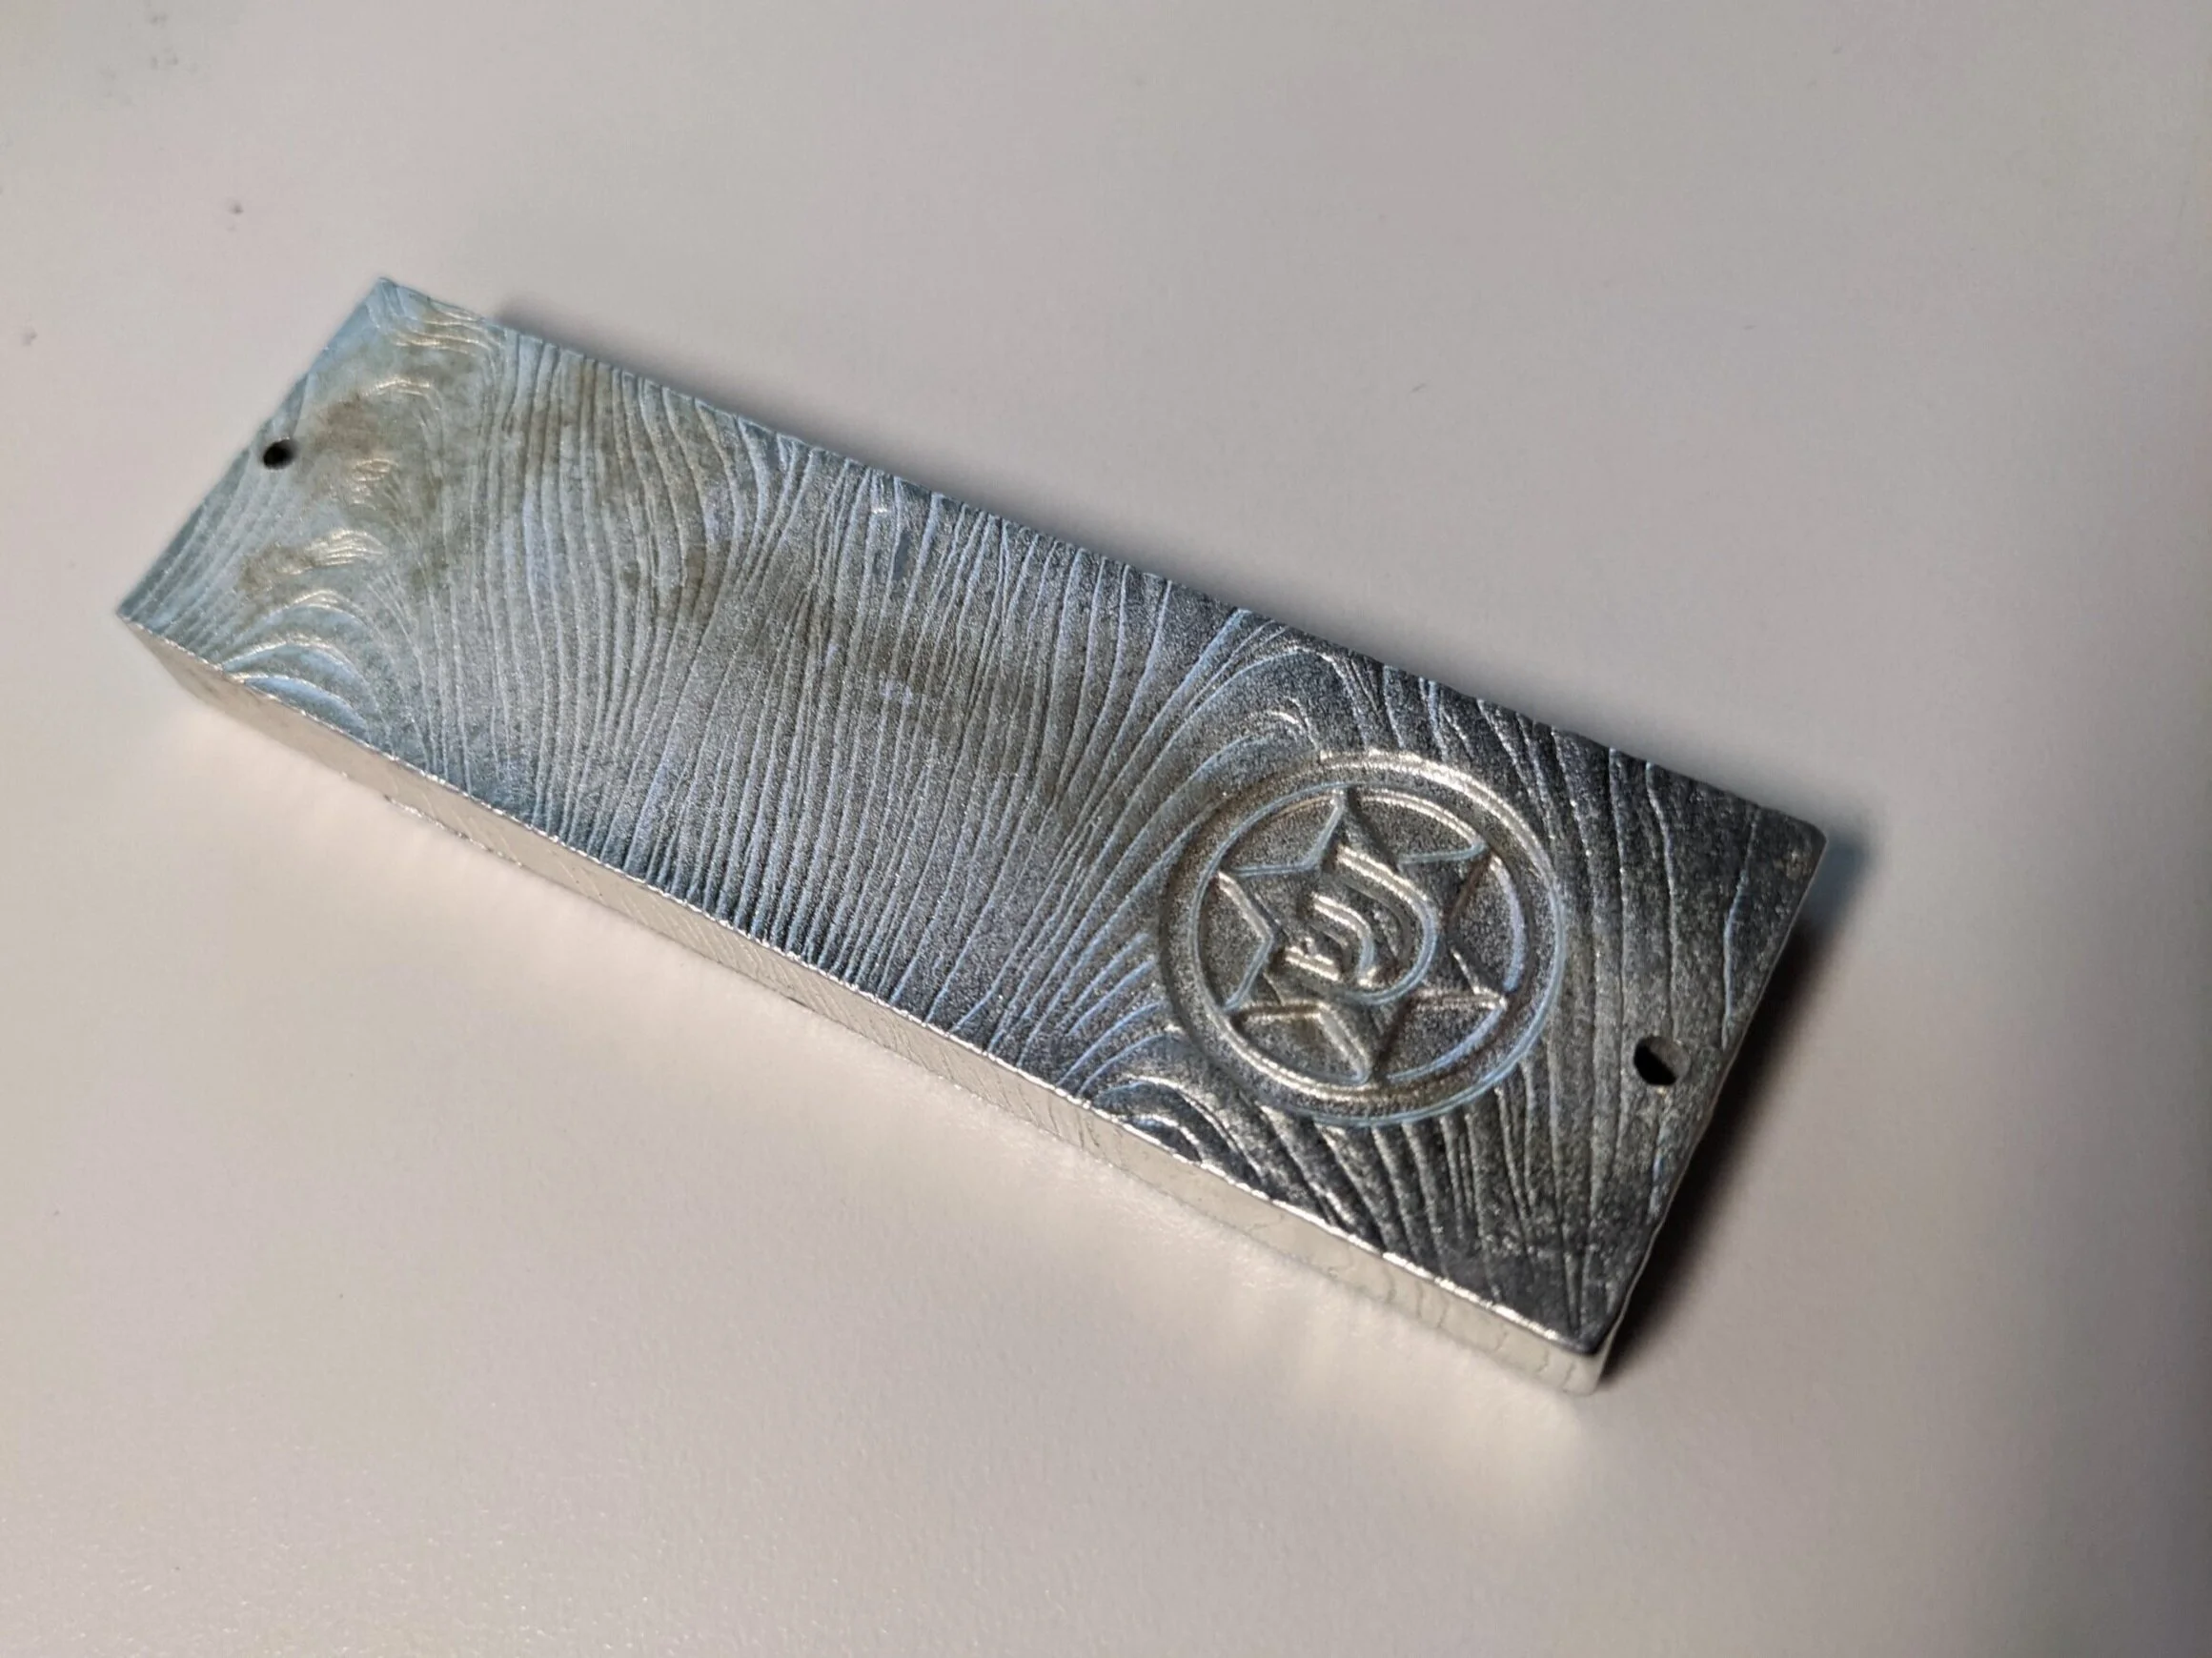
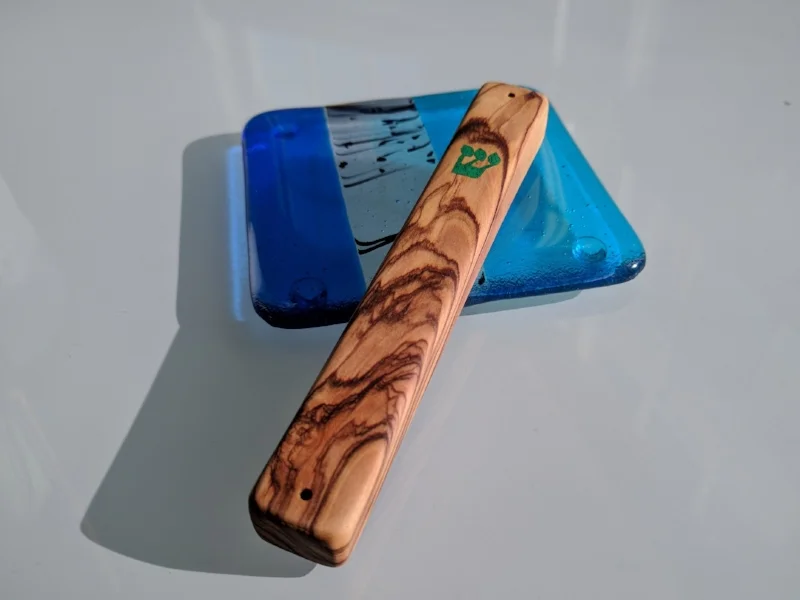
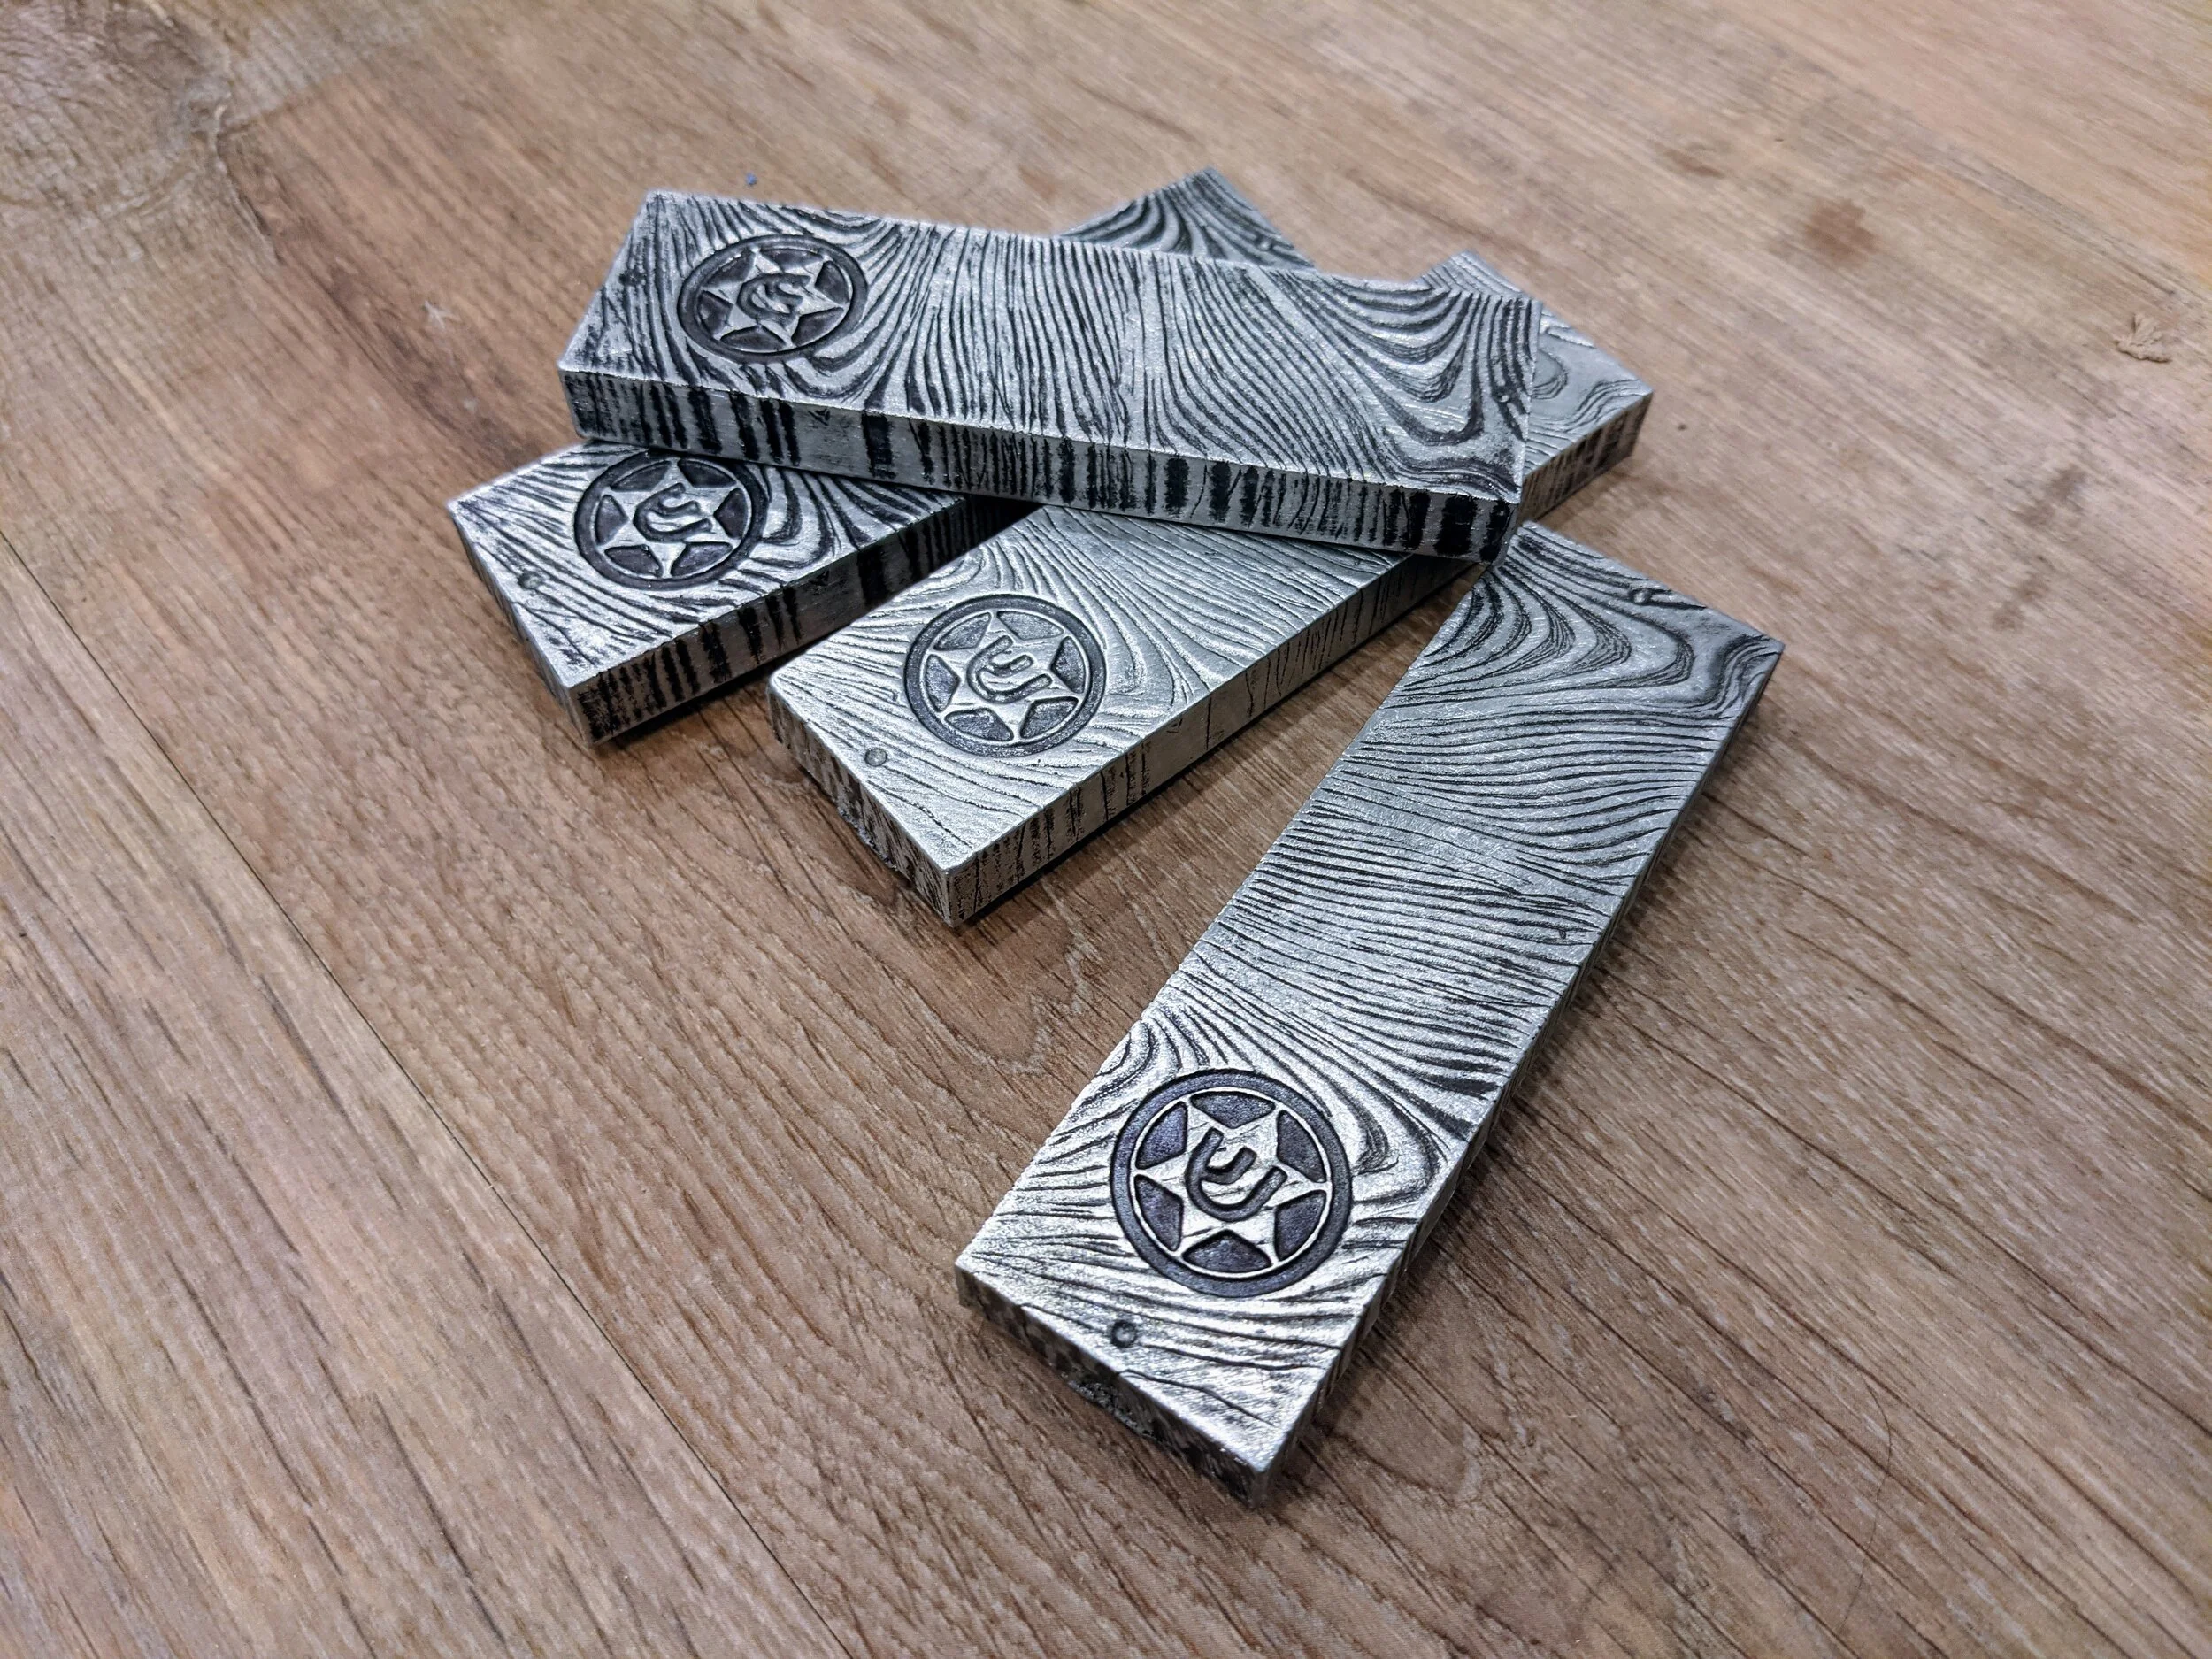
Beskar Mezuzah
13
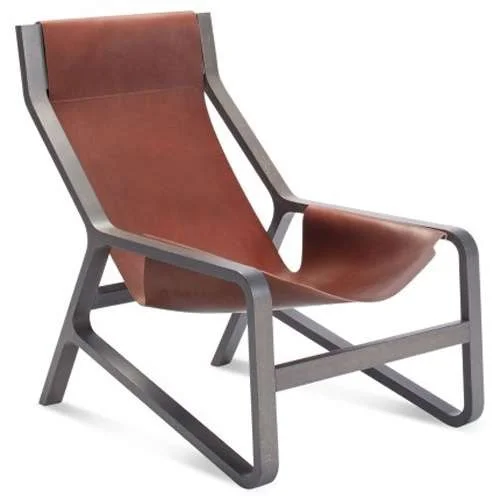
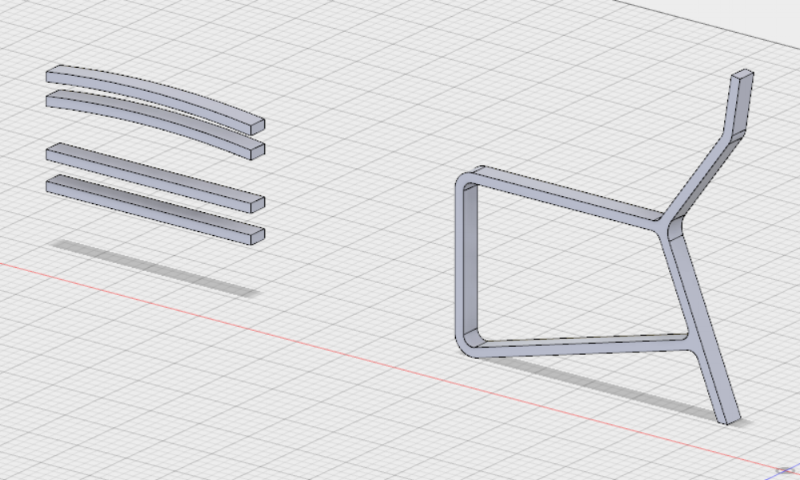
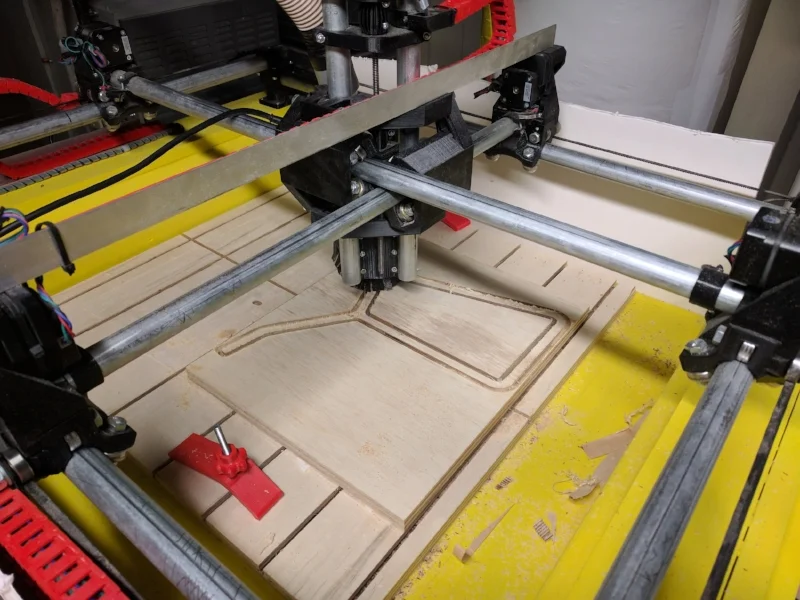
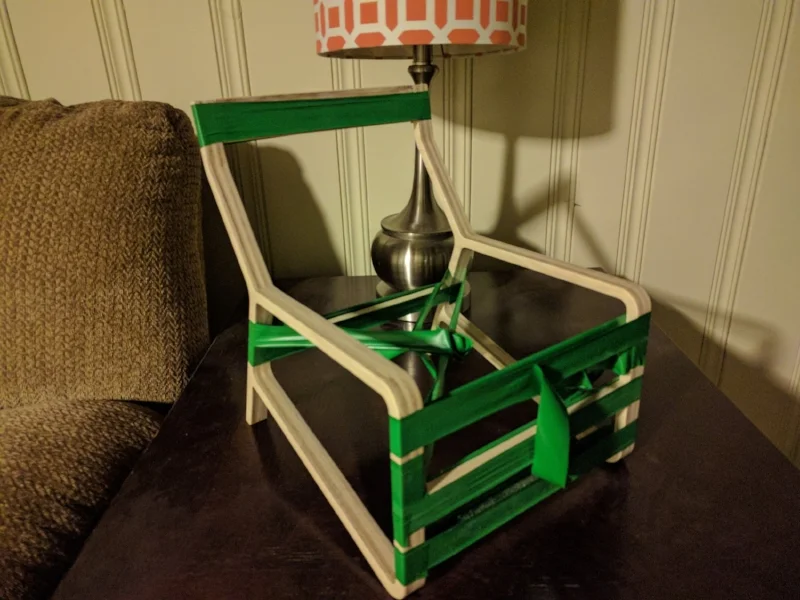
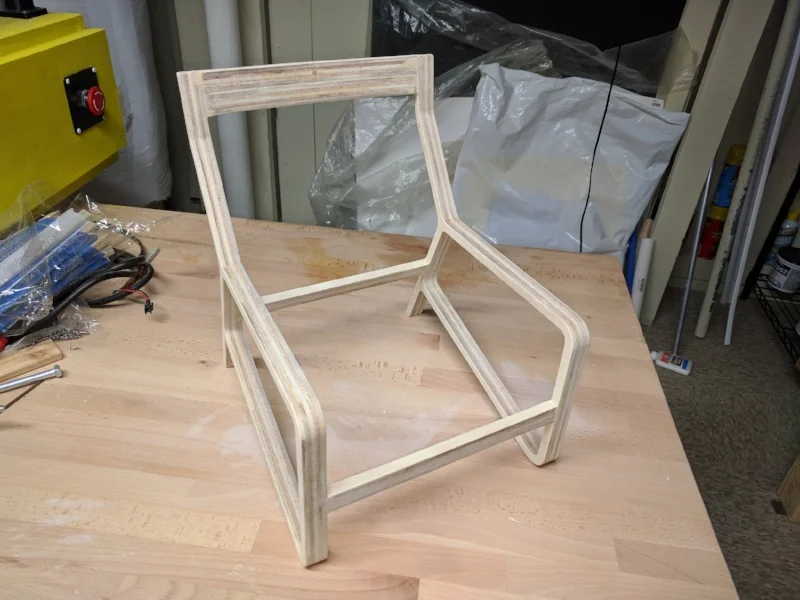
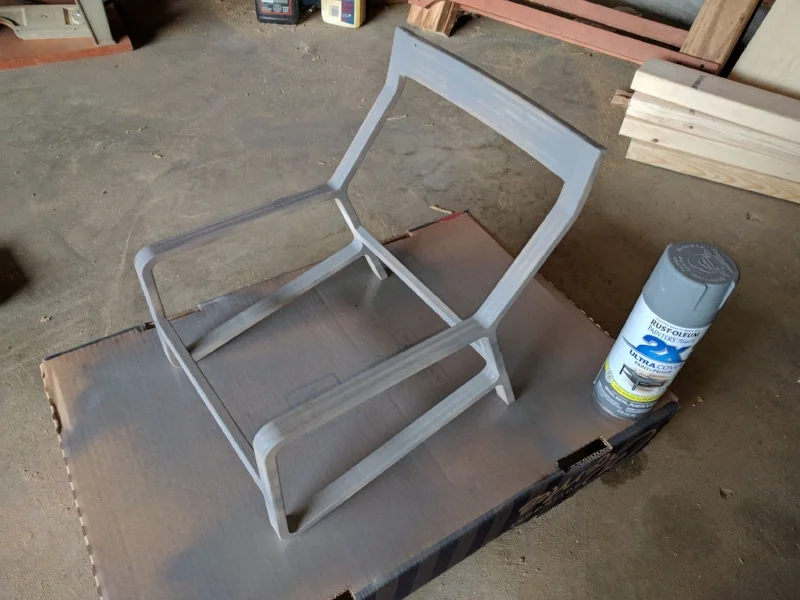
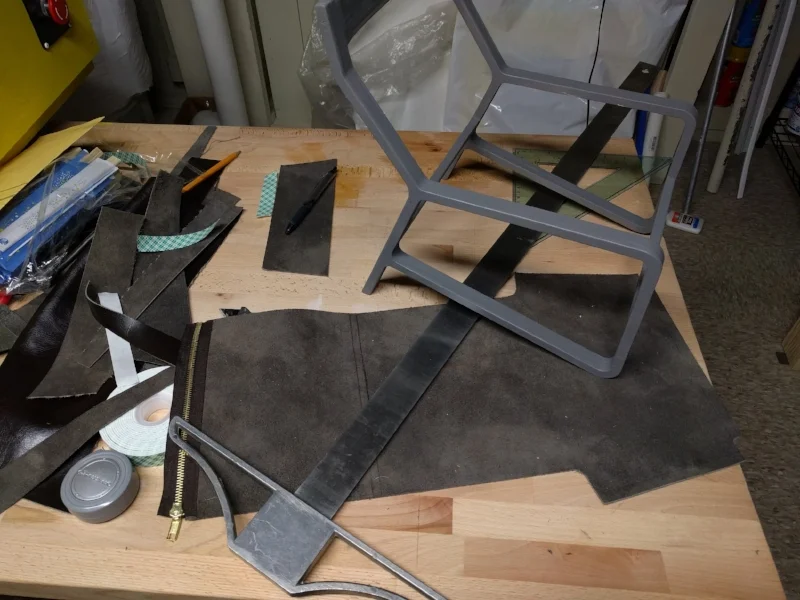
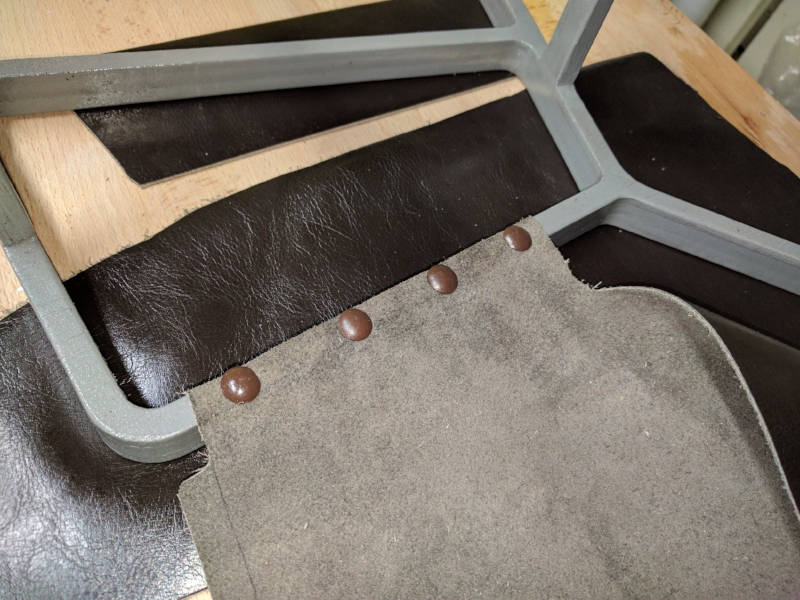
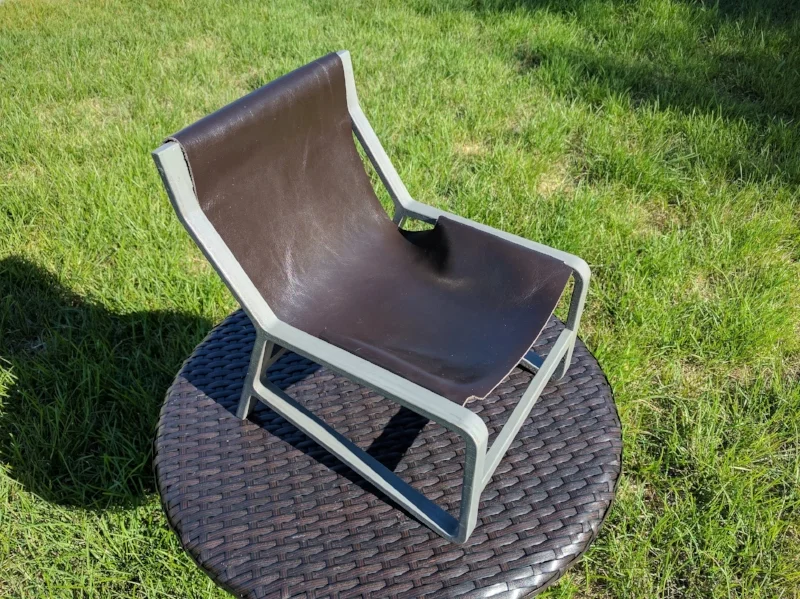
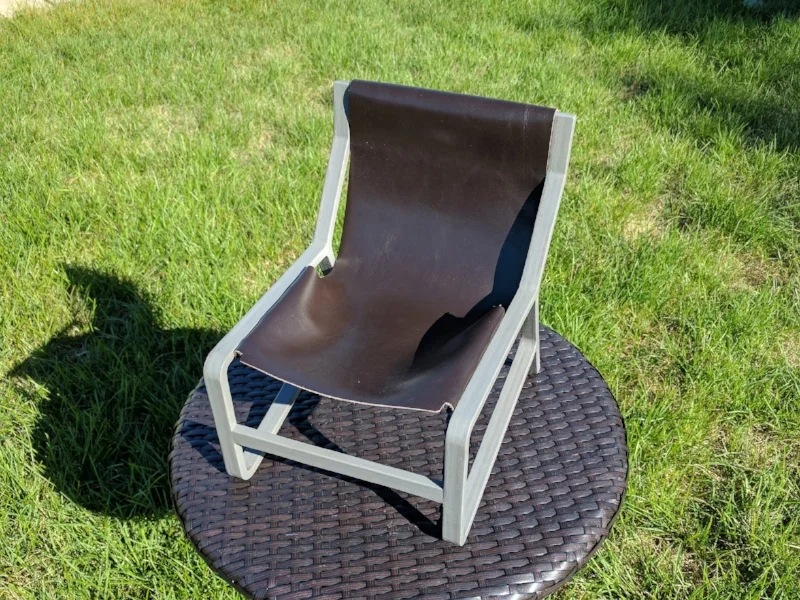
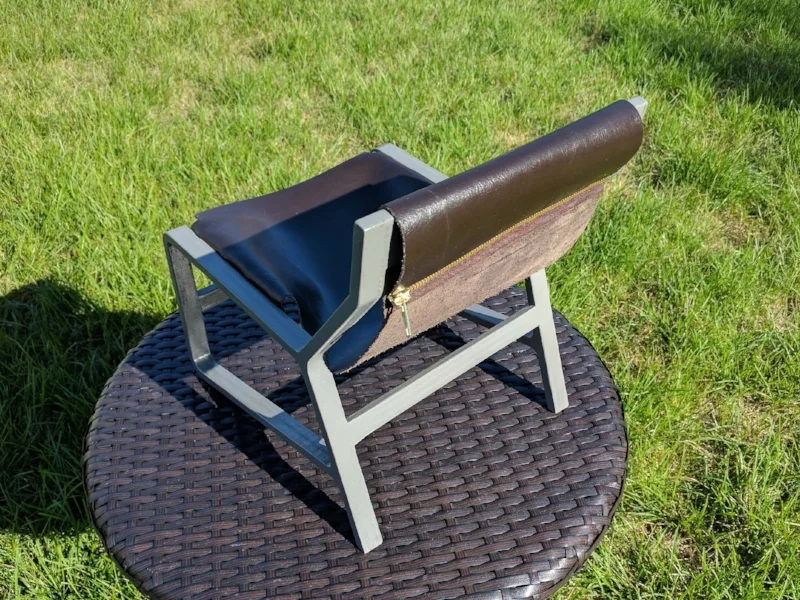
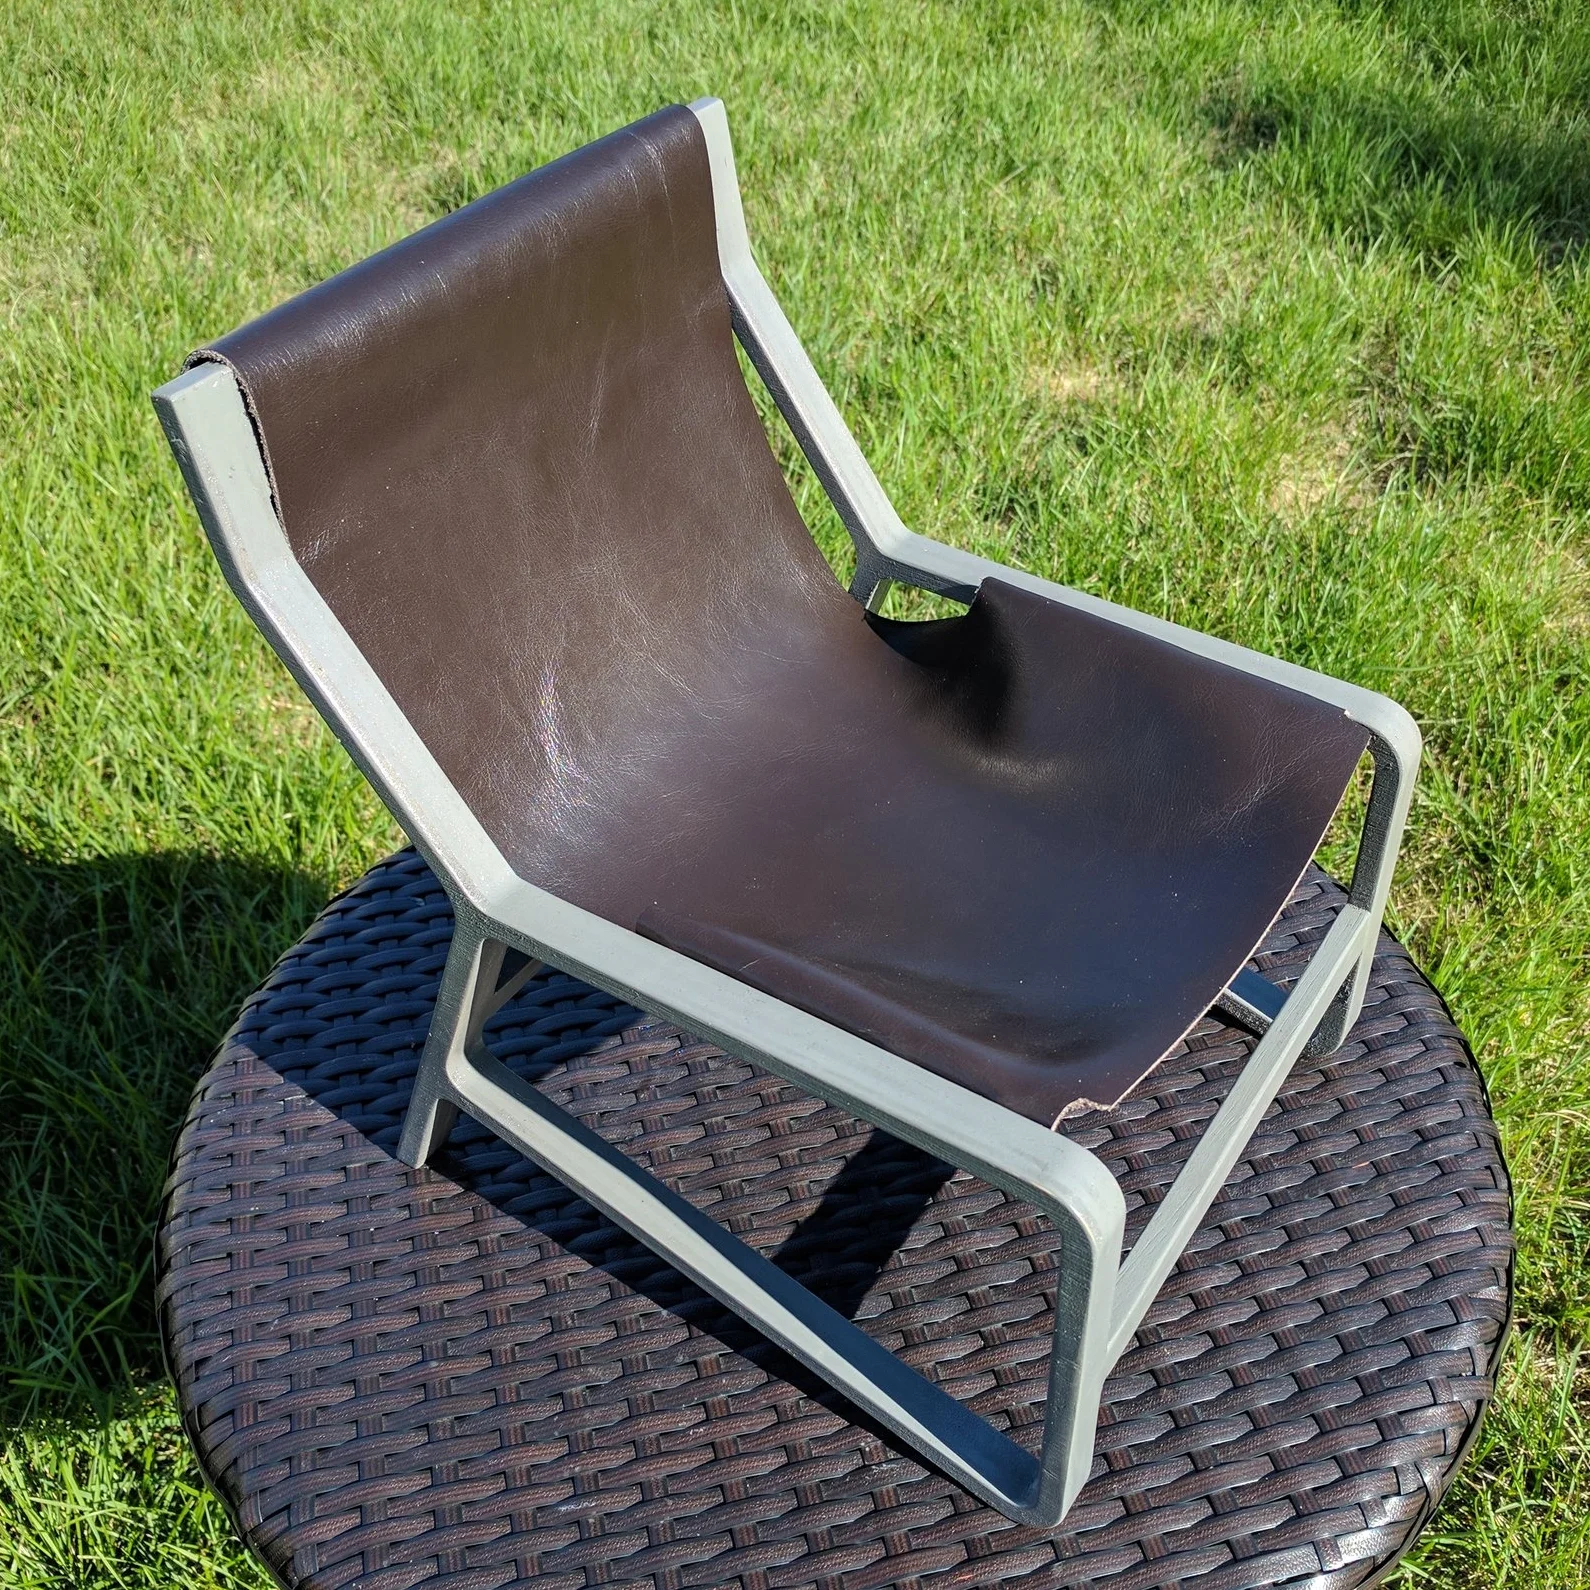
Toro Sling Chair Scale Model
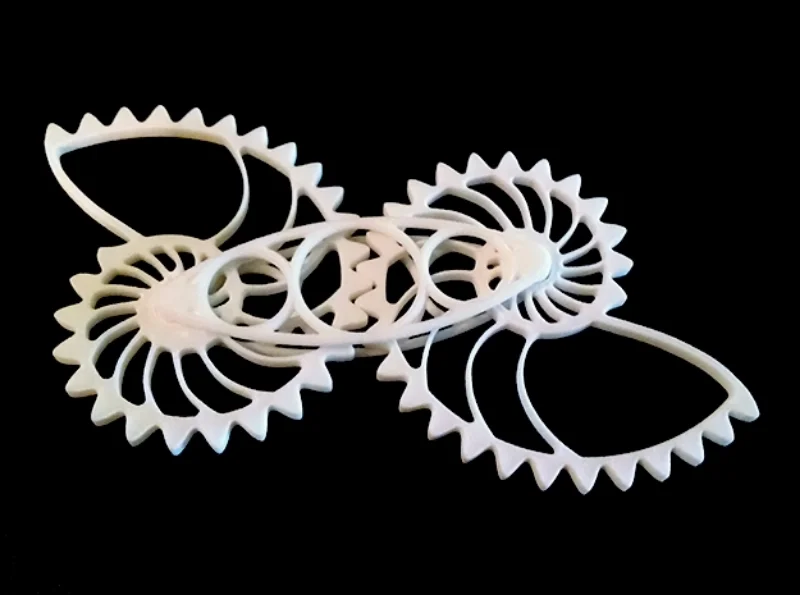
5
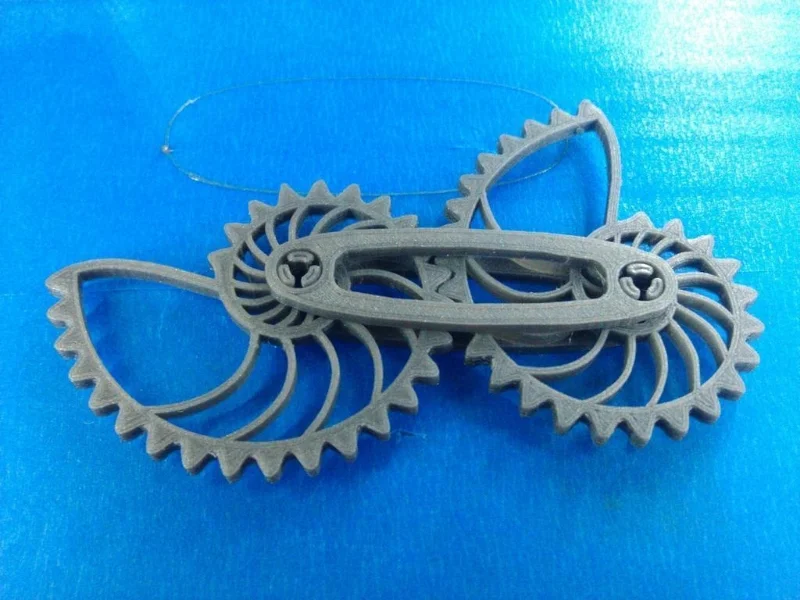
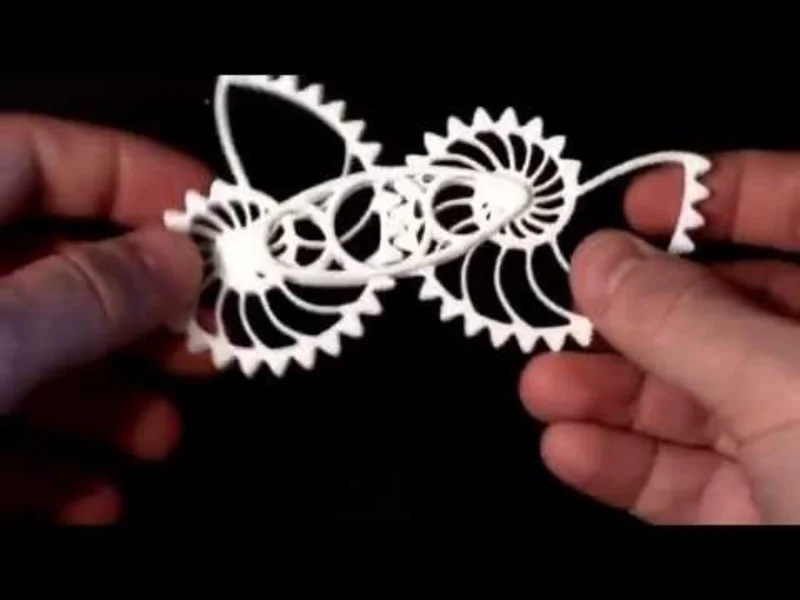
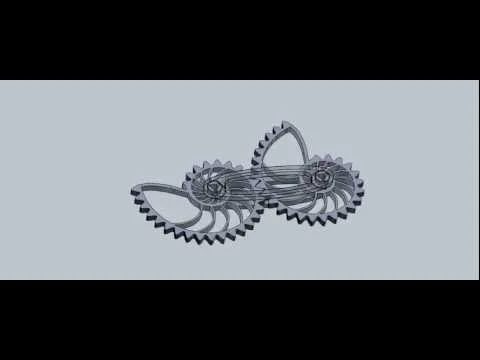
Nautilus Gears
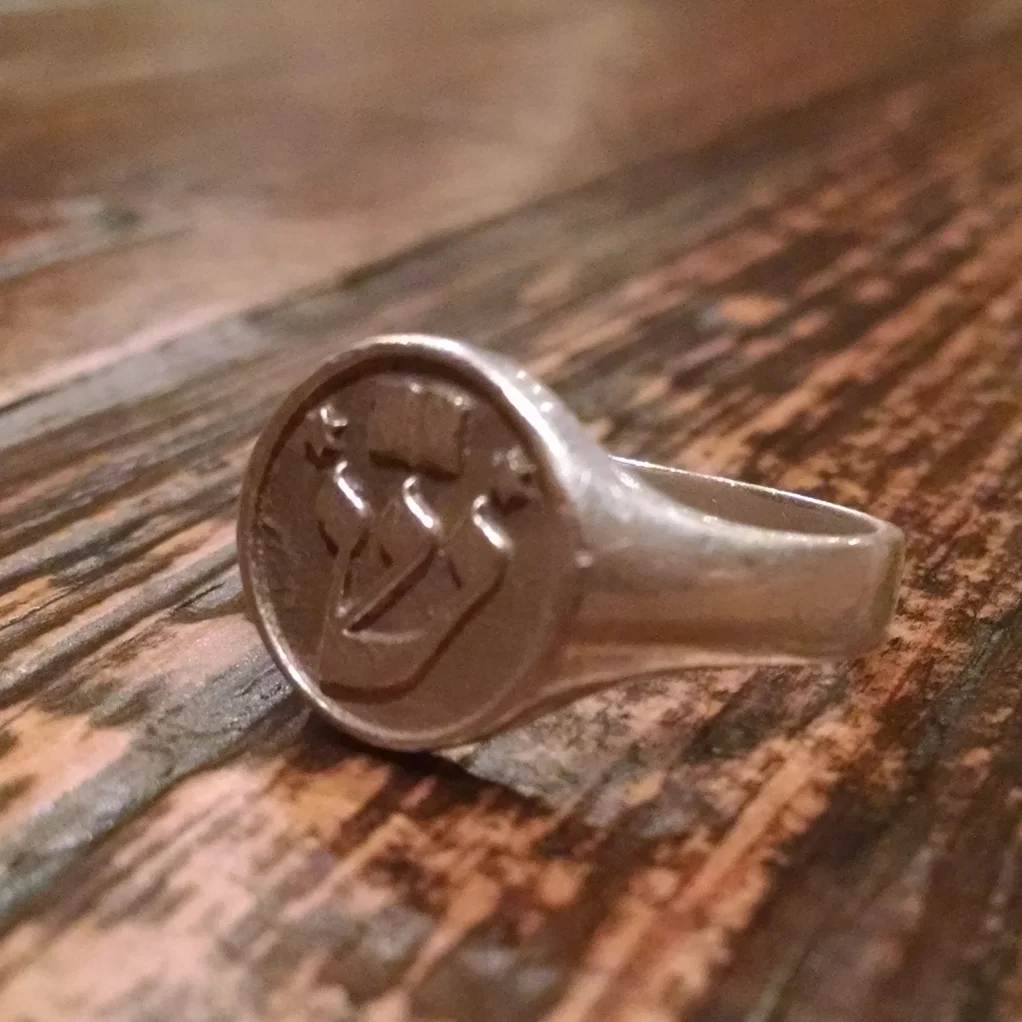
4
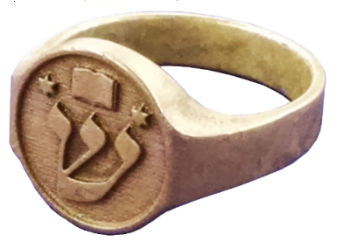
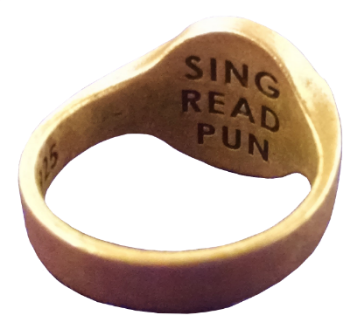
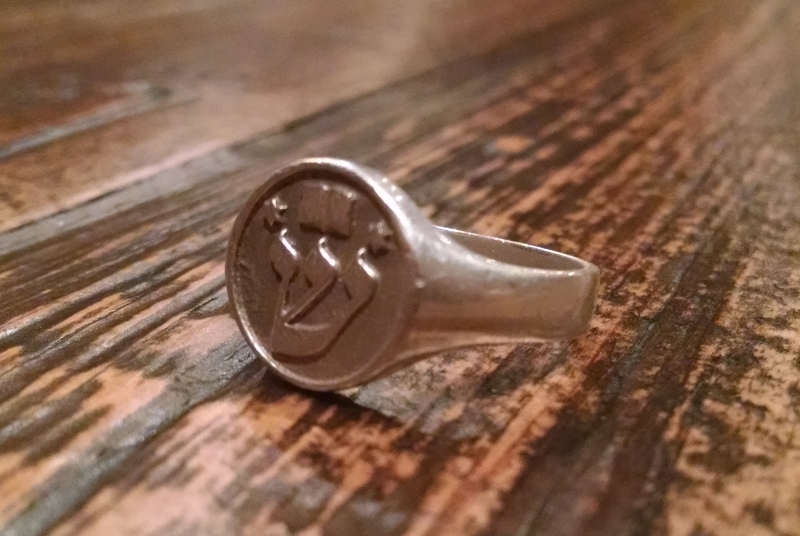
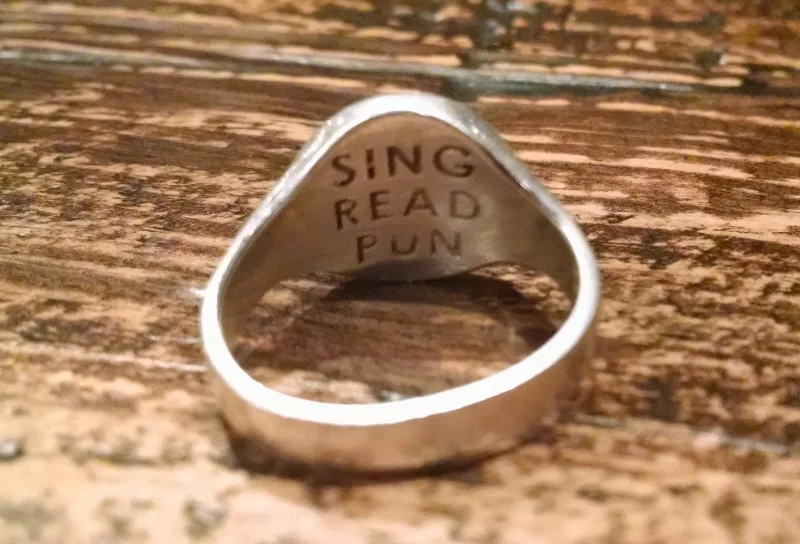
Family Crest Ring
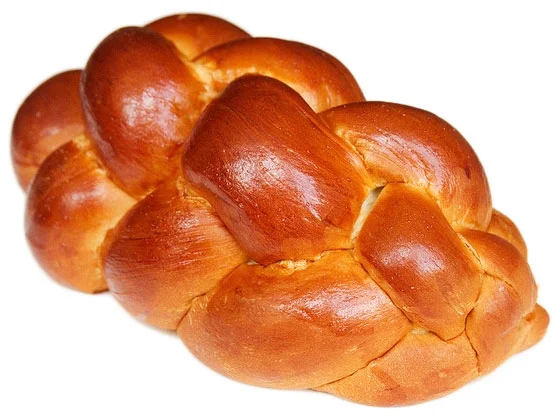
4
Challah Mezuzah
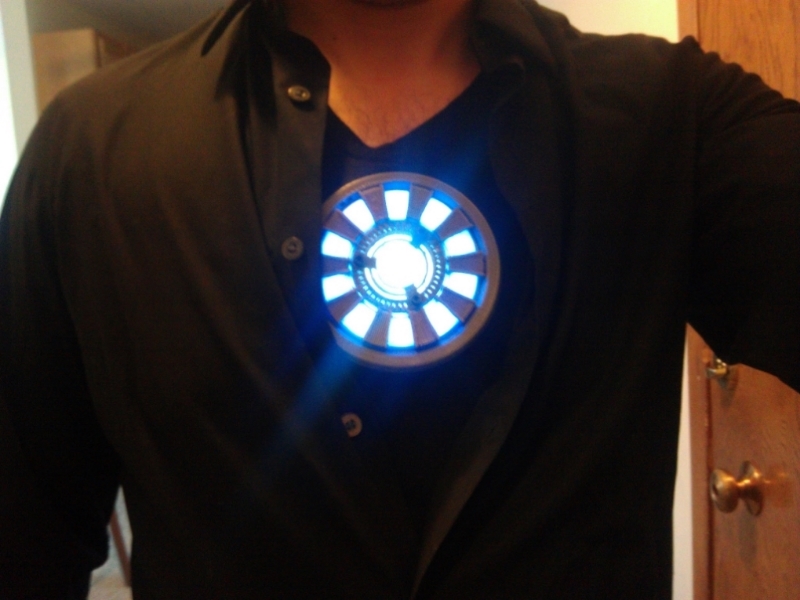
6
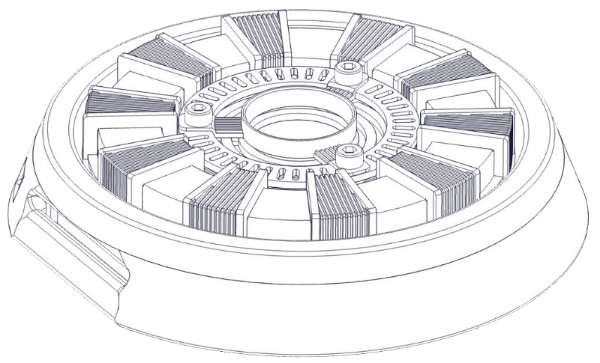
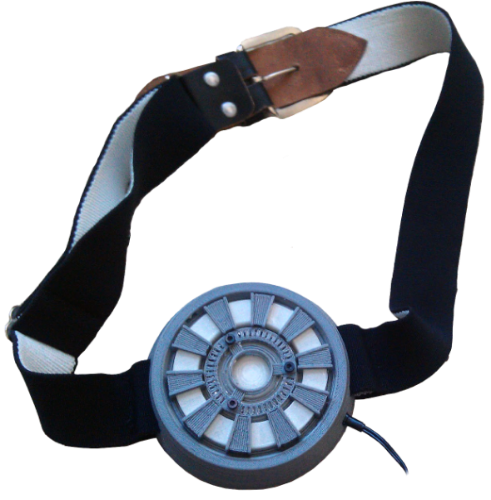
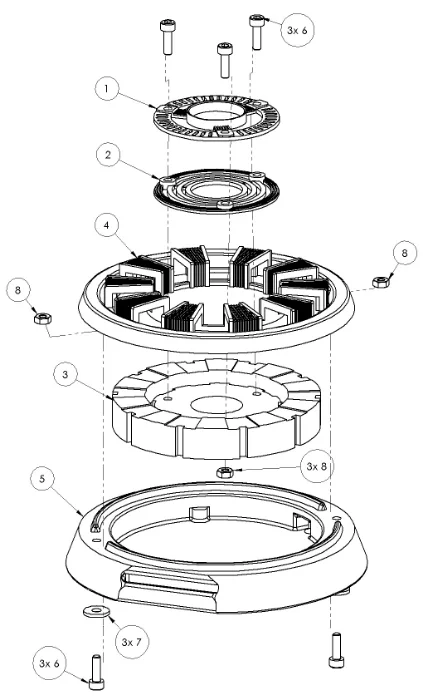
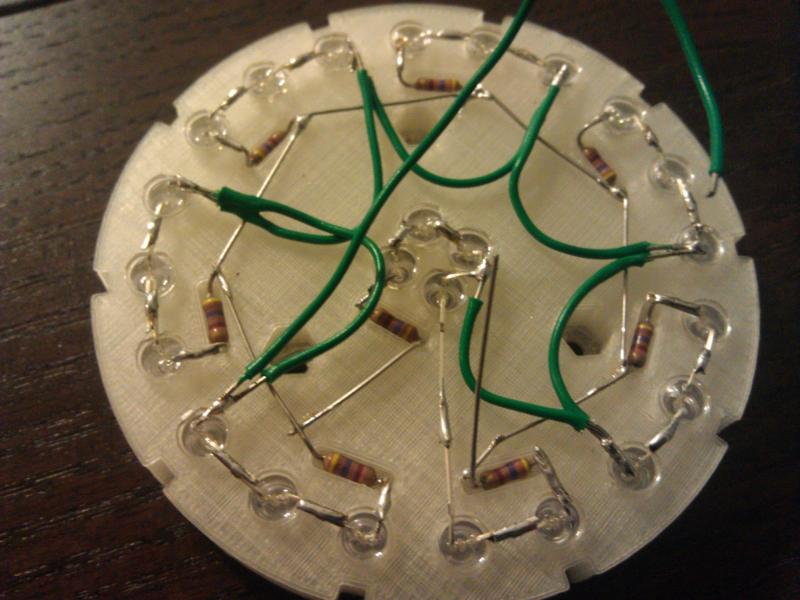
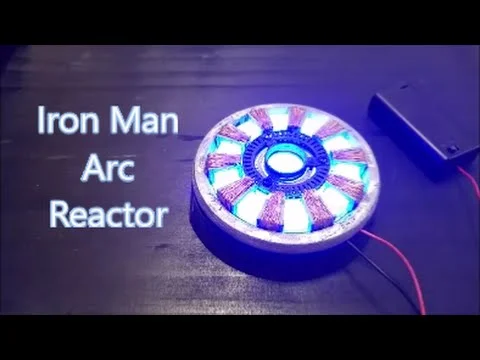
Arc Reactor
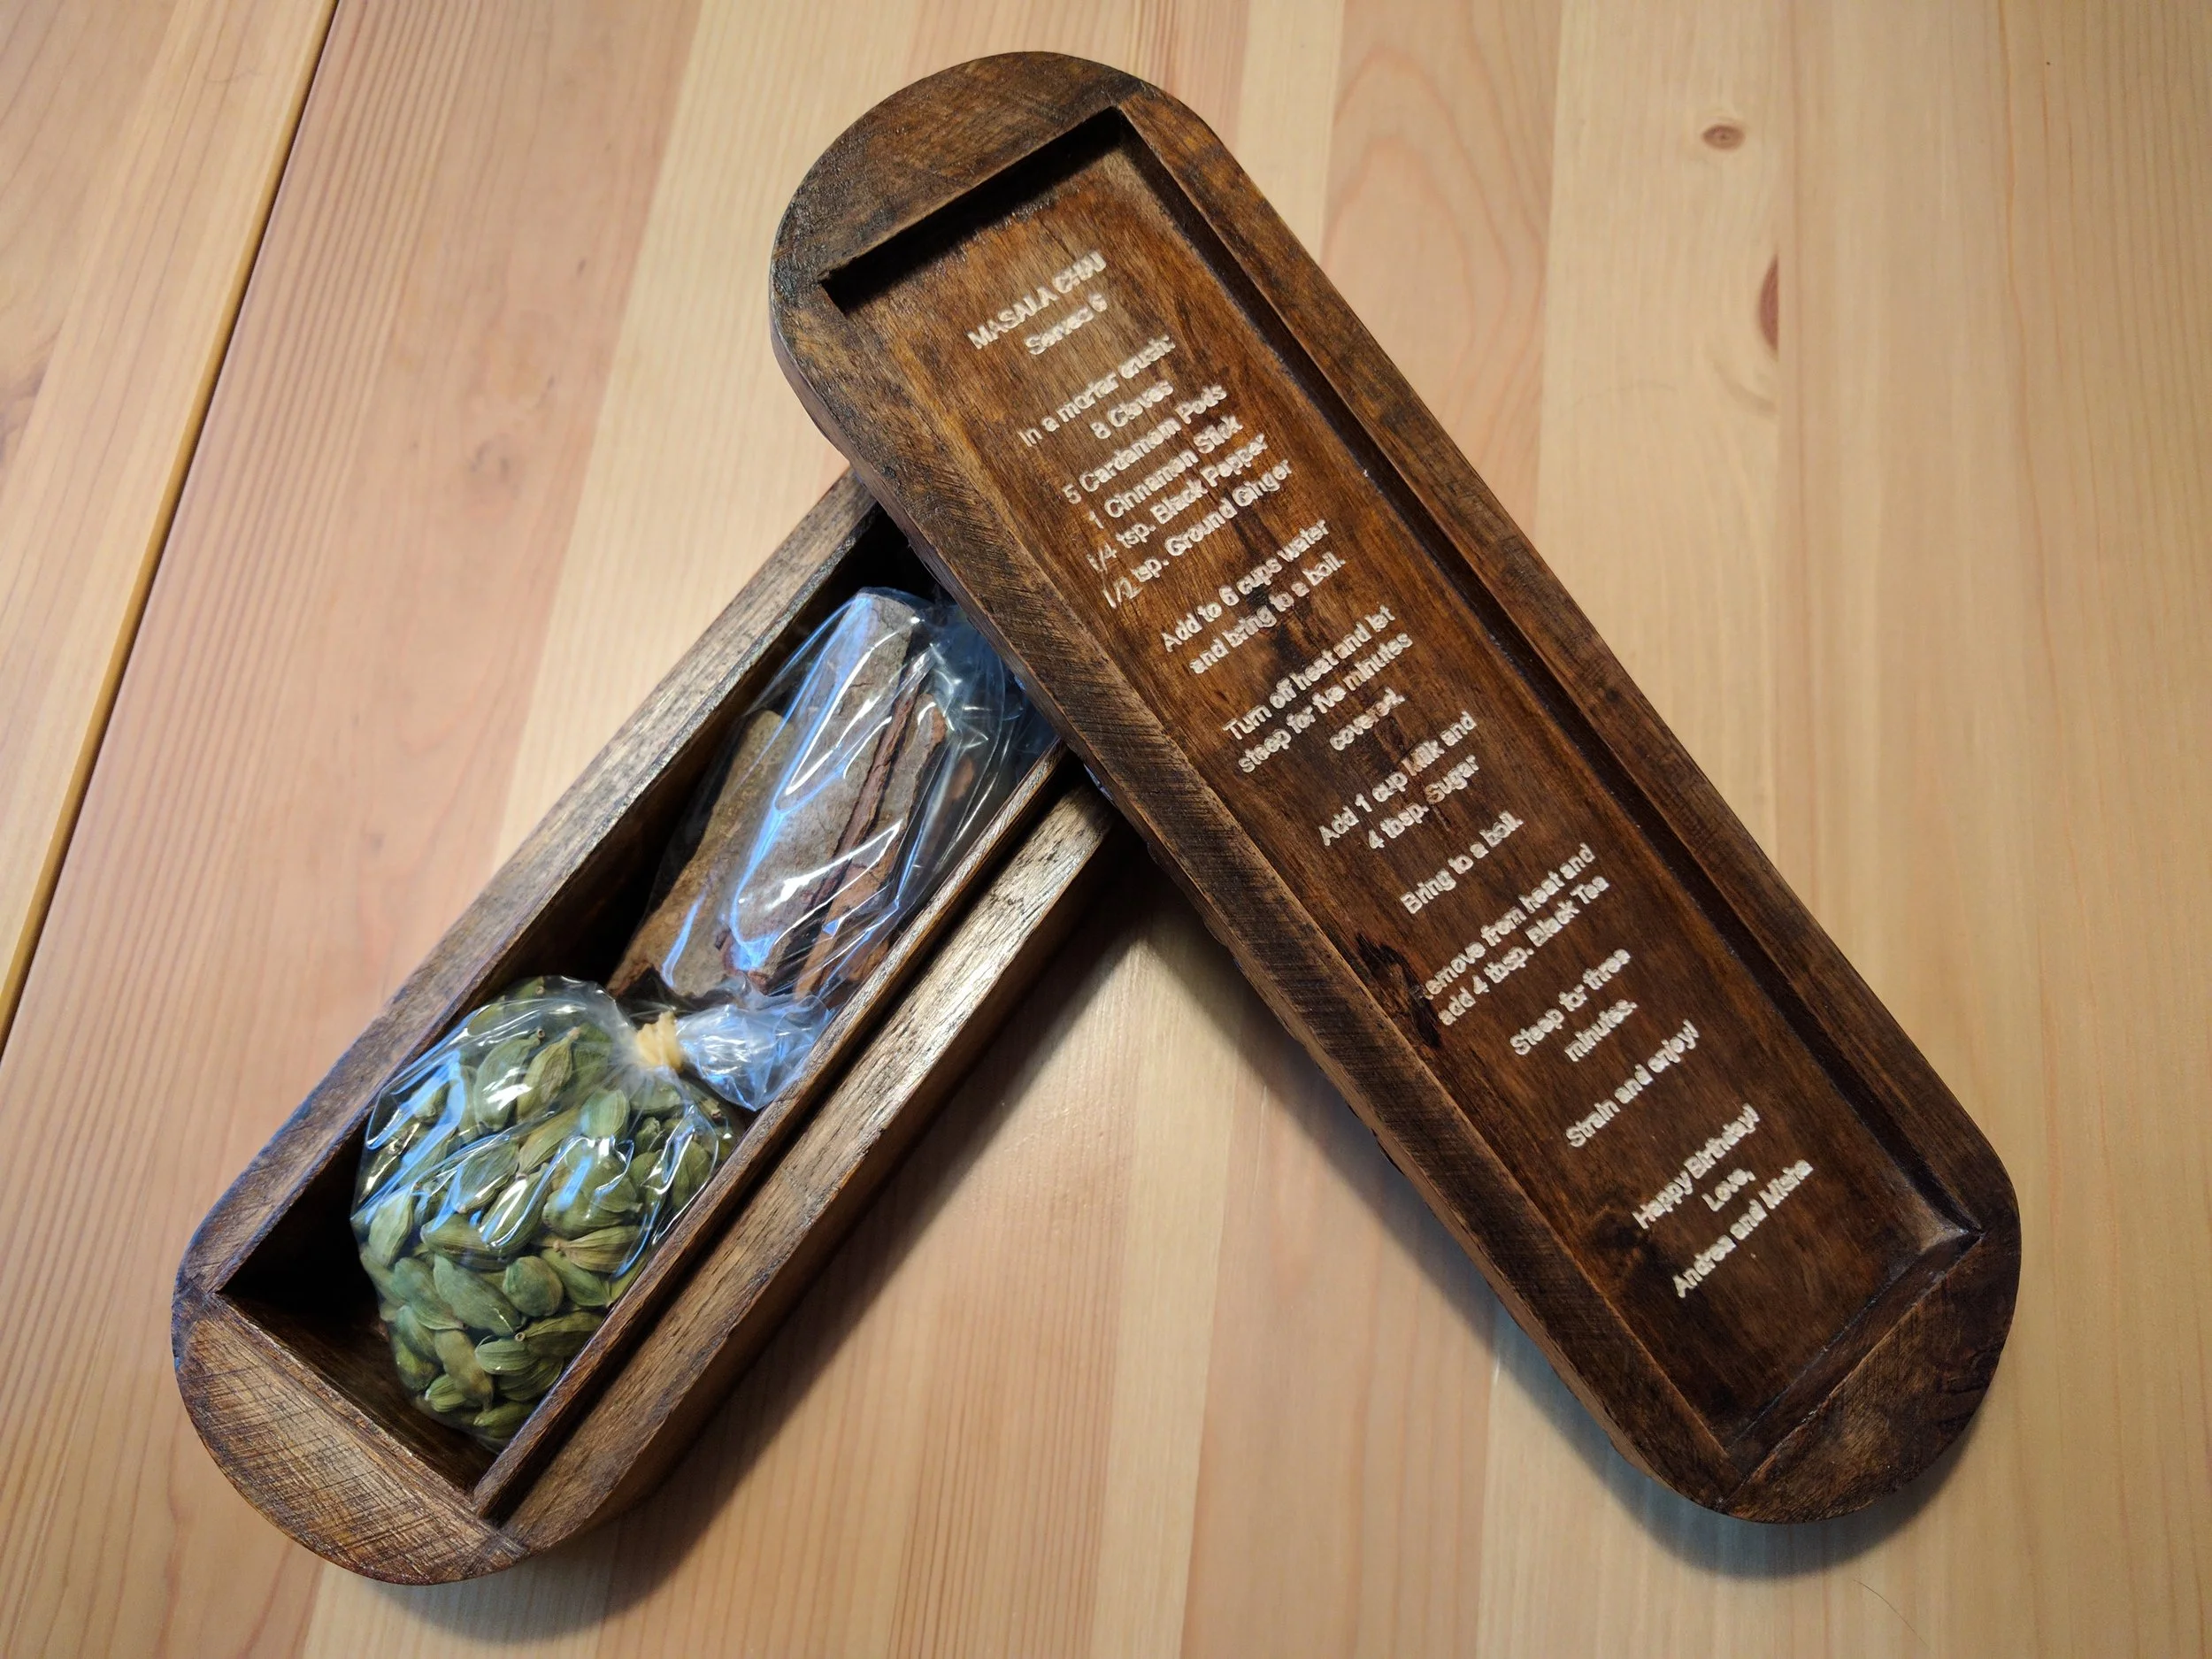
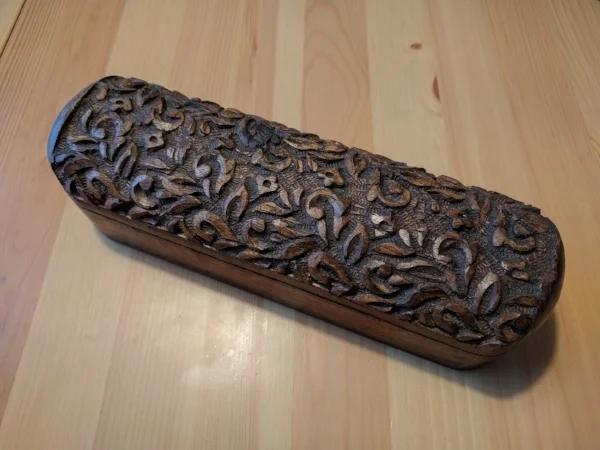
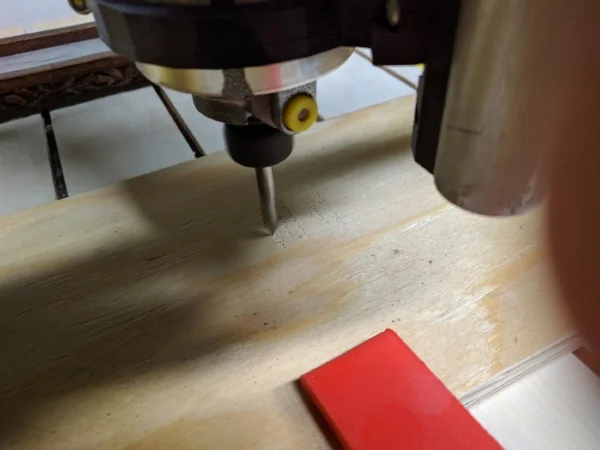
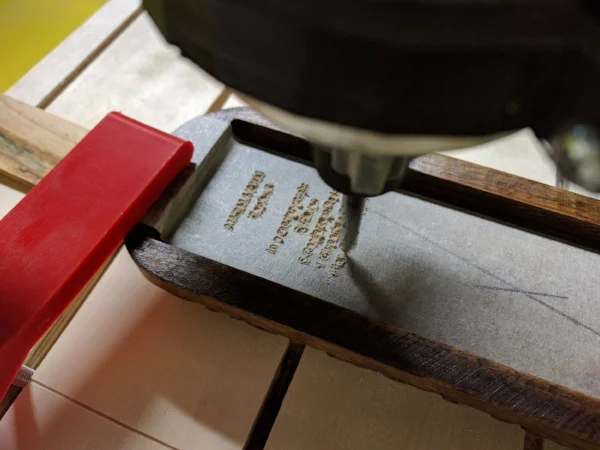
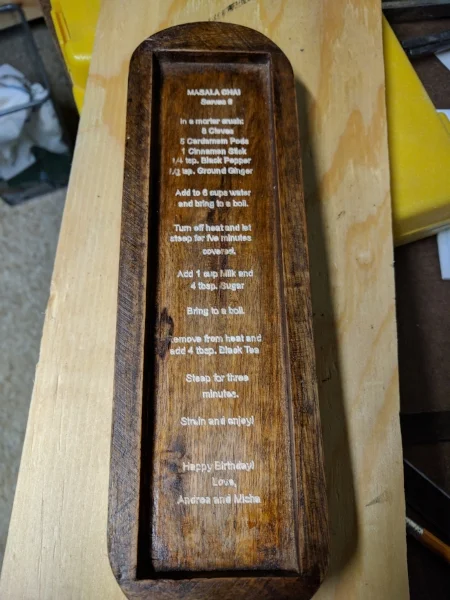
5
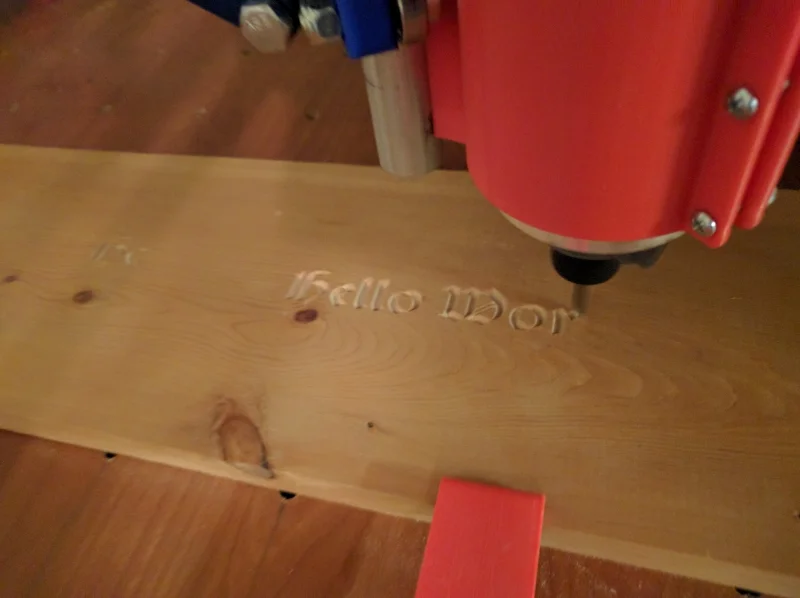
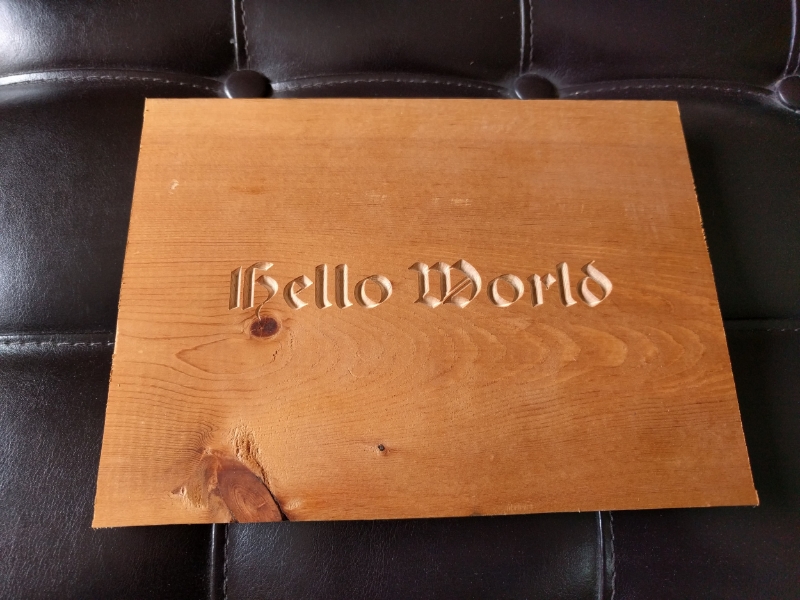
Engraved Gift Box
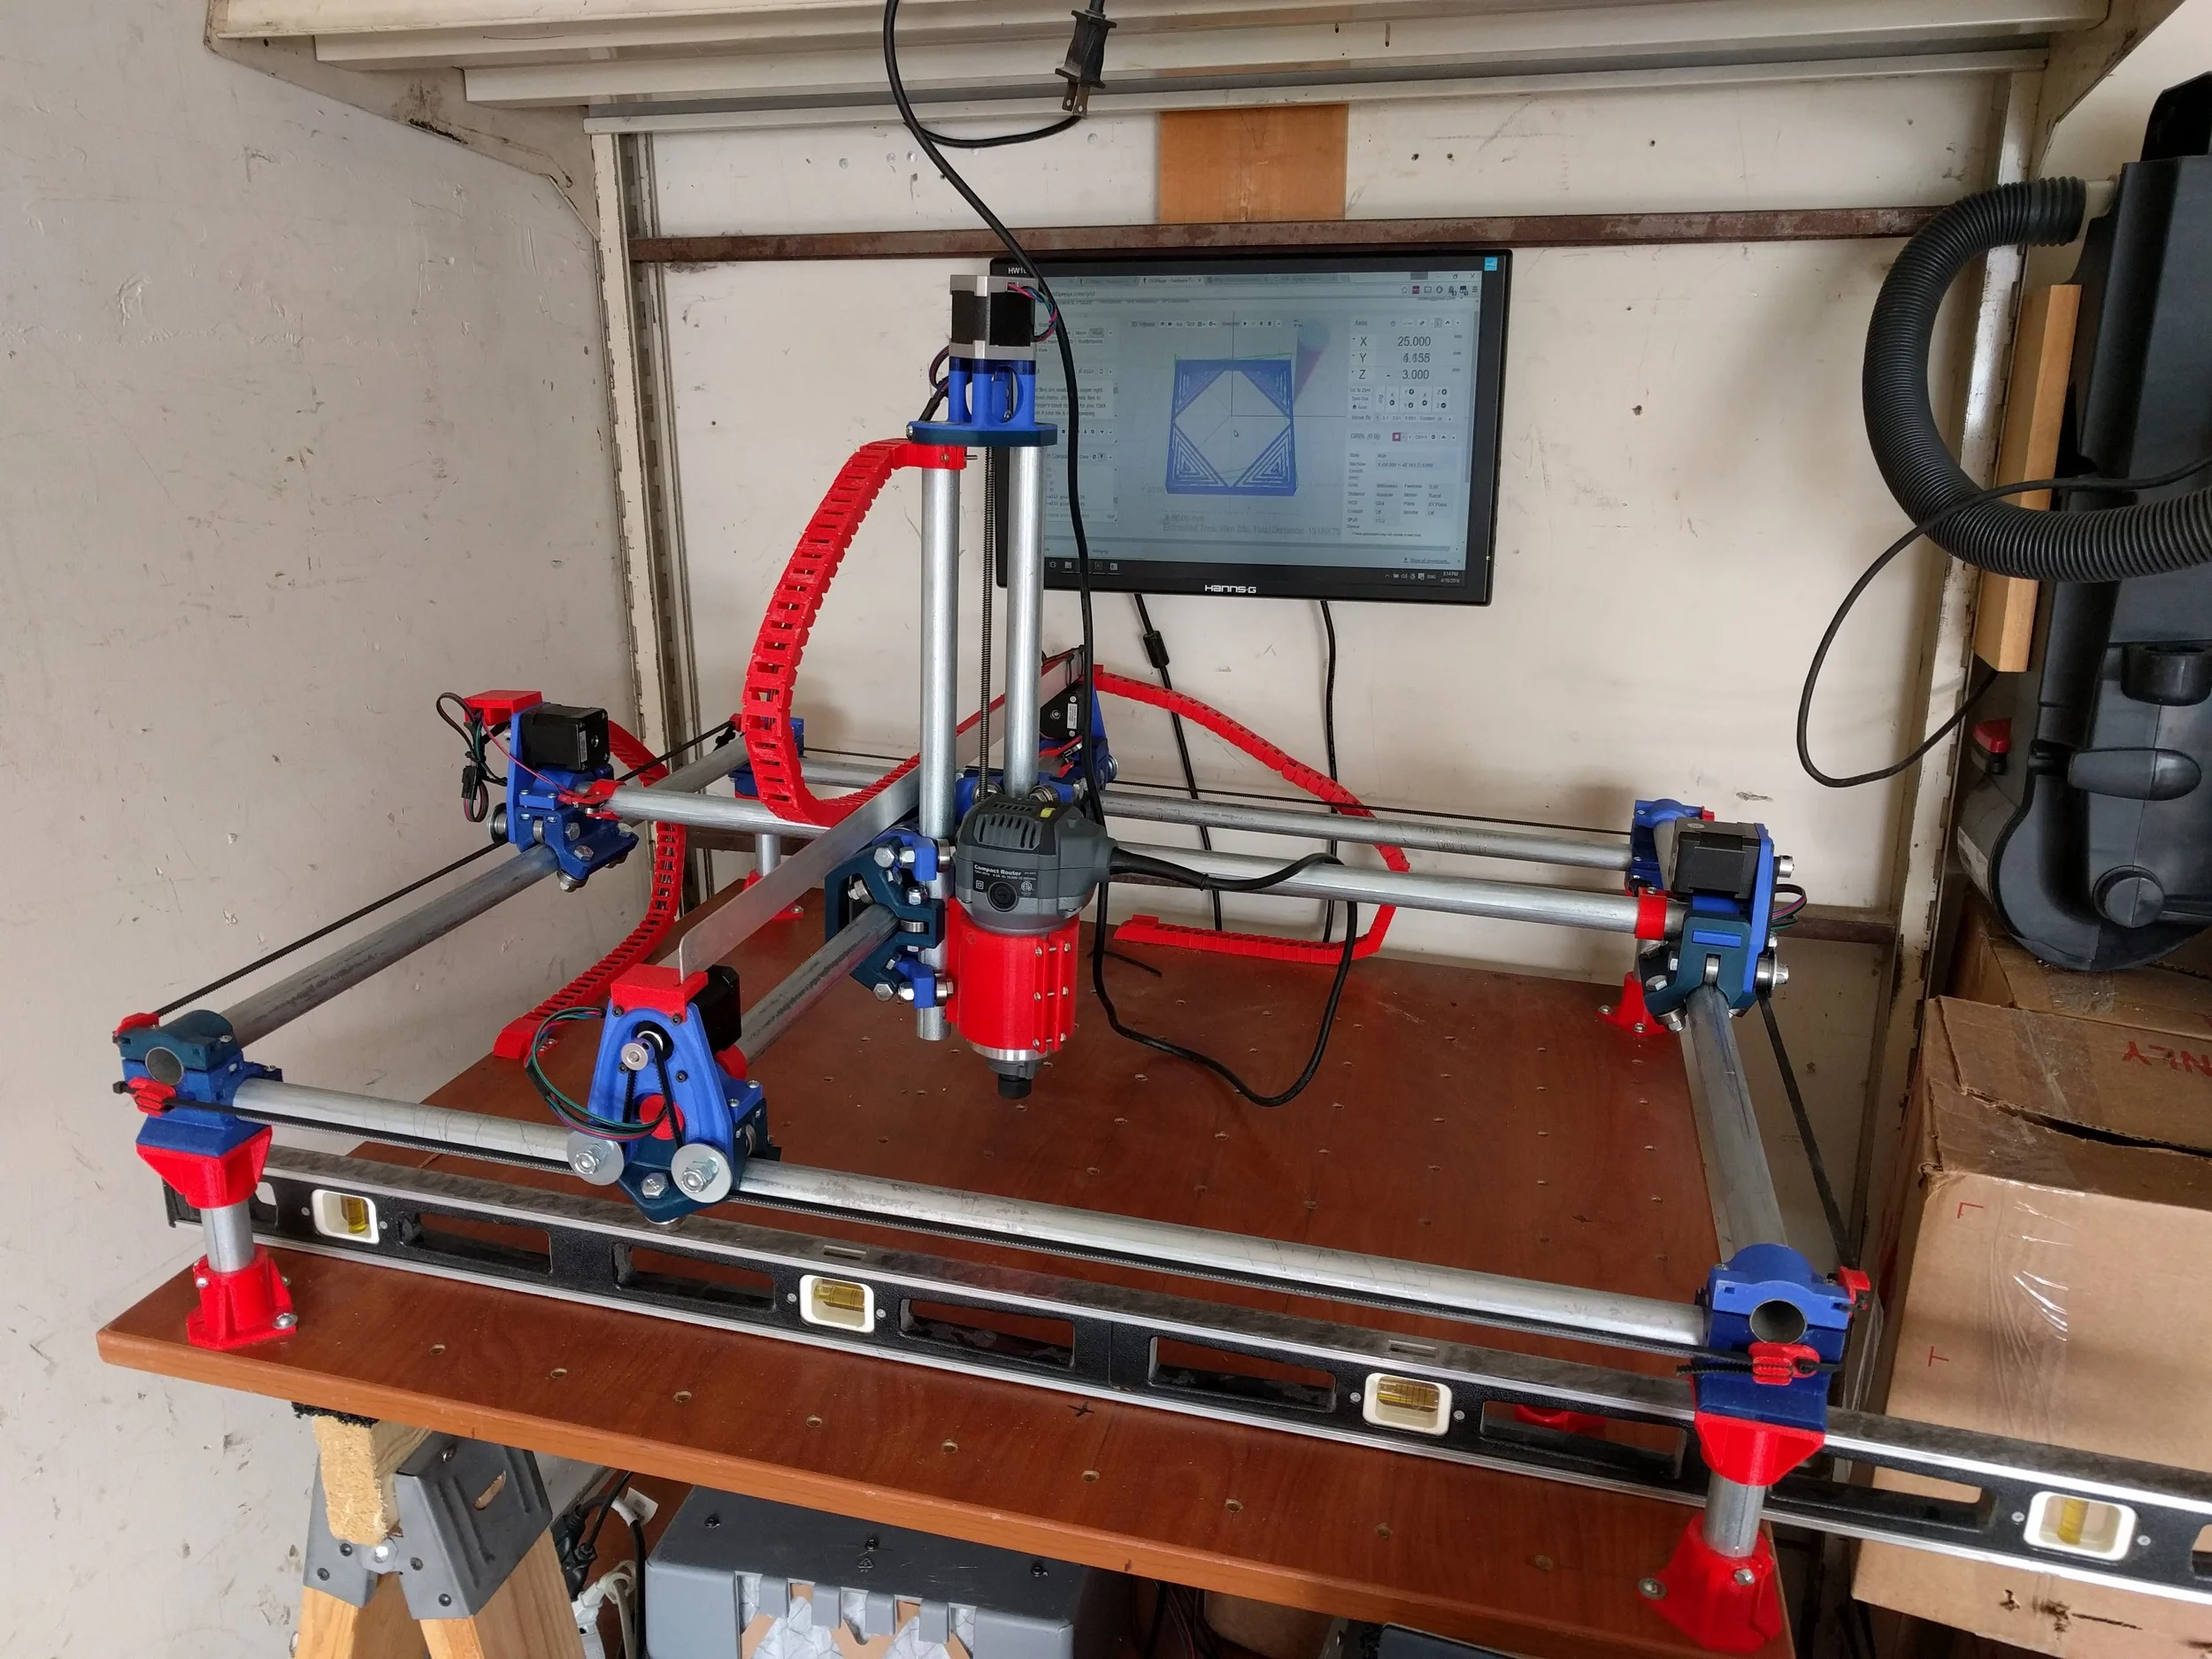
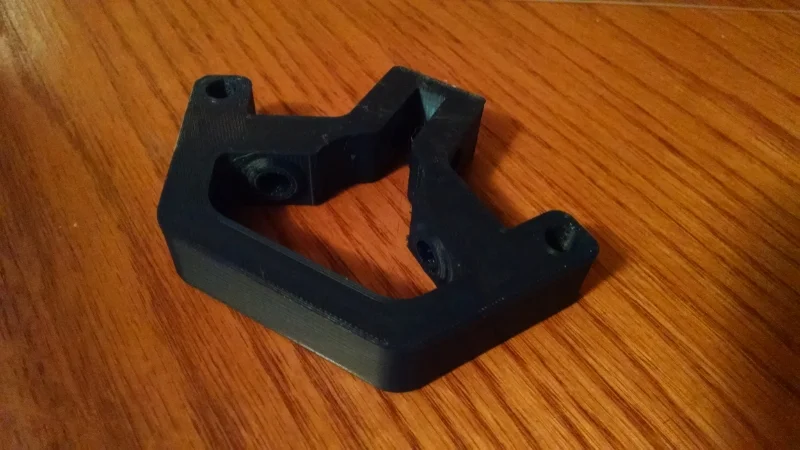
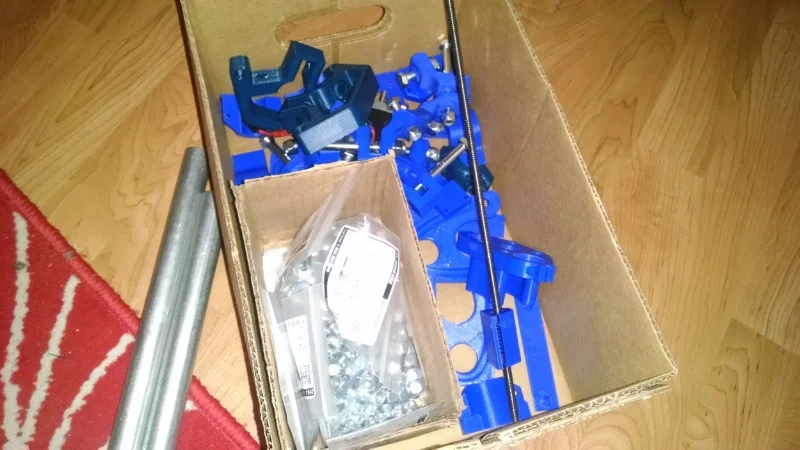
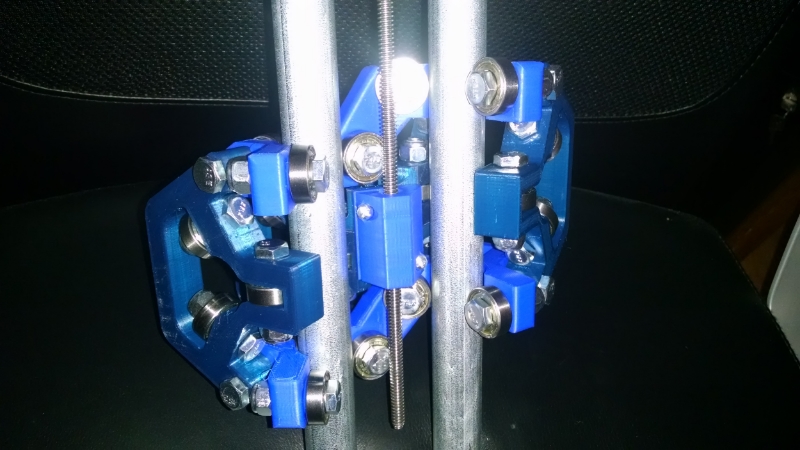
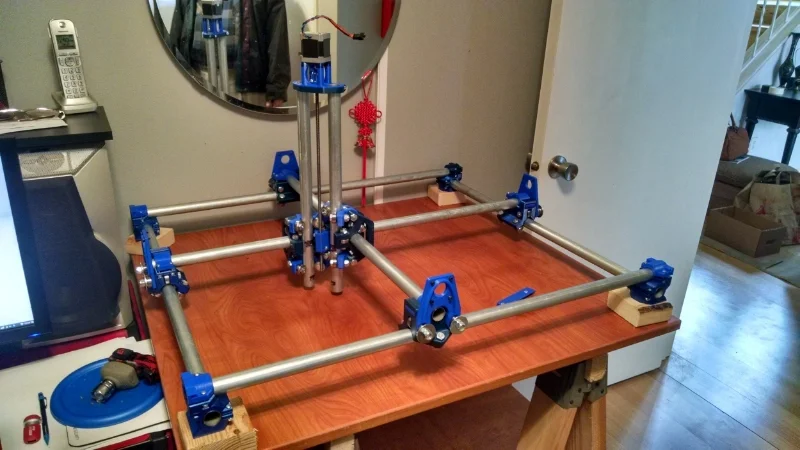
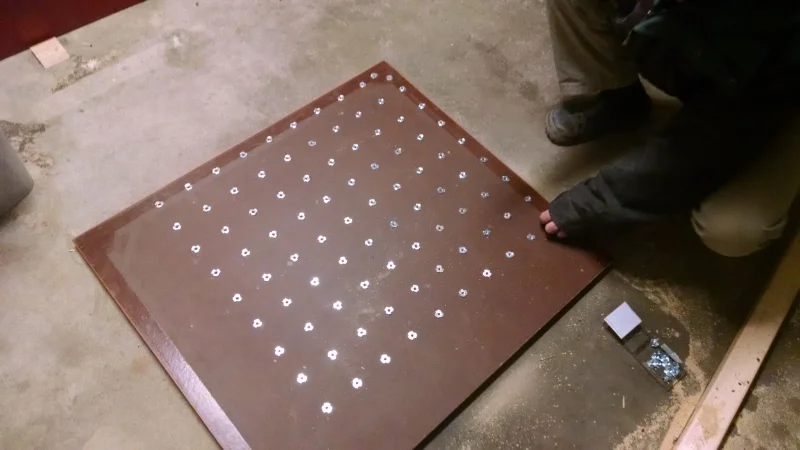
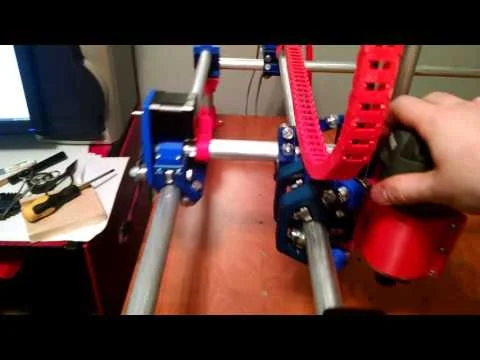
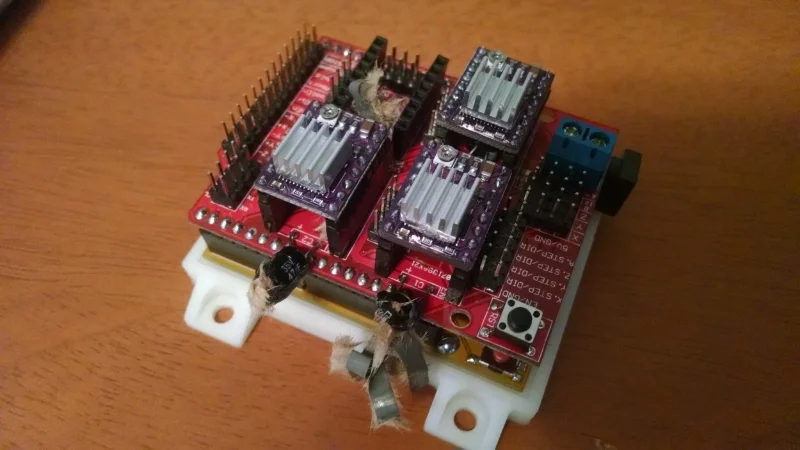
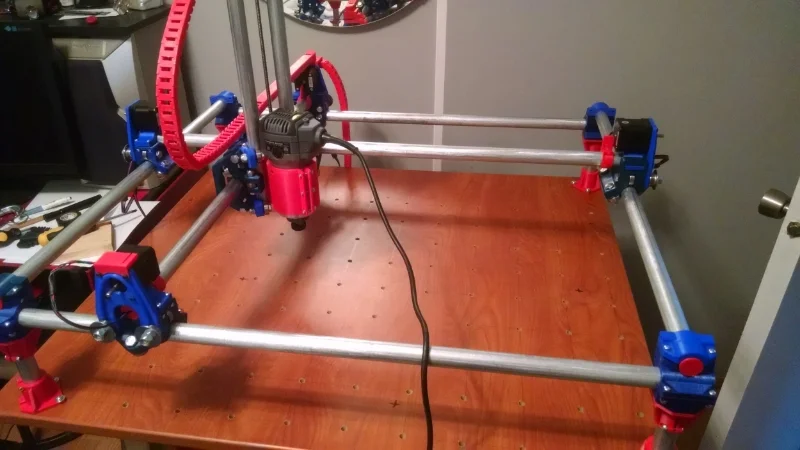
17
DIY CNC
8
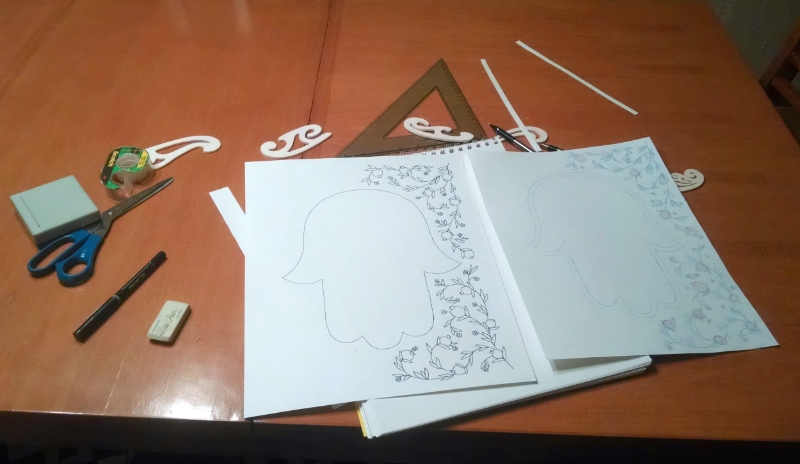
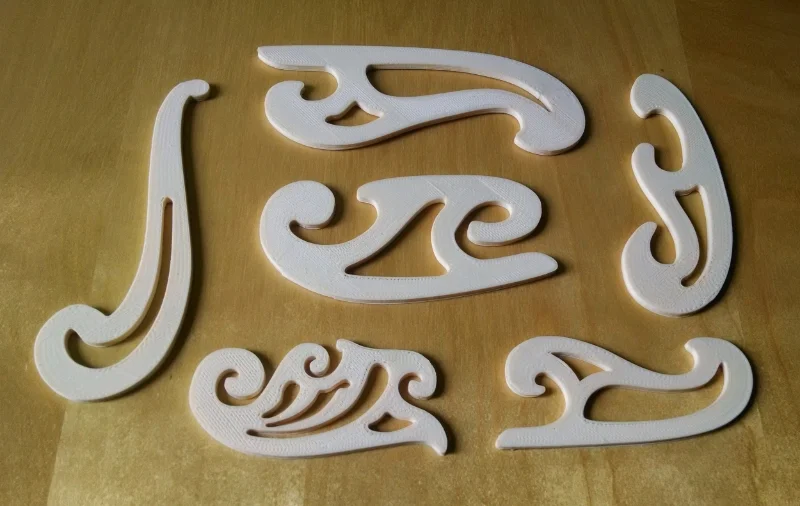
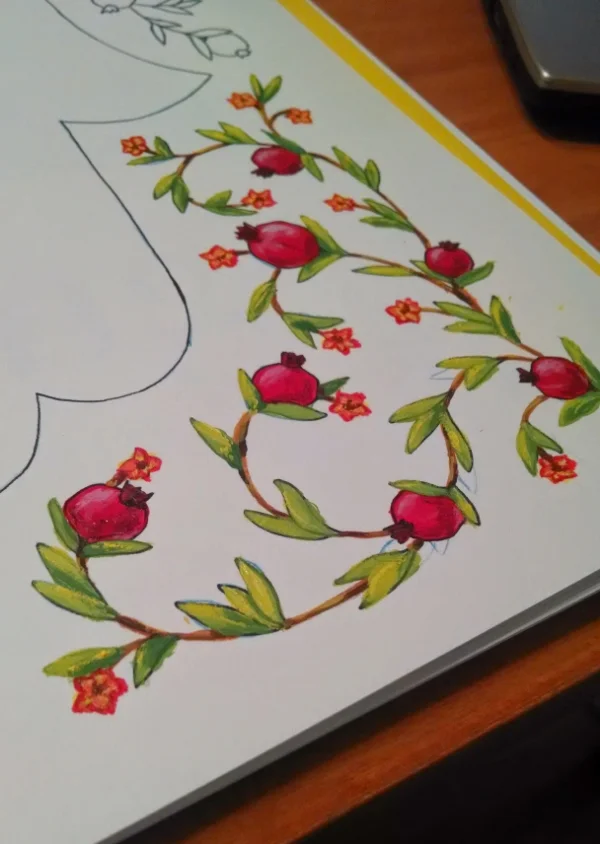
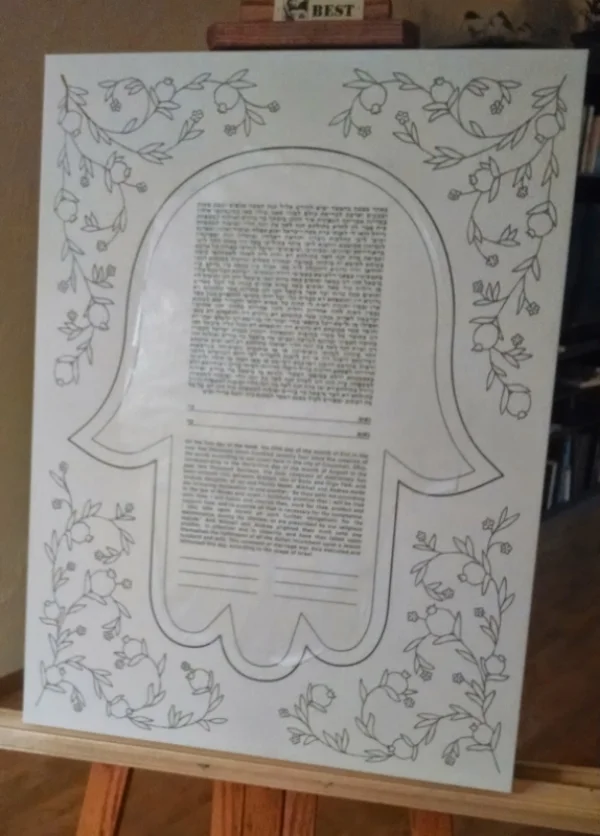
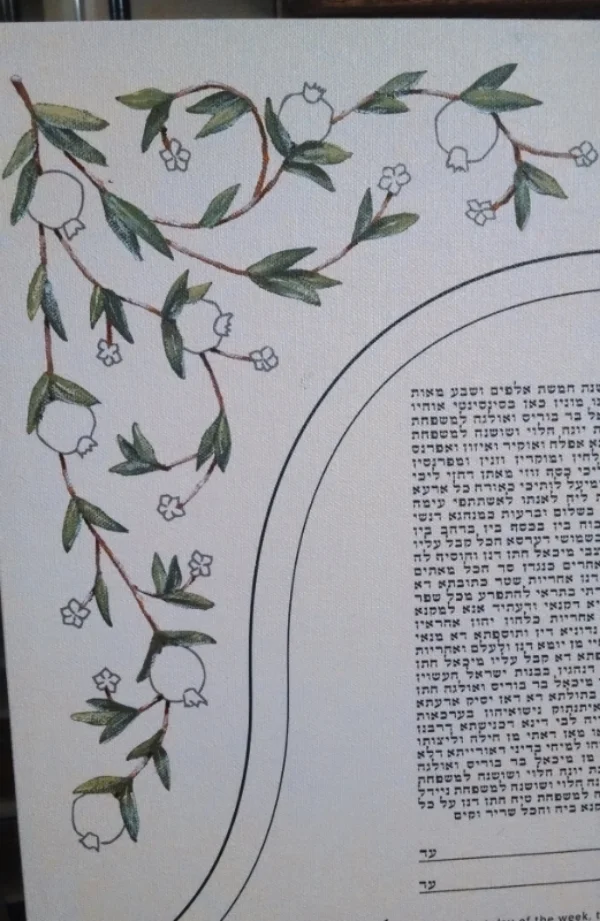
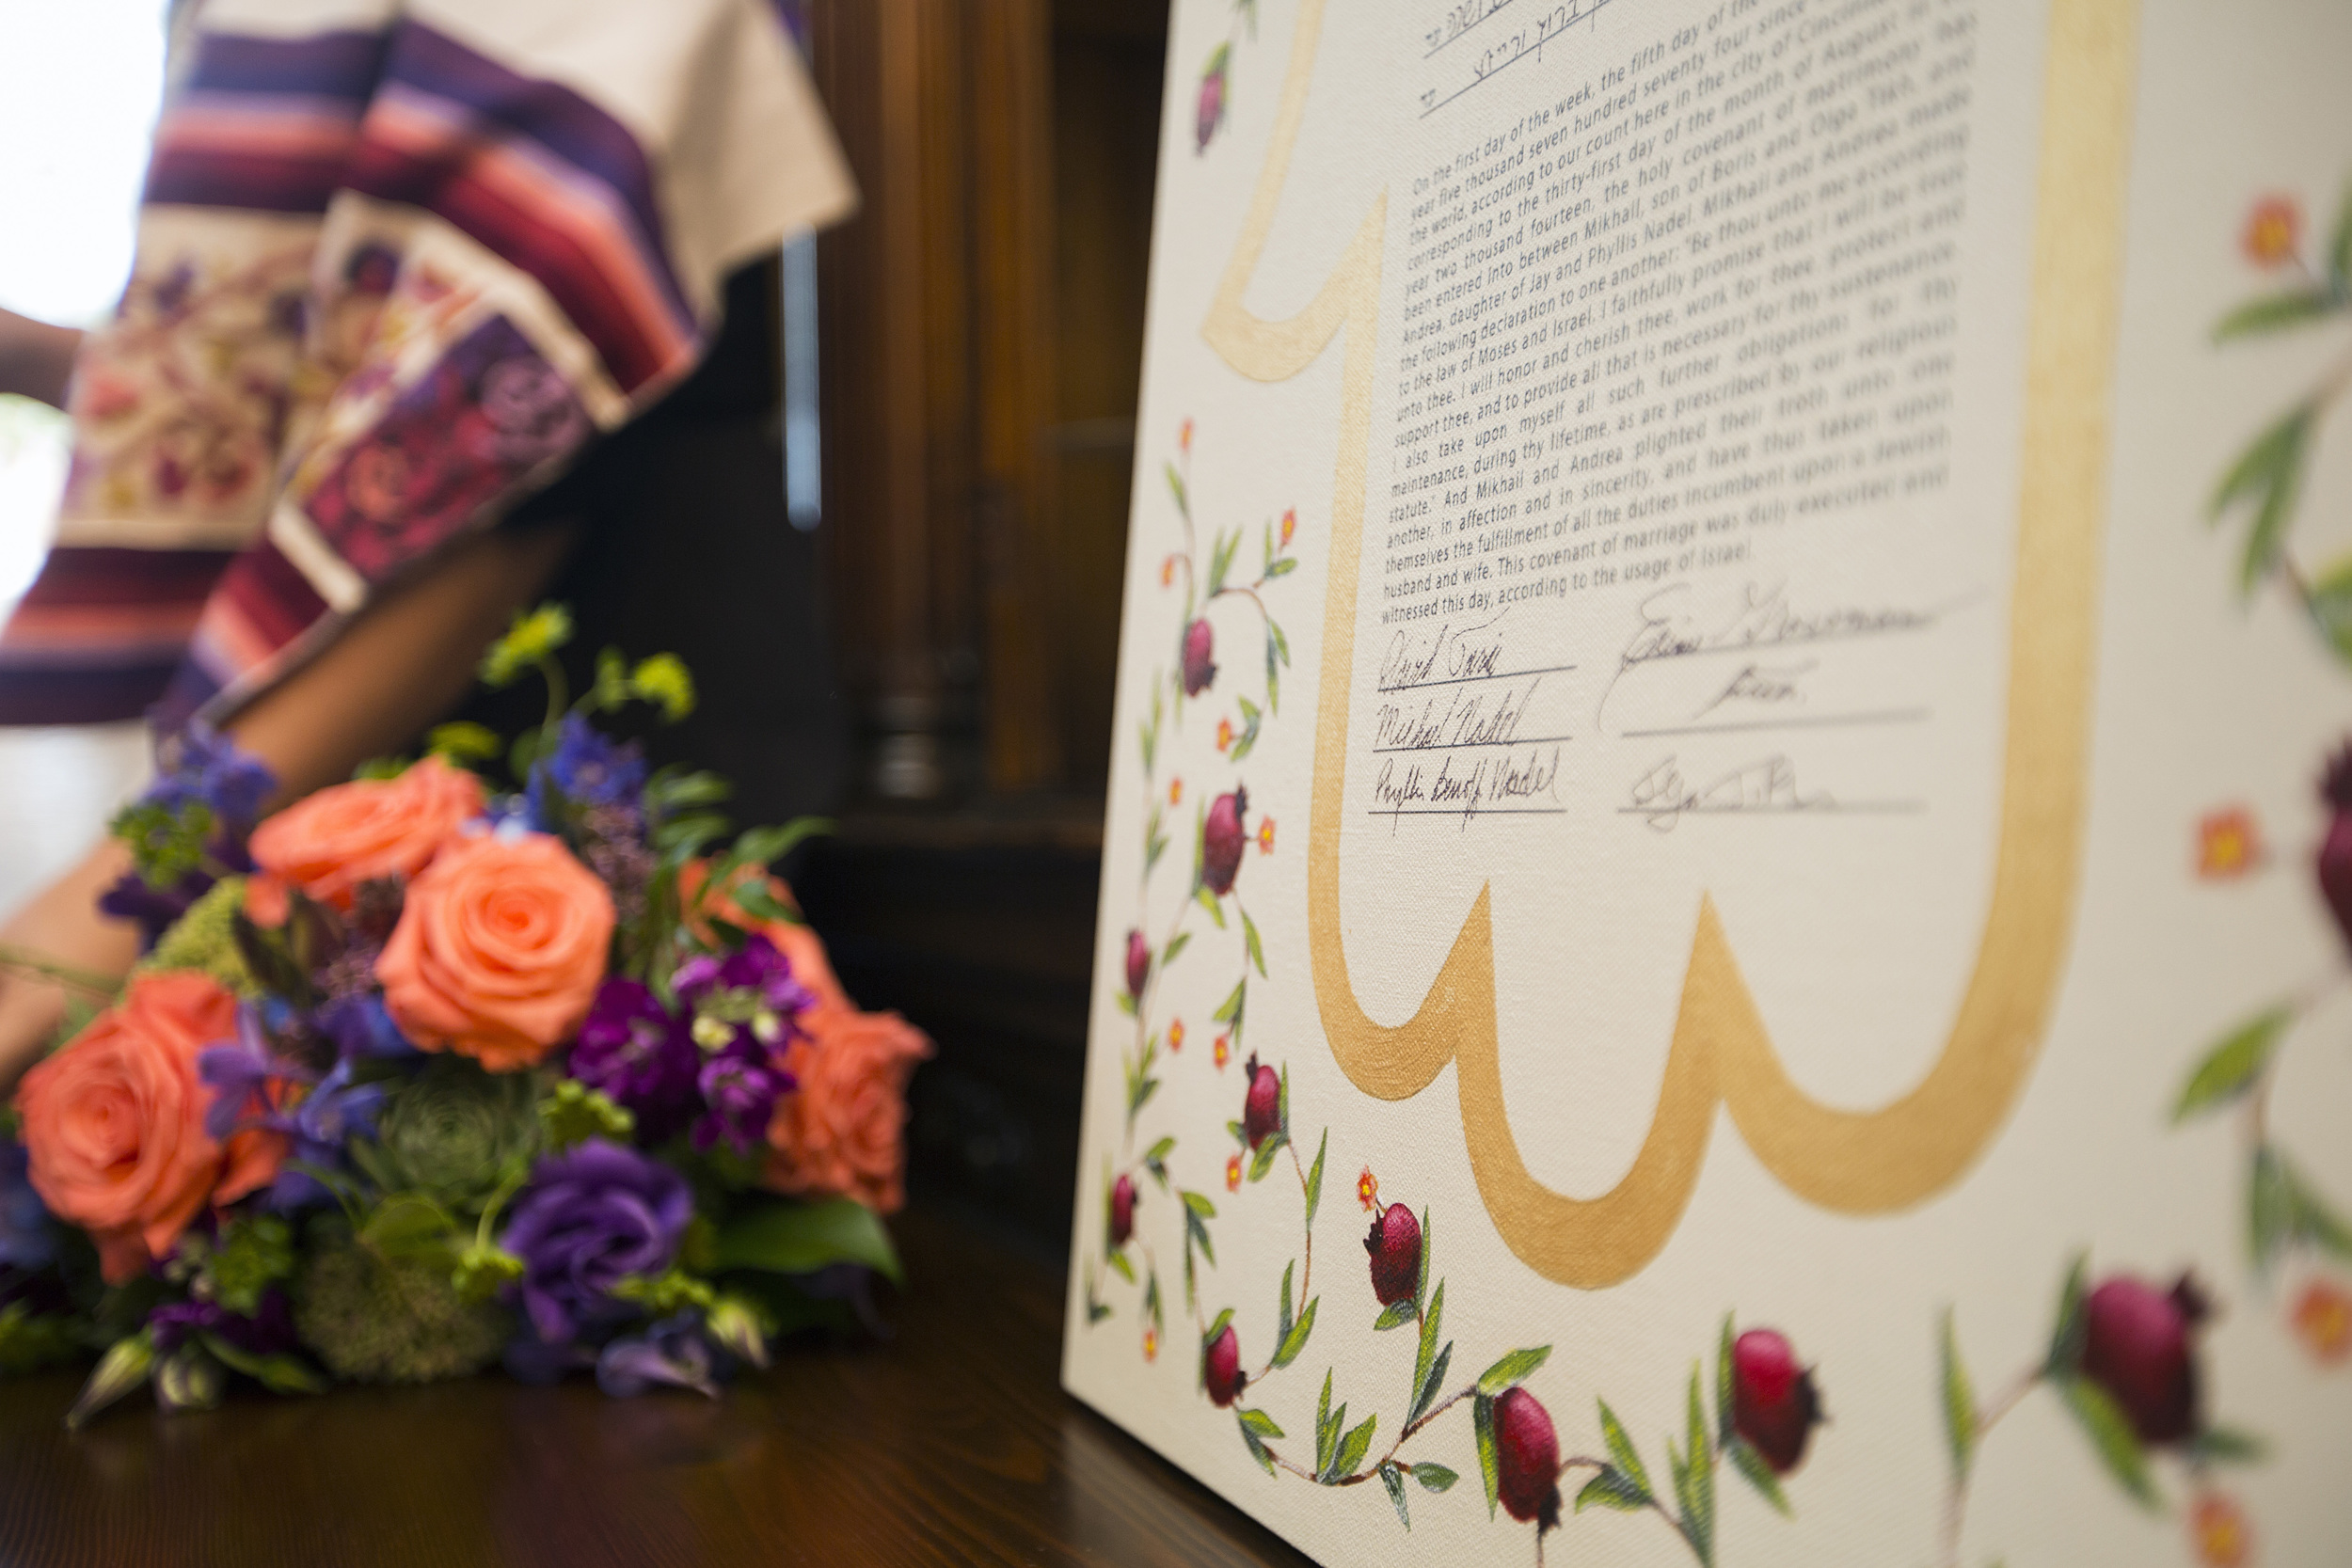
Painted Ketubah
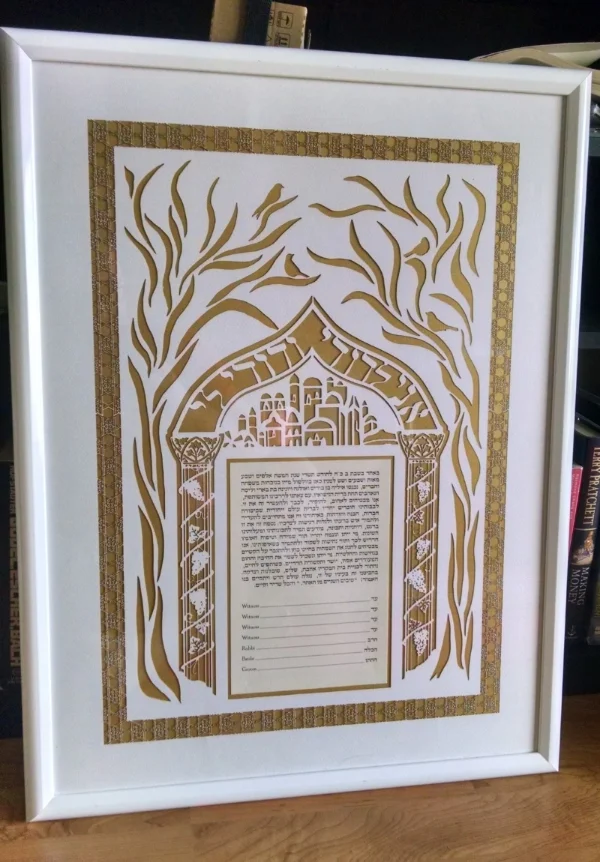
6
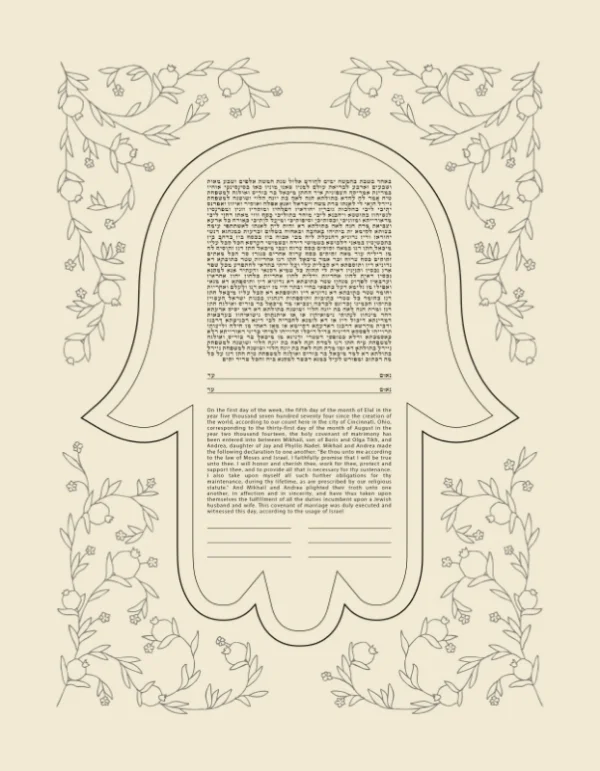
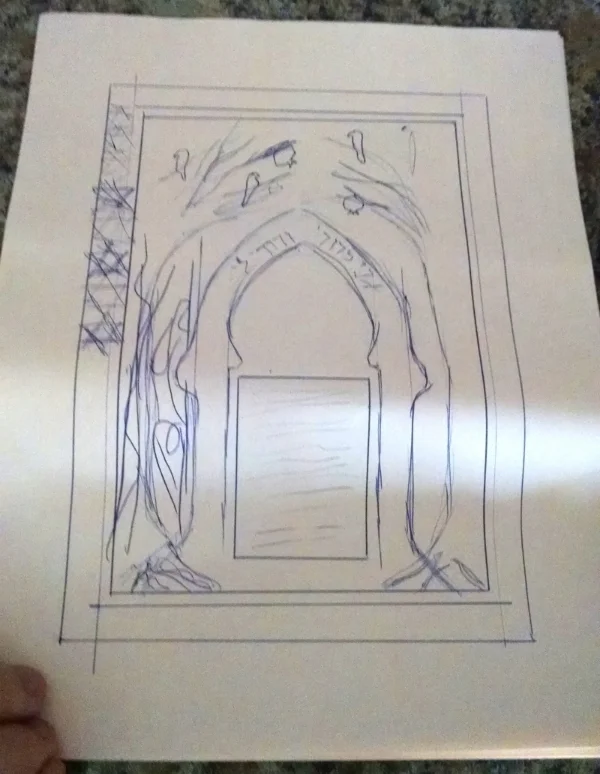
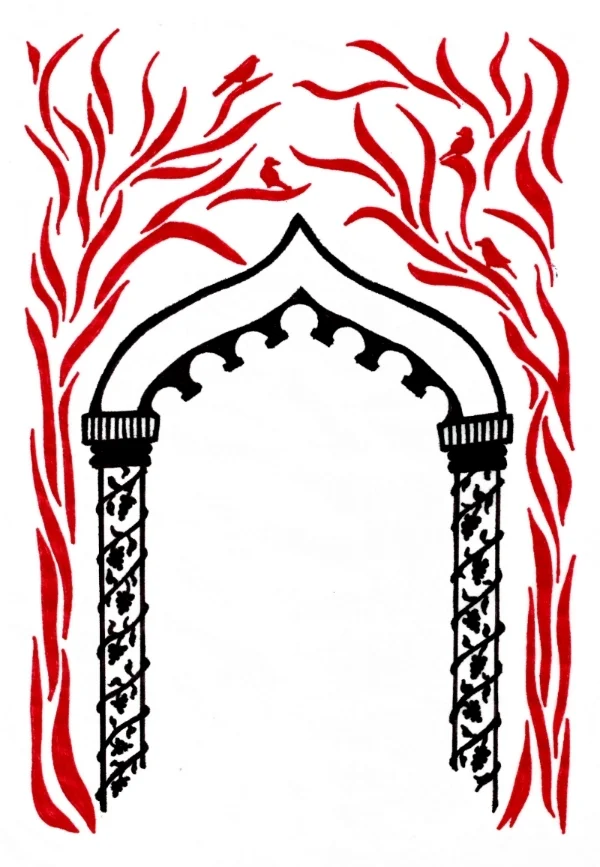
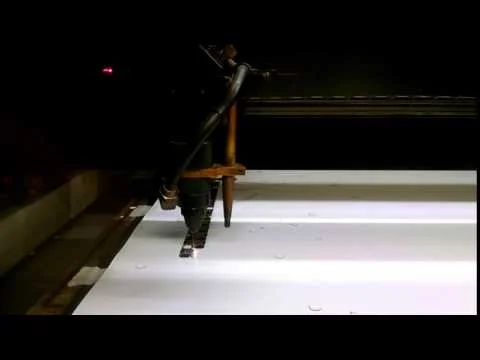
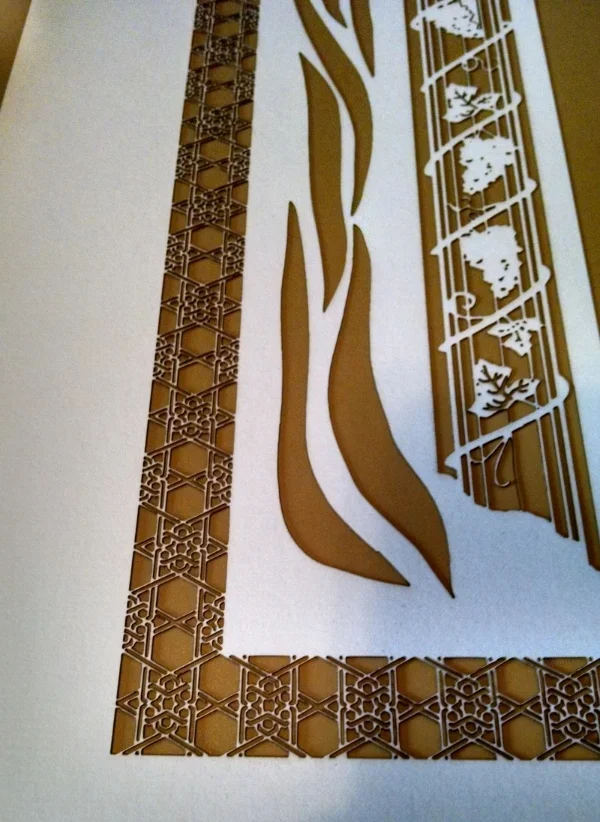
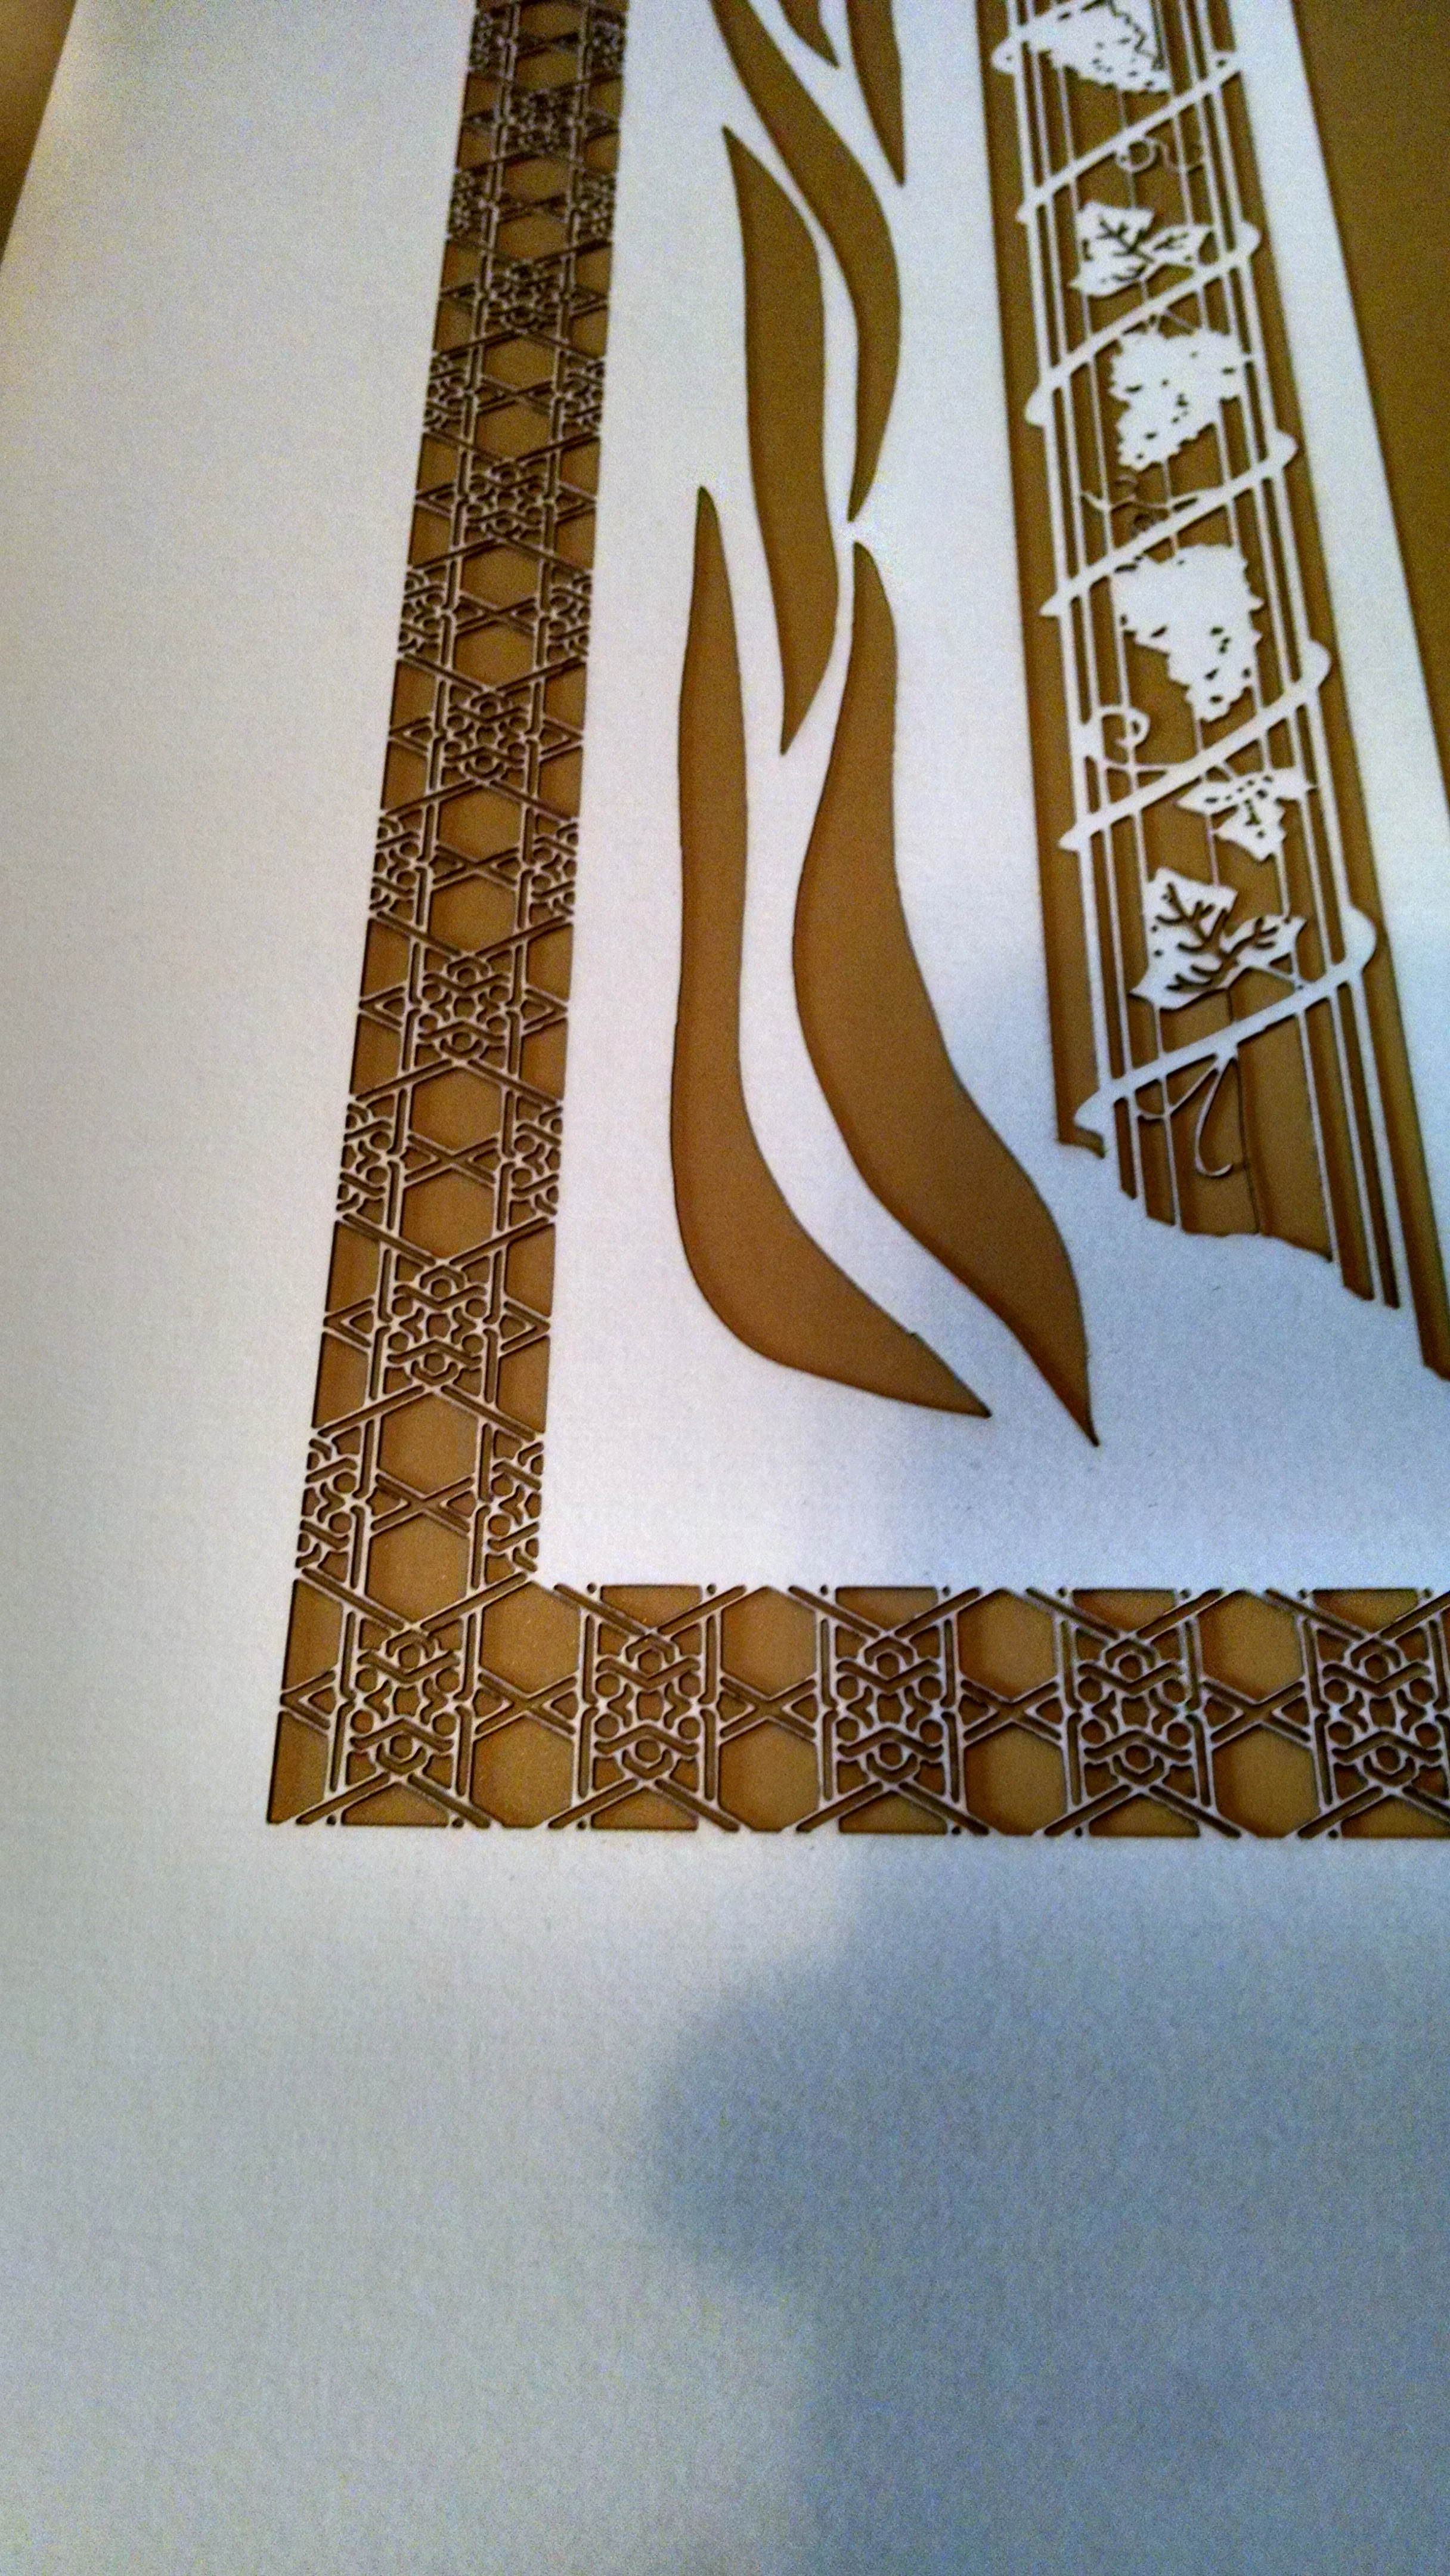
Laser Cut Ketubah
7
Halloween 2014
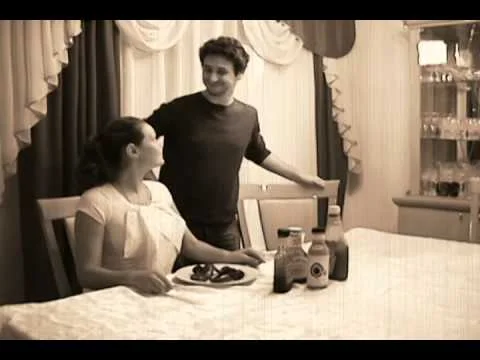
3
Movie Making
9
Halloween 2015

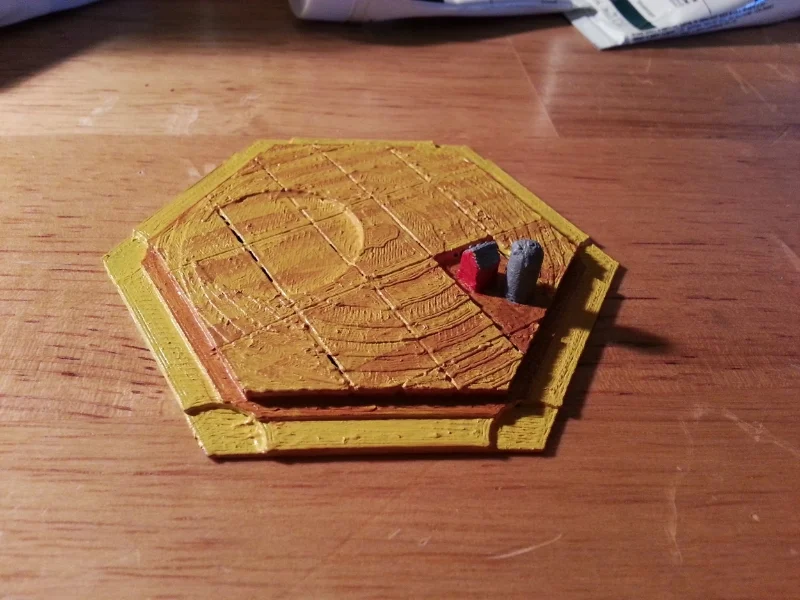
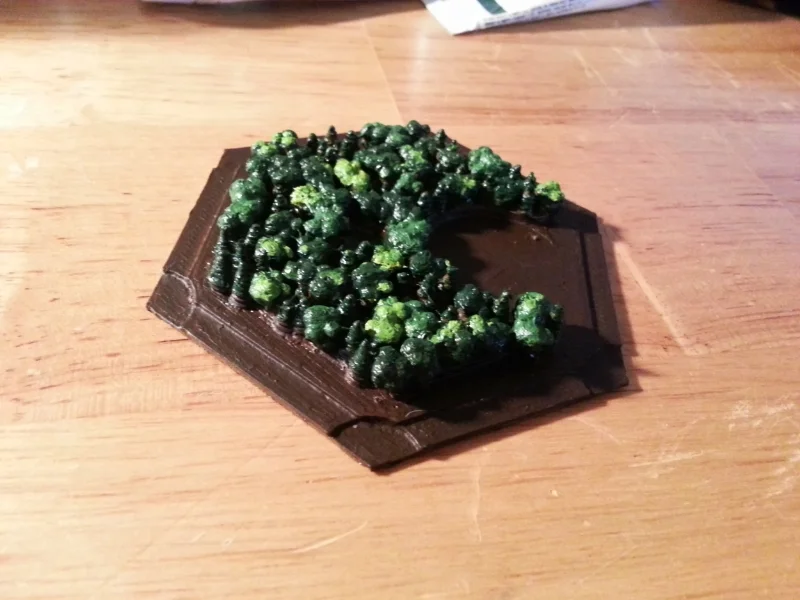
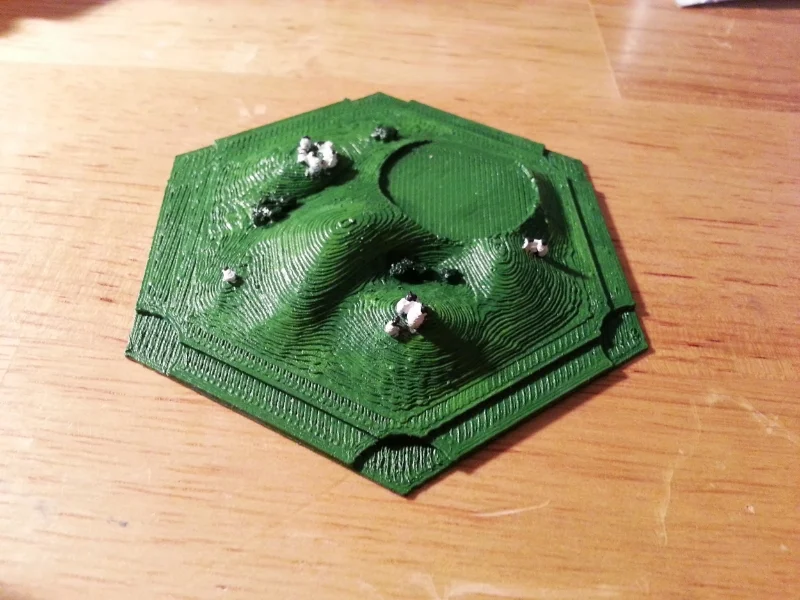
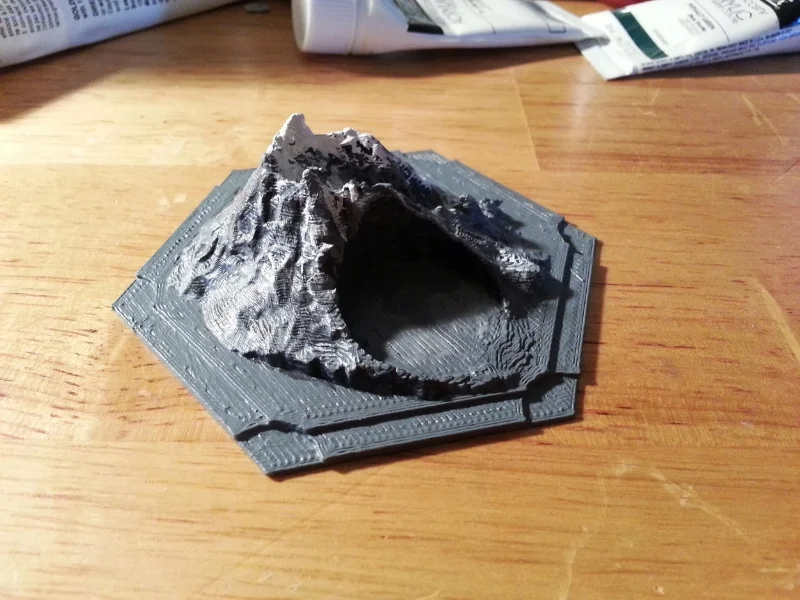
9
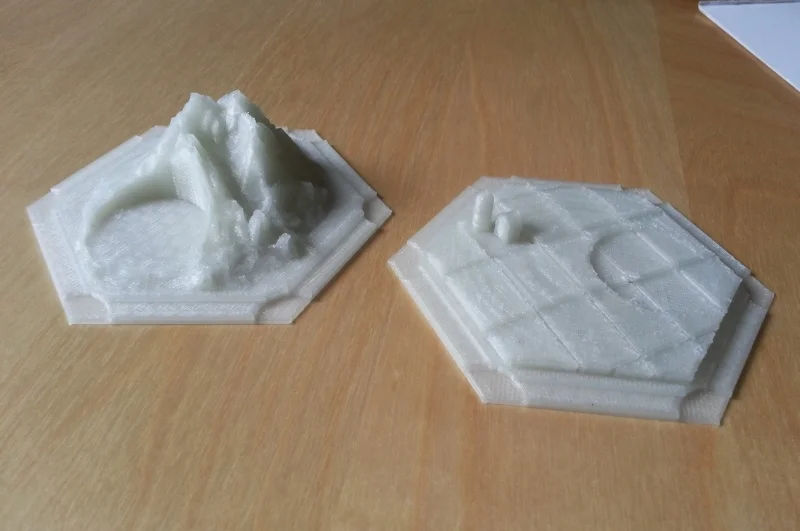
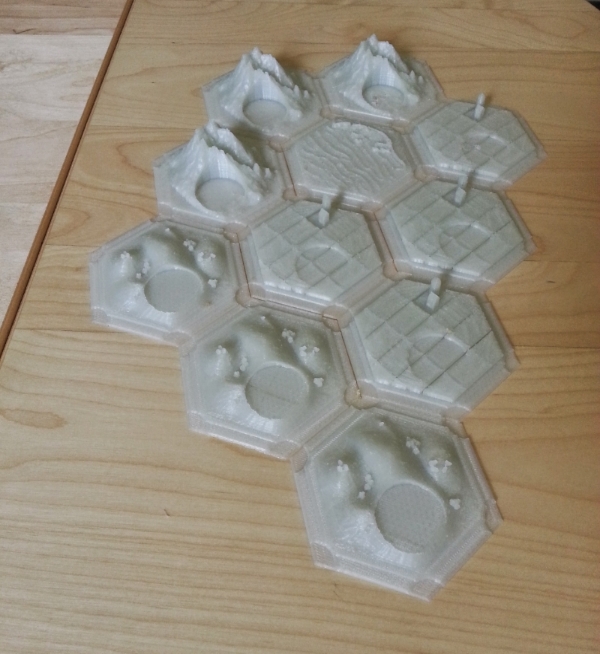
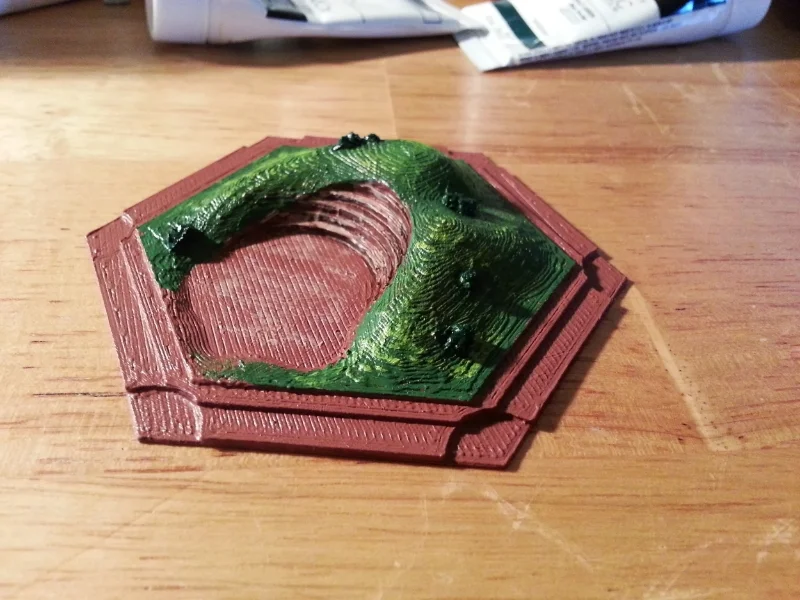
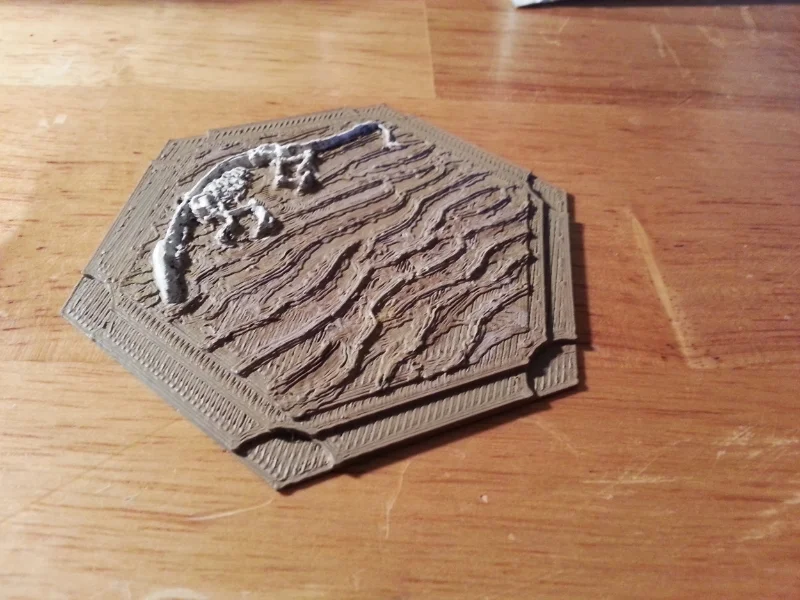
3D Settlers of Catan

6
Miscellaneous
5
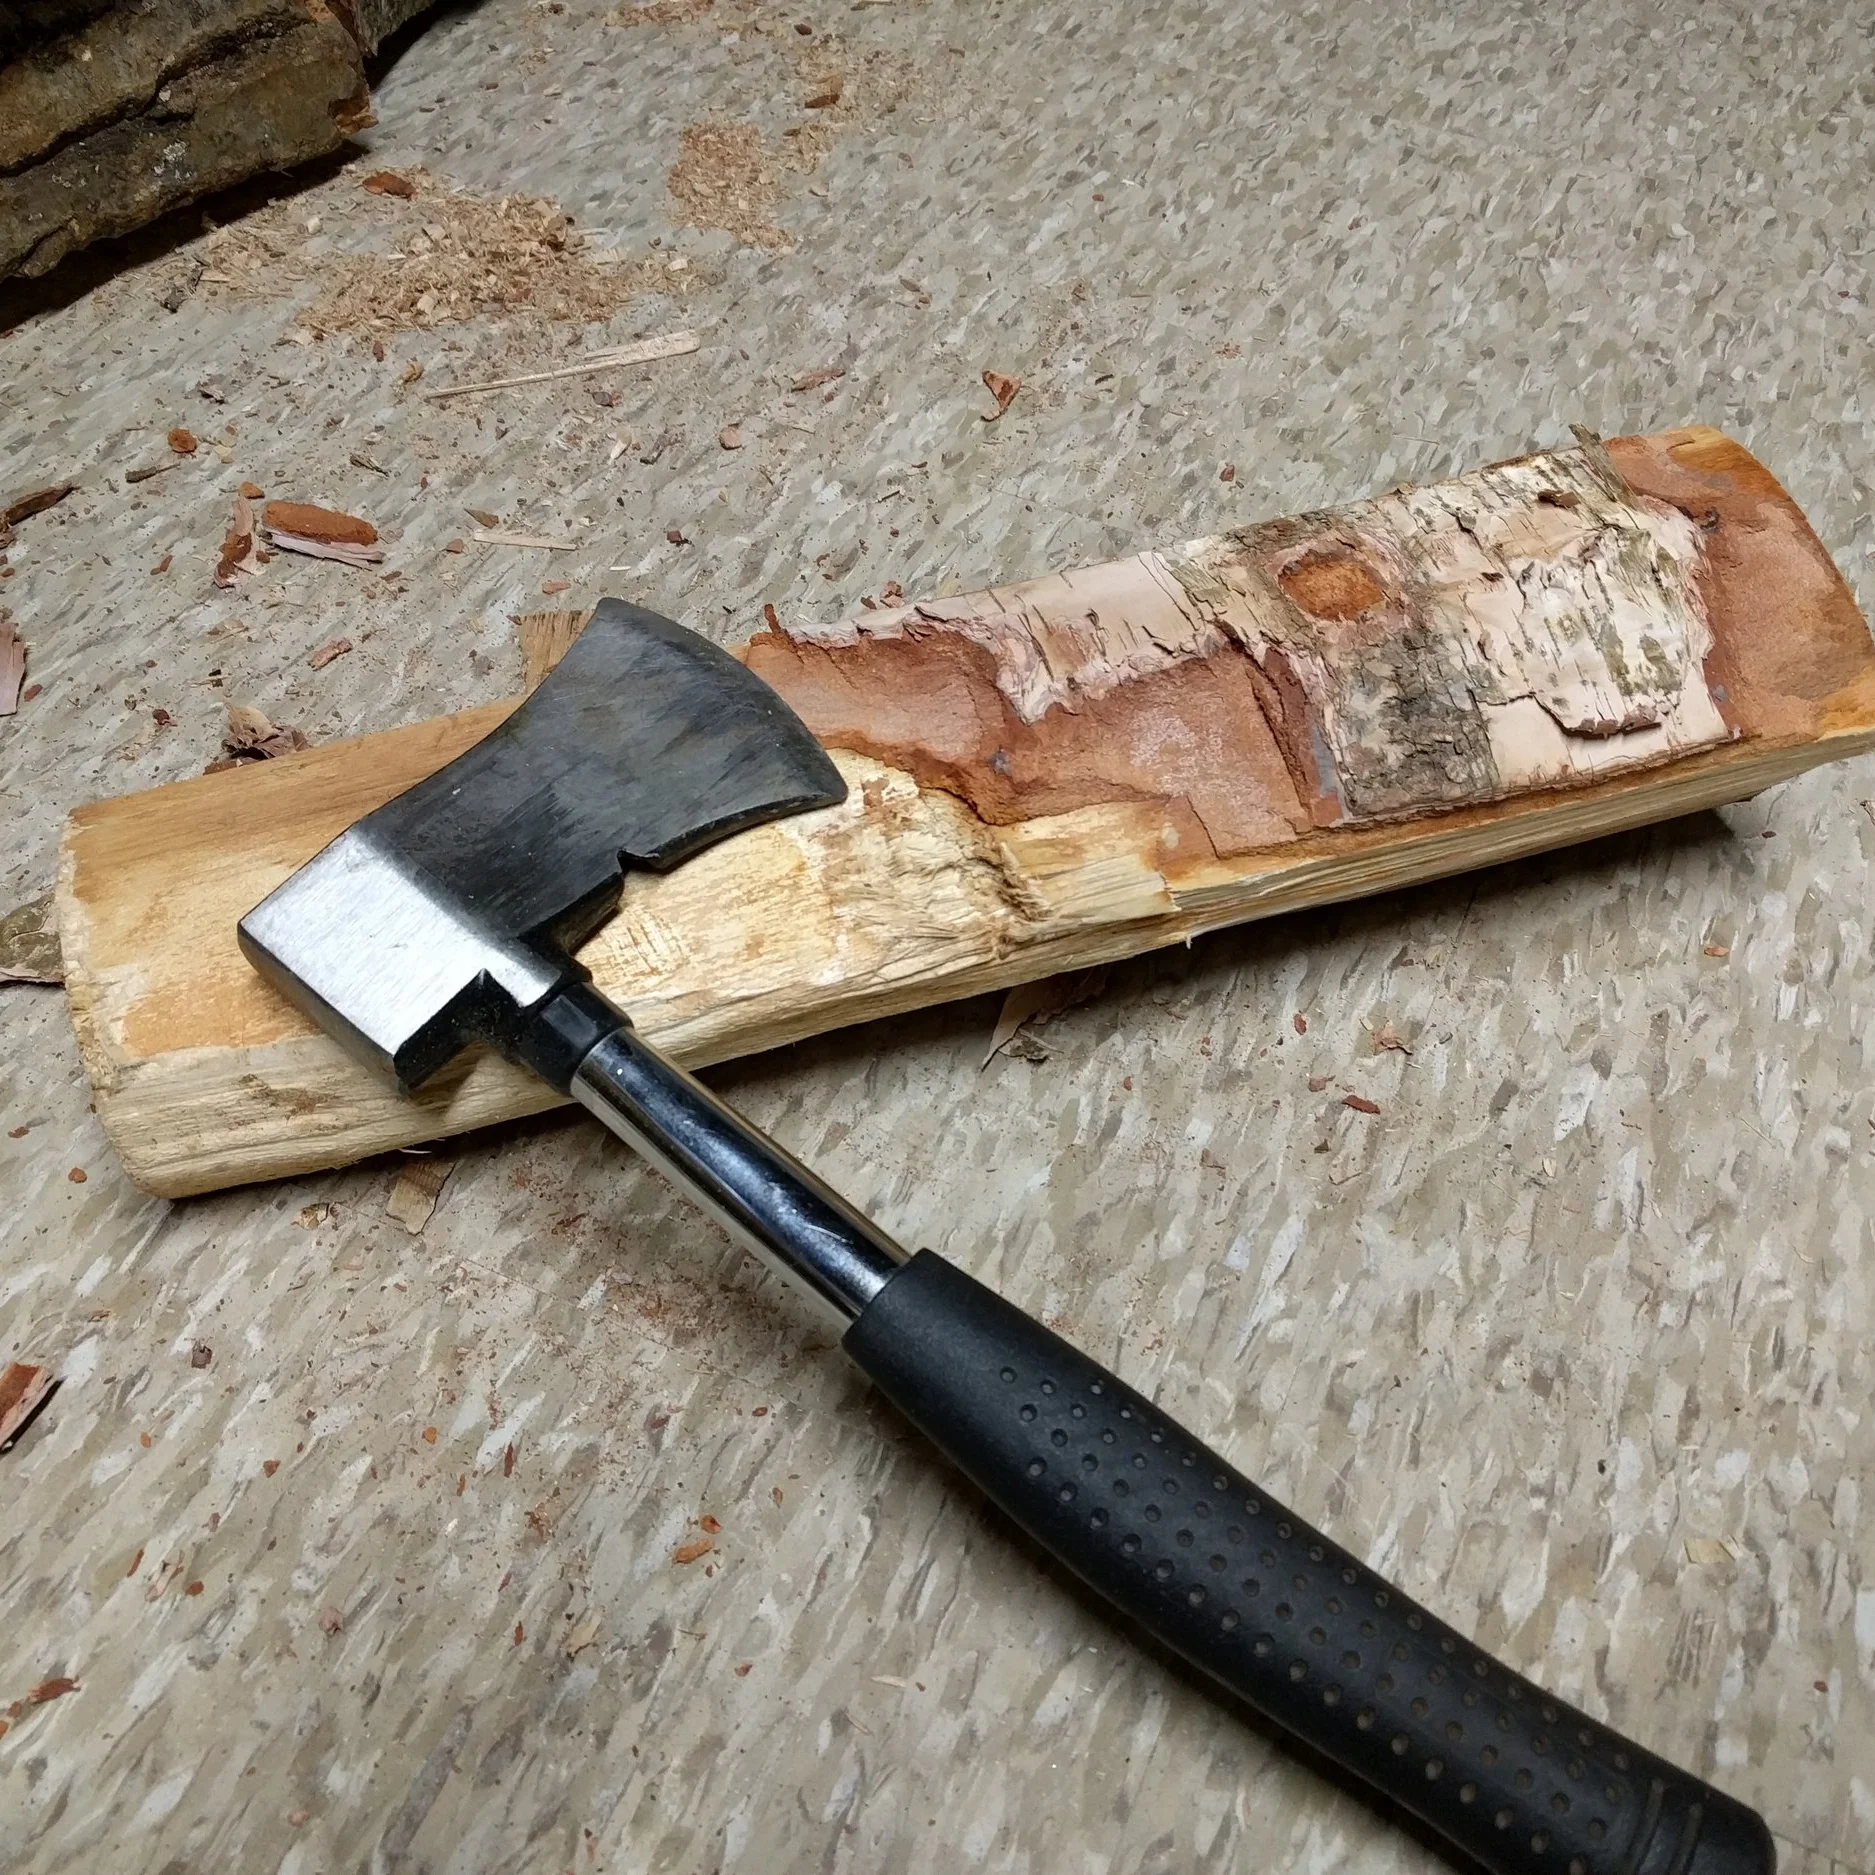
Log to Foot Roller
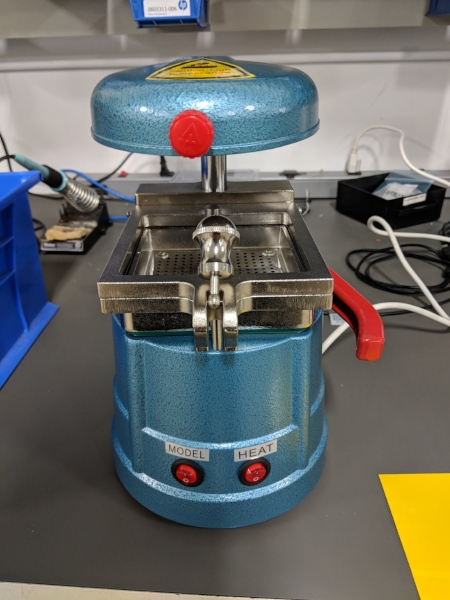
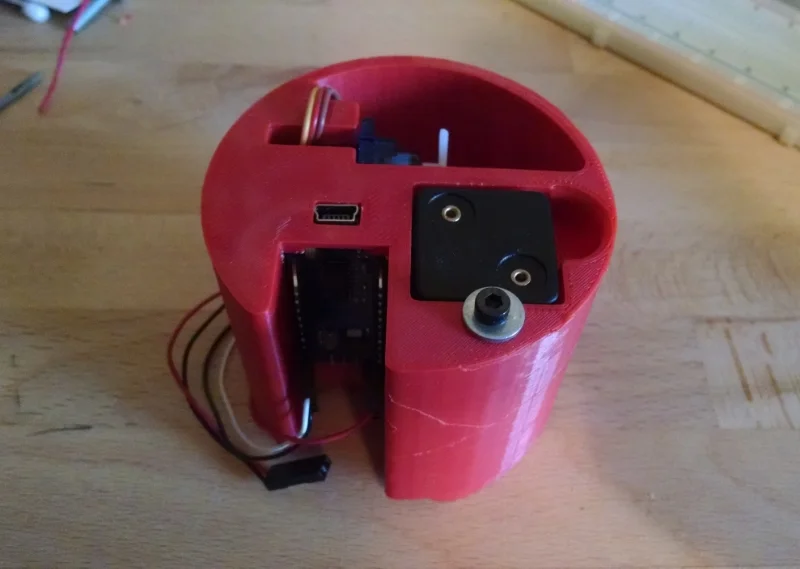
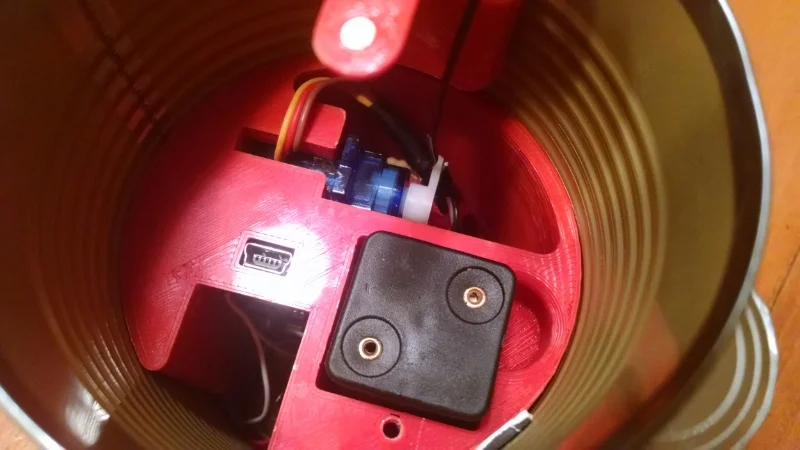
0
DIY Mouthguard